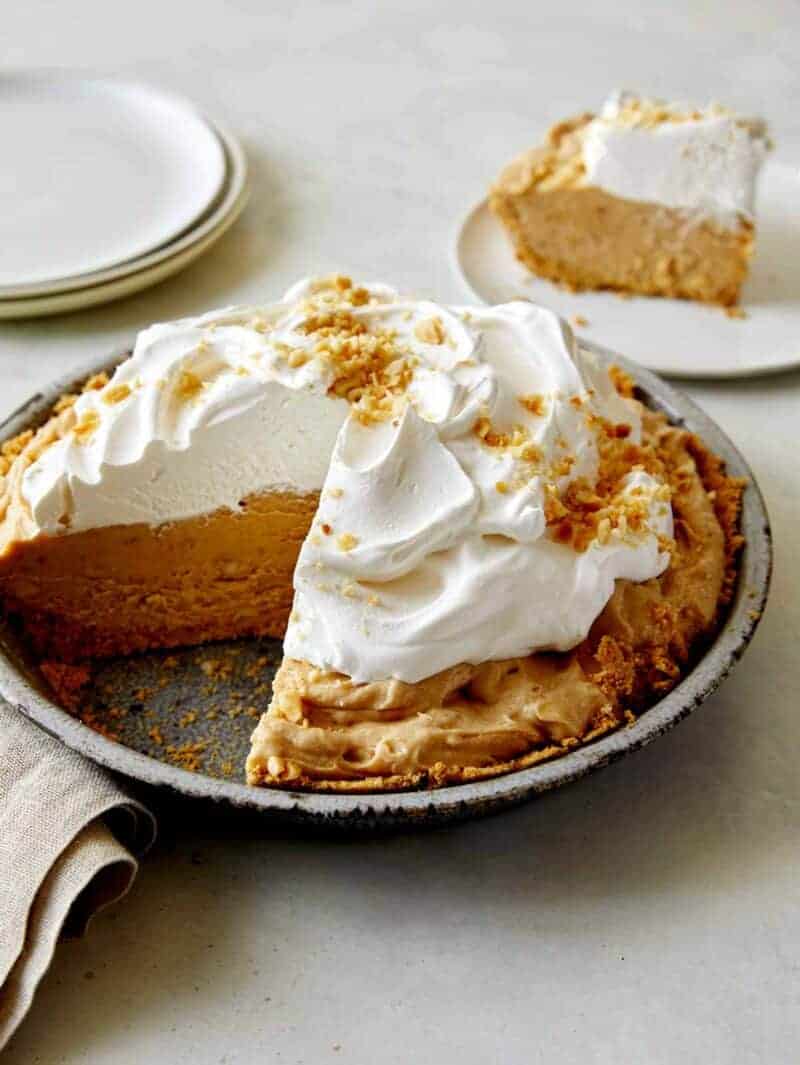
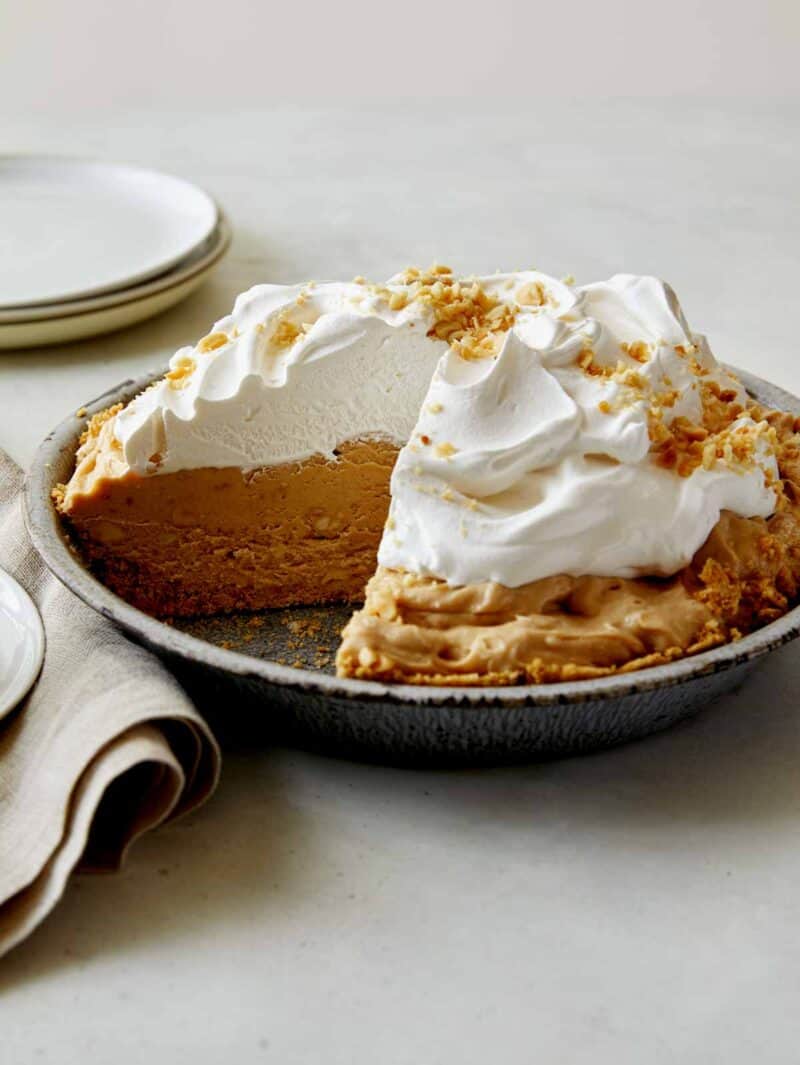
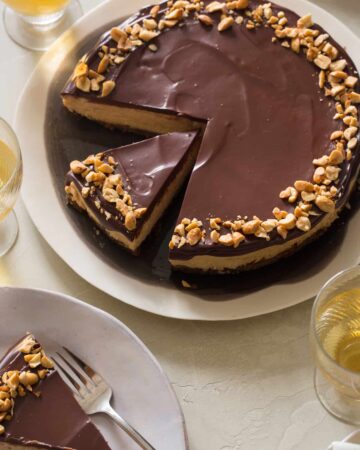
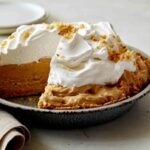
My favorite kind of pie has always been one with a creamy filling and a cookie or cracker crust, like our No Bake Peanut Butter Pie. This pie is very high on my list of favorite pies and overall desserts! Not to brag, but I’ve been told by many un-bias family members that our recipe is the best of all the peanut butter pie recipes. It couldn’t be easier to make and it is such a dreamy, delicious pie!
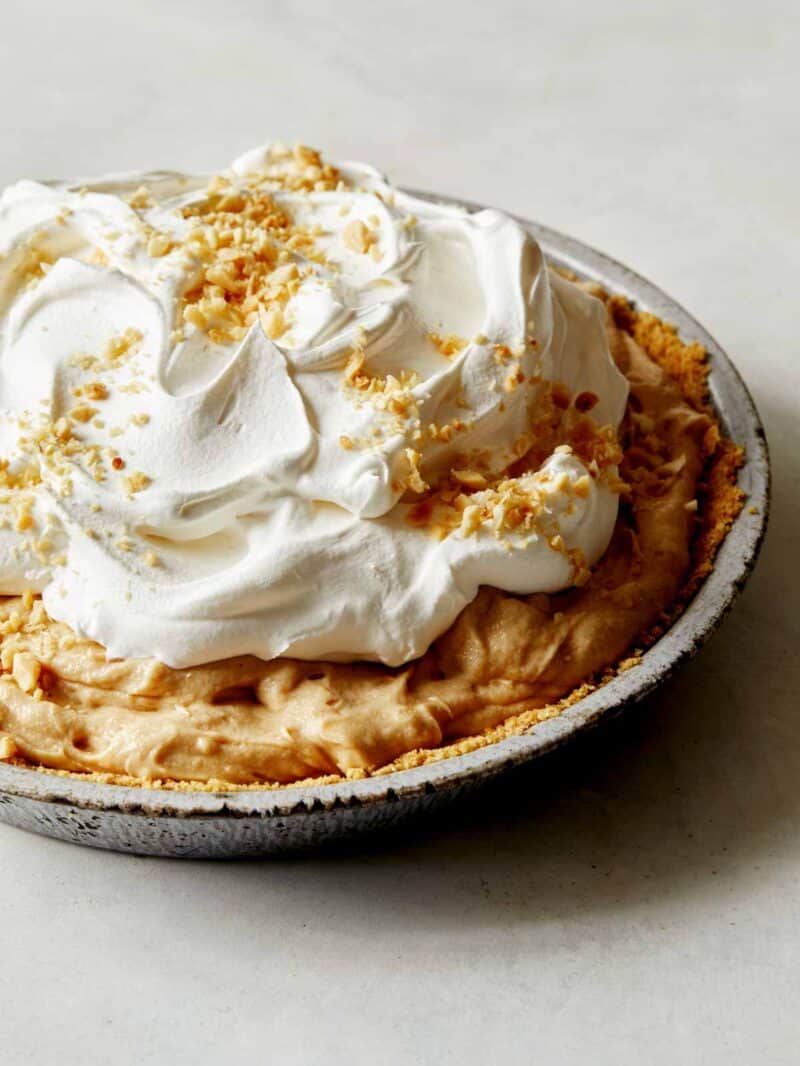
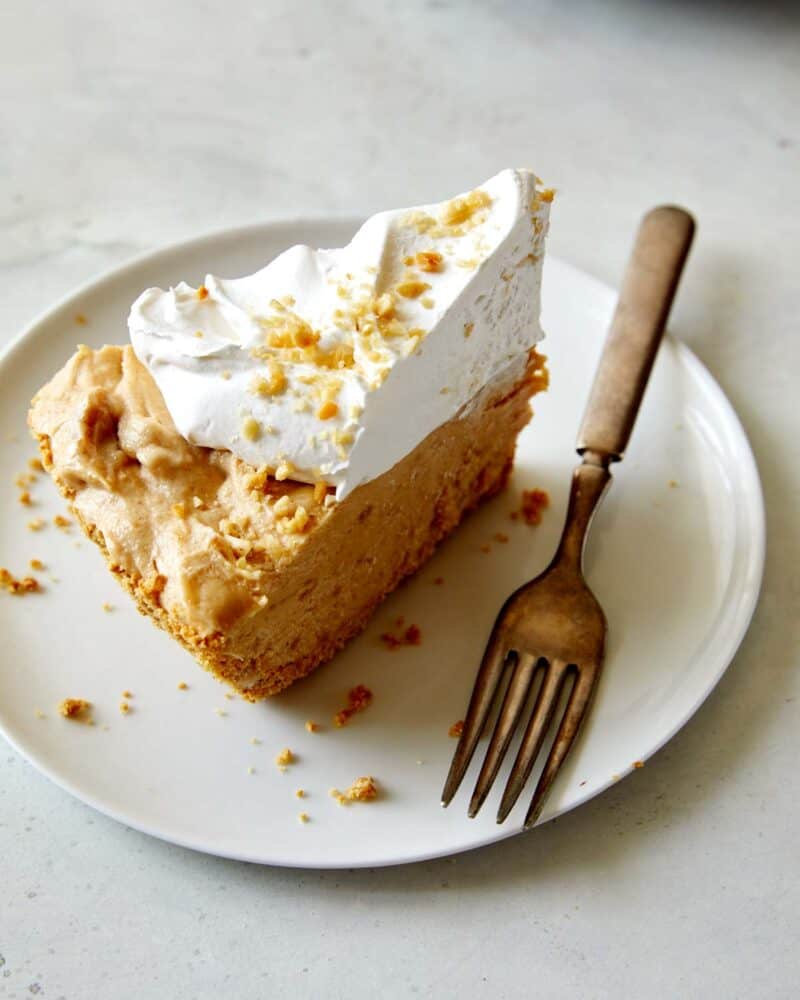
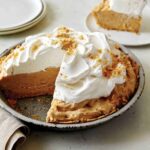
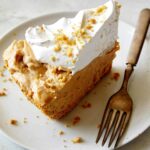
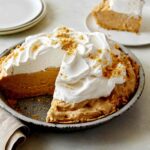
The peanut butter filling is rich and creamy and goes so well with the buttery, graham cracker crust and the super fluffy whipped cream that we pile high on top! I love the simple, rich flavors in this pie. I also love that you don’t need to turn the oven or stove on to make this pie, which also makes it perfect for hot summer days, although it really is great year round.
How to Make Our No Bake Peanut Butter Pie
Graham Cracker Crust
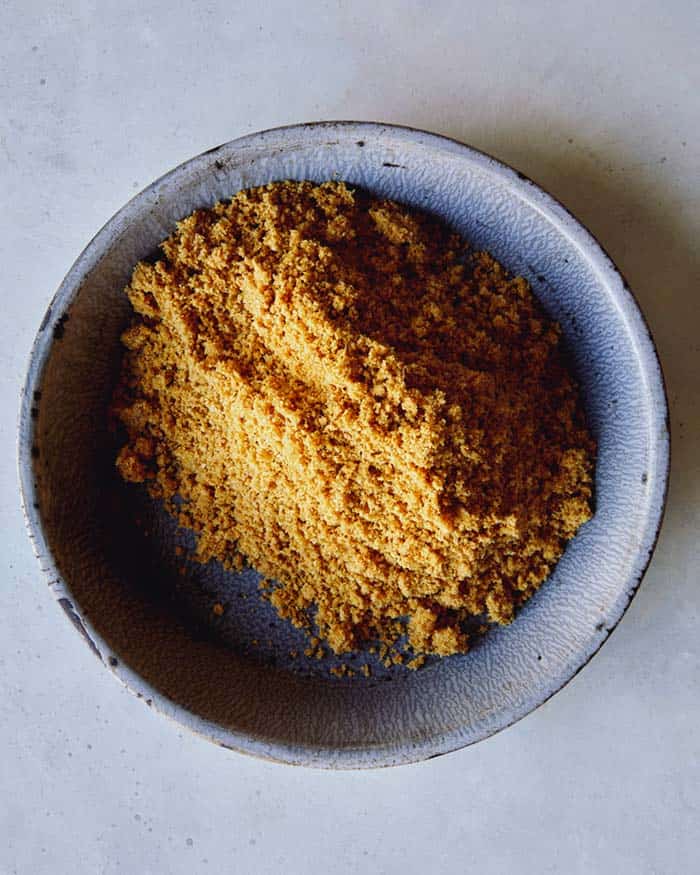
- Begin by placing all the crust ingredients into a mixing bowl and stirring together until fully combined. It’s important to make sure all of the graham cracker crumbs and sugar are saturated in the melted butter evenly which will ensure the crust holds together well.
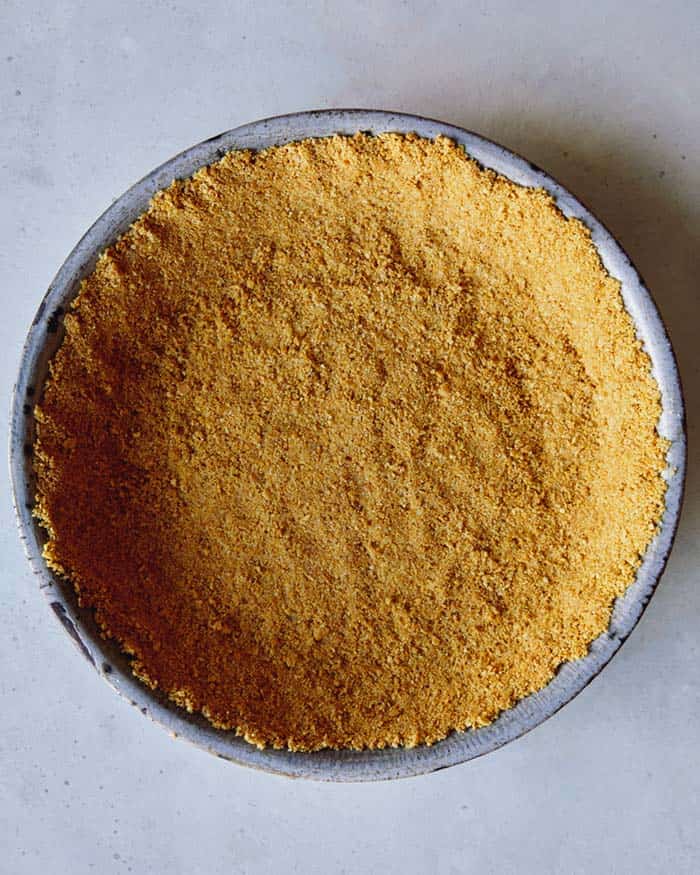
- Pour crust mixture into a 9 inch pie dish and evenly press mixture into the bottom and sides of the dish. You can use the bottom of a measuring cup to press the crust into the bottom and sides of the pie dish to ensure an even crust.
- Chill for 1 hour in the refrigerator, until crust is firm.
Peanut Butter Filling
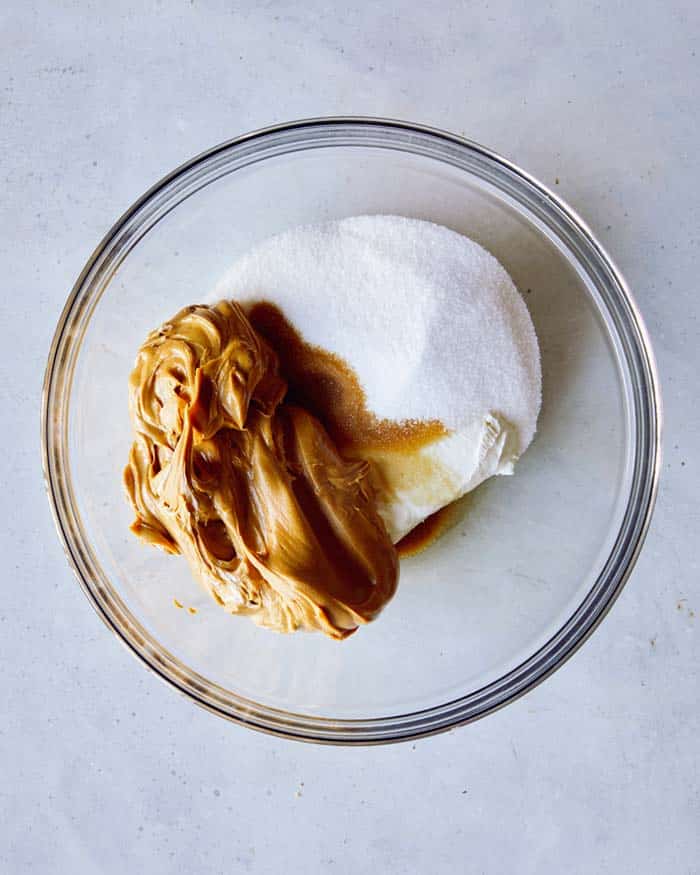
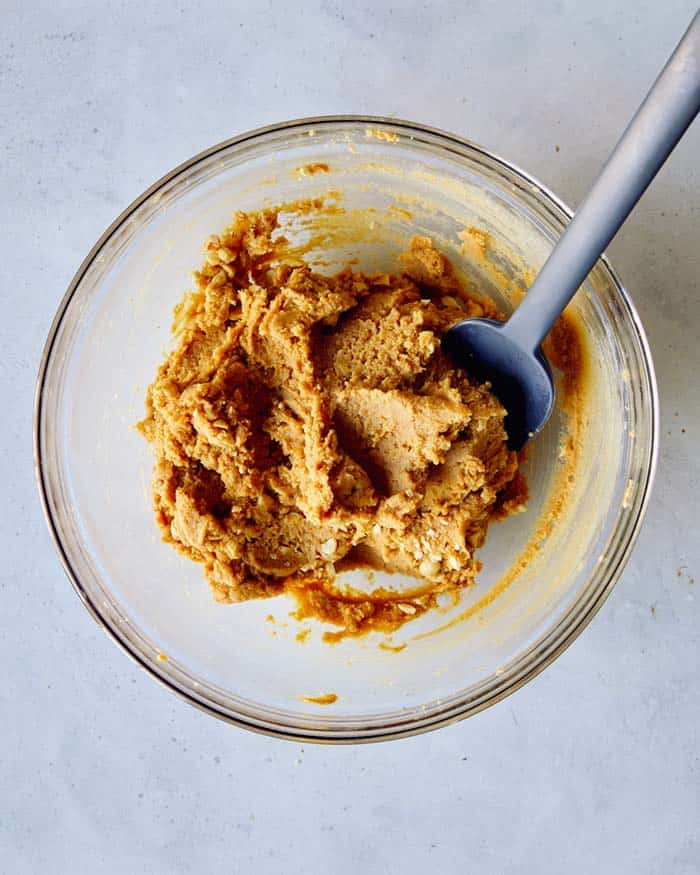
- For the filling, combine cream cheese, peanut butter, 1 1/4 cups sugar, and vanilla into a large bowl and beat together with an electric hand mixer until well blended and fluffy.
- Fold in 1 cup chopped peanuts. The chopped peanuts add a nice texture to the pie, but can be omitted if you prefer a smooth filling.
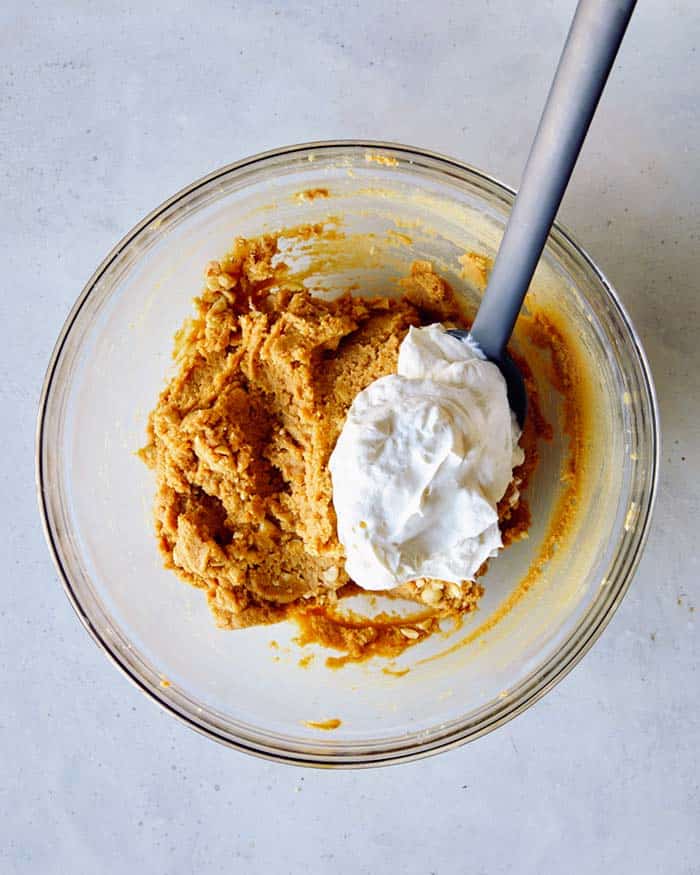
- In a separate bowl combine cream and remaining sugar. Beat together with the hand mixer until medium-stiff peaks form.
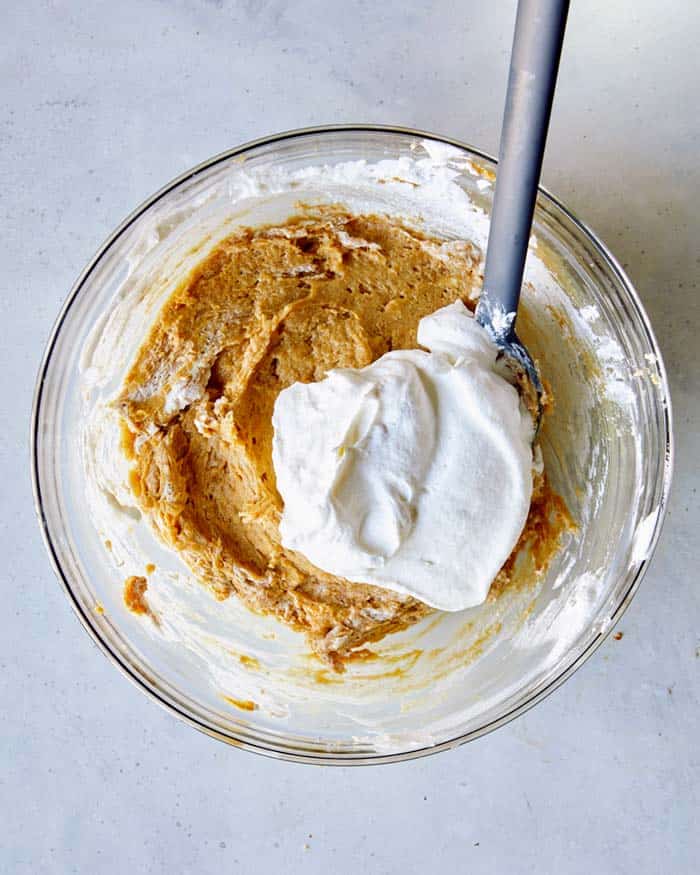
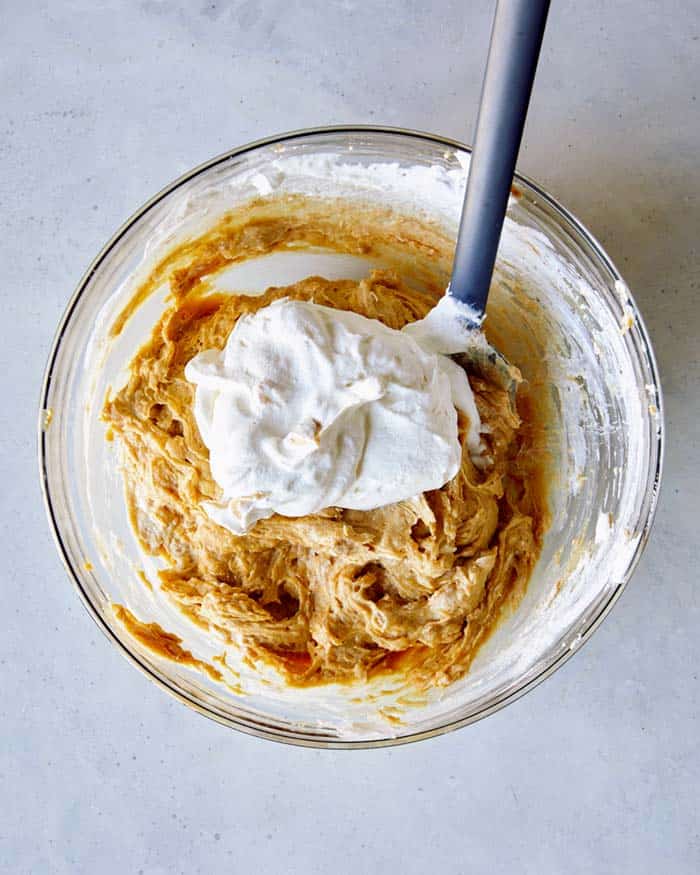
- Add 2/3 of the whipped cream to the peanut butter mixture, in three additions, and fold together until light, fluffy and fully combined.

Assembly
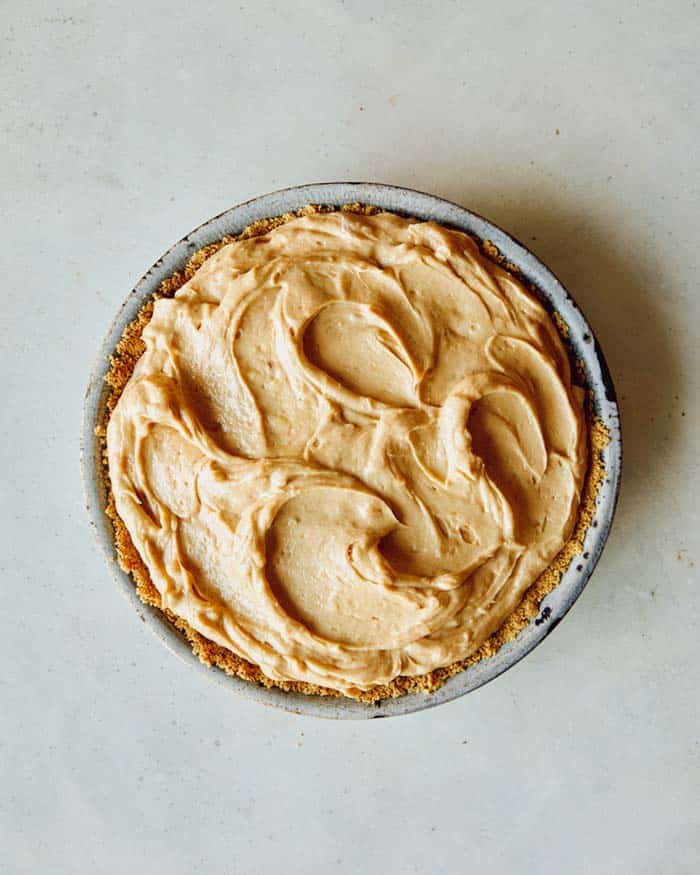
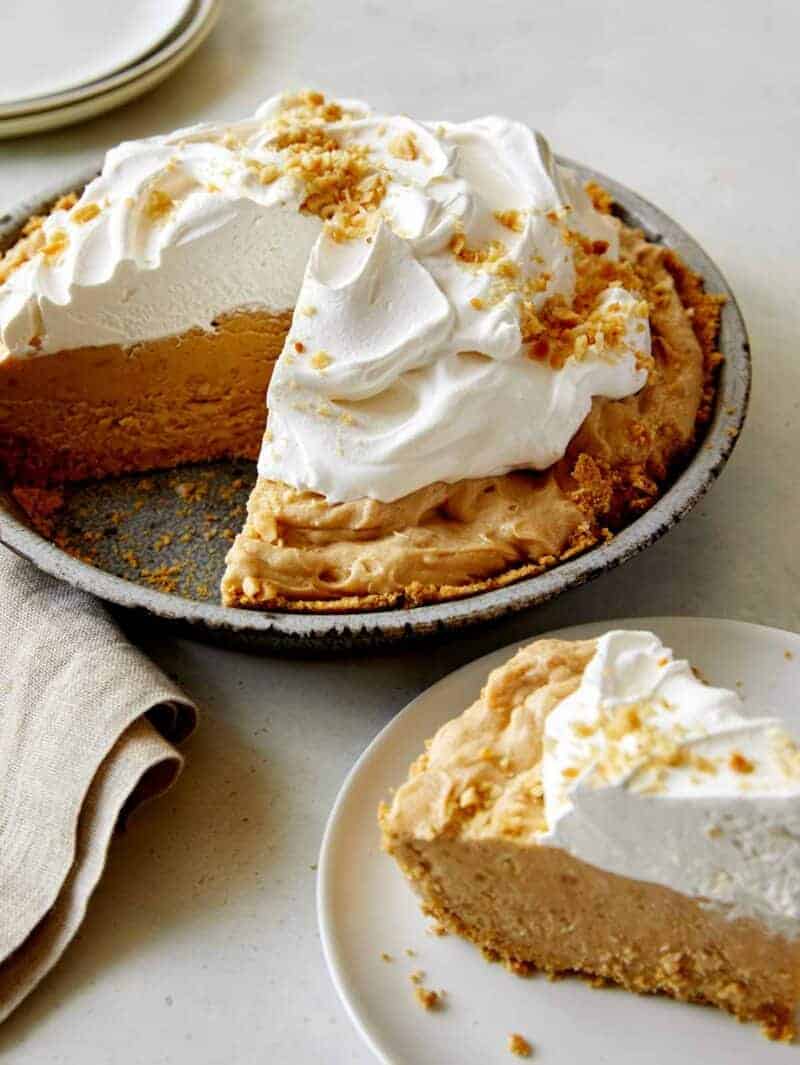
- Pour filling into the chilled crust.
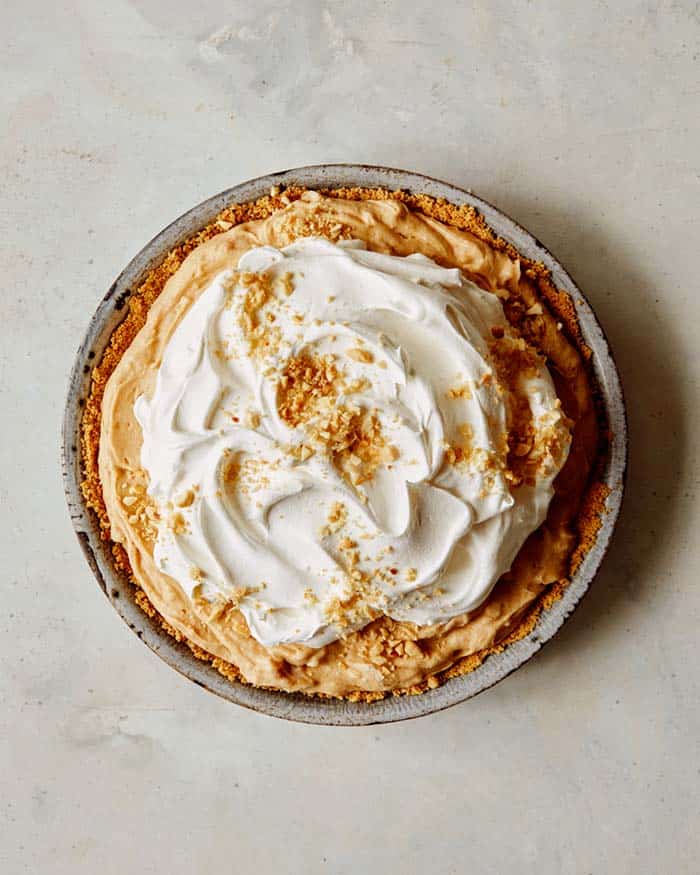
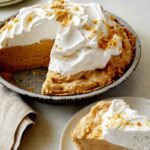
- Pour remaining whipped cream over the filling in an even mound and top with remaining chopped peanuts. Refrigerate pie for at least 1 hour or until filling has set.
- Remove from refrigerator and serve.
Tools You Will Need
- knife
- cutting board
- mixing bowls
- measuring spoons
- dry measuring cups
- liquid measuring cup
- baking spatulas
- electric mixer
- 9-inch pie plate
Make Ahead and Freezing Instructions
Make Ahead
This pie can be made up to 3 days ahead of time. If not serving soon after chilling/allowing the filling to set, we recommend leaving the whipped cream topping and chopped peanuts off the pie. Then tightly wrapping the chilled pie in plastic wrap or a large airtight container. When ready to serve, remove the plastic wrap and allow the pie to sit at room temperature for 15 minutes before adding the whipped cream and chopped peanuts to the top.
Freezing
This pie can be frozen for up to 3 months (for maximum freshness). We recommend freezing the whole pie without the whipped cream topping. Place pie in freezer until fully frozen, about 2 hours. Then tightly wrap in plastic wrap and place back into the freezer until ready to use. Once ready to serve, remove from freezer, unwrap and thaw, about 1 hour. Top with whipped cream and chopped peanuts and serve.
Tips and Tricks for Peanut Butter Pie Success
- We like using a more stable peanut butter in this recipe, like JIF brand as it holds up the best in this pie.
- If you want to use a more natural peanut butter, that’s totally fine! We just recommend that you use a “no stir” peanut butter because it will achieve much better results. We also recommend whipping the peanut butter first, until its slightly aerated and fluffy, before adding the other filling ingredients to help form a little more body to the filling.
- Although folding the whipped cream into the filling in multiple stages may seem tedious, there’s a reason it’s important! Folding the whipped cream in three separate additions will help keep the whipped cream aerated. This will help the filling gain a light and fluffy texture, especially after it is refrigerated and sets.
- It’s important to make sure all of the graham cracker crumbs and sugar are saturated in the melted butter evenly which will ensure the crust holds together well.
- Using something with a flat surface, like a measuring cup, to press the crust into the bottom and sides of the pie pan will help to ensure an even crust and also help to prevent crumbling.
- We’ve never had an issue with a gritty texture from the sugar in this pie, but if that’s of concern, powdered sugar can replace the granulated sugar in the filling.
- Homemade whipped cream is a must! It’s so easy to make (using just heavy cream, sugar, vanilla extract, and a pinch of salt) and creates a far more superior pie from its commercial made, artificially flavored whipped topping, like cool whip.
- If you can’t find graham cracker crumbs, just buy some graham crackers, break them up into a food processor and pulse a few times until a fine crumb appears.
Variations
- The graham cracker crumb crust can be replaced with chocolate cookie crumbs (like oreos…hello oreo crust!) or Nilla wafer crumbs.
- Instead of chopped peanuts to top the pie, we like to drizzle a few tablespoons of melted chocolate or even grate some chocolate onto the top.
- If you like an extra smooth and creamy pie, just omit the chopped nuts from the filling and/or the top which we use for garnish.
More Delicious Pie Recipes You Will Love
No Bake Peanut Butter Pie
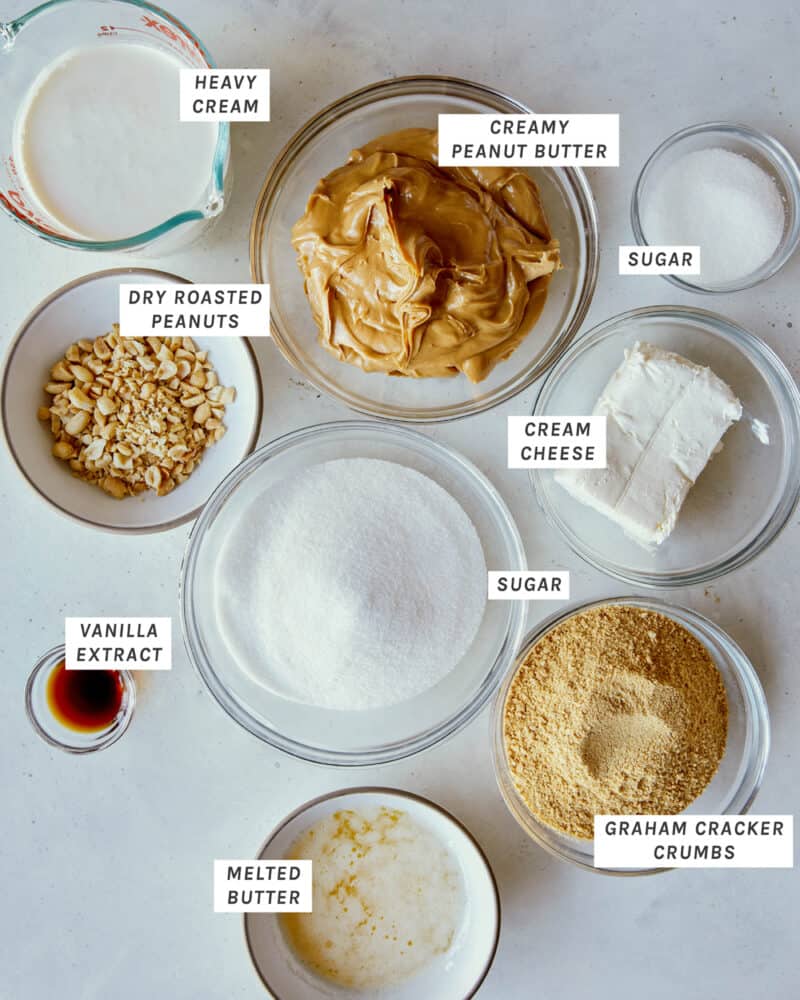
INGREDIENTS
graham cracker crust
- 1 1/2 cups graham cracker crumbs
- 6 tablespoons salted butter melted
- 1/4 cup sugar
filling
- 8 ounces cream cheese
- 2 1/2 cups creamy peanut butter
- 1 1/2 cups sugar divided
- 1 1/2 teaspoons vanilla extract
- 1 1/4 cups chopped dry roasted peanuts
- 2 1/2 cups heavy cream
INSTRUCTIONS
crust
- Place ingredients into a mixing bowl and stir together until fully combined.
- Pour crust mixture into a 9 inch pie dish and evenly press mixture into the bottom and sides of the dish.
- Refrigerate for 1 hour, until crust is firm.
filling
- In a large mixing bowl combine cream cheese, peanut butter, 1 1/4 cups sugar, and vanilla and beat together with an electric hand mixer until fully blended.
- Stir in 1 cup chopped peanuts until evenly combined.
- In another mixing bowl combine cream and remaining sugar. Beat together with the hand mixer until medium stiff peaks form.
- Add 2/3 of the whipped cream to the peanut butter mixture, in three separate additions, and fold together until light, fluffy and fully combined
- Pour filling into the chilled crust and smooth to evenly fill.
- Spread remaining whipped cream over the filling in an even mound and top with remaining chopped peanuts. Refrigerate pie for at least 1 hour or until filling has set.
- Remove from refrigerator and serve.
NOTES
Make Ahead and Freezing Instructions
Make Ahead
This pie can be made up to 3 days ahead of time. If not serving soon after chilling/allowing the filling to set, we recommend leaving the whipped cream topping and chopped peanuts off the pie. Then tightly wrapping the chilled pie in plastic wrap or a large airtight container. When ready to serve, remove the plastic wrap and allow the pie to sit at room temperature for 15 minutes before adding the whipped cream and chopped peanuts to the top.Freezing
This pie can be frozen for up to 3 months (for maximum freshness). We recommend freezing the whole pie without the whipped cream topping. Place pie in freezer until fully frozen, about 2 hours. Then tightly wrap in plastic wrap and place back into the freezer until ready to use. Once ready to serve, remove from freezer, unwrap and thaw, about 1 hour. Top with whipped cream and chopped peanuts and serve.Tips and Tricks for Peanut Butter Pie Success
- We like using a more stable peanut butter in this recipe, like JIF brand as it holds up the best in this pie.
- If you want to use a more natural peanut butter, that’s totally fine! We just recommend that you use a “no stir” peanut butter because it will achieve much better results. We also recommend whipping the peanut butter first, until its slightly aerated and fluffy, before adding the other filling ingredients to help form a little more body to the filling.
- Although folding the whipped cream into the filling in multiple stages may seem tedious, there’s a reason it’s important! Folding the whipped cream in three separate additions will help keep the whipped cream aerated. This will help the filling gain a light and fluffy texture, especially after it is refrigerated and sets.
- It’s important to make sure all of the graham cracker crumbs and sugar are saturated in the melted butter evenly which will ensure the crust holds together well.
- Using something with a flat surface, like a measuring cup, to press the crust into the bottom and sides of the pie dish will help to ensure an even crust and also help to prevent crumbling.
Variations
- The graham cracker crumb crust can be replaced with chocolate cookie crumbs or Nilla wafer crumbs.
- Instead of chopped peanuts to top the pie, we like to drizzle some melted chocolate or even grate some chocolate onto the top.
- If you like an extra smooth and creamy pie, just omit the chopped nuts from the filling and/or the top which we use for garnish.


Did you make this recipe? We want to see!
tag @SpoonForkBacon and #SpoonForkBacon on Instagram
Hi,
Just popping in to let you know I have included your yummy recipe post in my peanut butter round up!
Cathy
http://wp.me/p466oG-HM
Ummmm yum times 1000. These look amaaaaazing. And now I’m craving pb like mad!
I can never have too much of PB recipes…I am an addict. I love trying something new that involves PB. Thanks for this recipe.
Teri – quick question: did you use conventional peanut butter like Jif or Peter Pan? I want to try to approximate your end result; I ask because I prefer to use homemade peanut butter which is noticeably different in texture, density and flavour.
Hi KJ, I actually wrote the recipe and yes, i used store bought (my preference is JIF). I love homemade/natural peanut butter too, but you get a much better consistency and overall end result with the store bought stuff. Good luck! (also, the cocoa powder is actually an optional ingredient that I’ll only use if I want the extra richness)
They look so beautiful. I cannot take my eyes off them
These are so cute! I love the idea of splitting one big pie into a bunch of smaller individual servings – extra delicious crispy crust… Very creative and beautiful and I am featuring this post in today’s Friday Food Fetish roundup (with a link-back and attribution), so please let me know if you have any objections. It’s a pleasure following your food…
…and that song is now in a lunchables commercial
With mascarpone in the filling, how could this be anything but delicious. It’s scary how good peanut butter is with other fatty dairy stuff.
My but these look luscious….peanut butter is vice!
That pie looks crazy good – I could eat a whole plate of them! Yum.
I was so inspired by this recipe, I made something similar for a bridal shower I hosted yesterday and they were divine!!! I also made a set of my Blueberry Babes (mini-cheese cake tarts).
Thanks for the inspiration – lovin you blog! x Heike
I’ve blogged my bridal shower creations: http://heikeherrling.com/2012/03/04/blueberry-babes-and-peanut-butter-boys/
I can’t wait to make these. They look delicious. I knew there was a good reason that I bought peanut butter at the store today.
I love that you use mascarpone and peanut butter together, YUM!
This is fantastic idea! I can’t wait to try!
I love everything about this!
Are those tooth marks? Love! ;)
I have been having the worst peanut butter cravings lately… it comes when I get busy and occasionally stressed, but hey, what a craving to get… I guess I’ll just have to fix it!
I want to eat this for every meal…peanut butter pie counts for a meal, right?
wow, these look divine!
Do you have a link to the pan that you used? It’s awesome!
If these aren’t the most amazing little bites of goodness, then I don’t know what is.
Butter, PB, sugar, mini-size…perfect.
Mm, this looks yummy. Oh, and this weekend is all about good food. Happy Friday!
Oh man, I’ve been craving peanut butter pie!
Oooh those look sinful! And no, I haven’t watched any of the videos, mainly because I’m at work… I might take a peak later on :) Have a great weekend too!
Yum! Peanut Butter Pie reminds me of going to Mo’s on the Oregon coast.