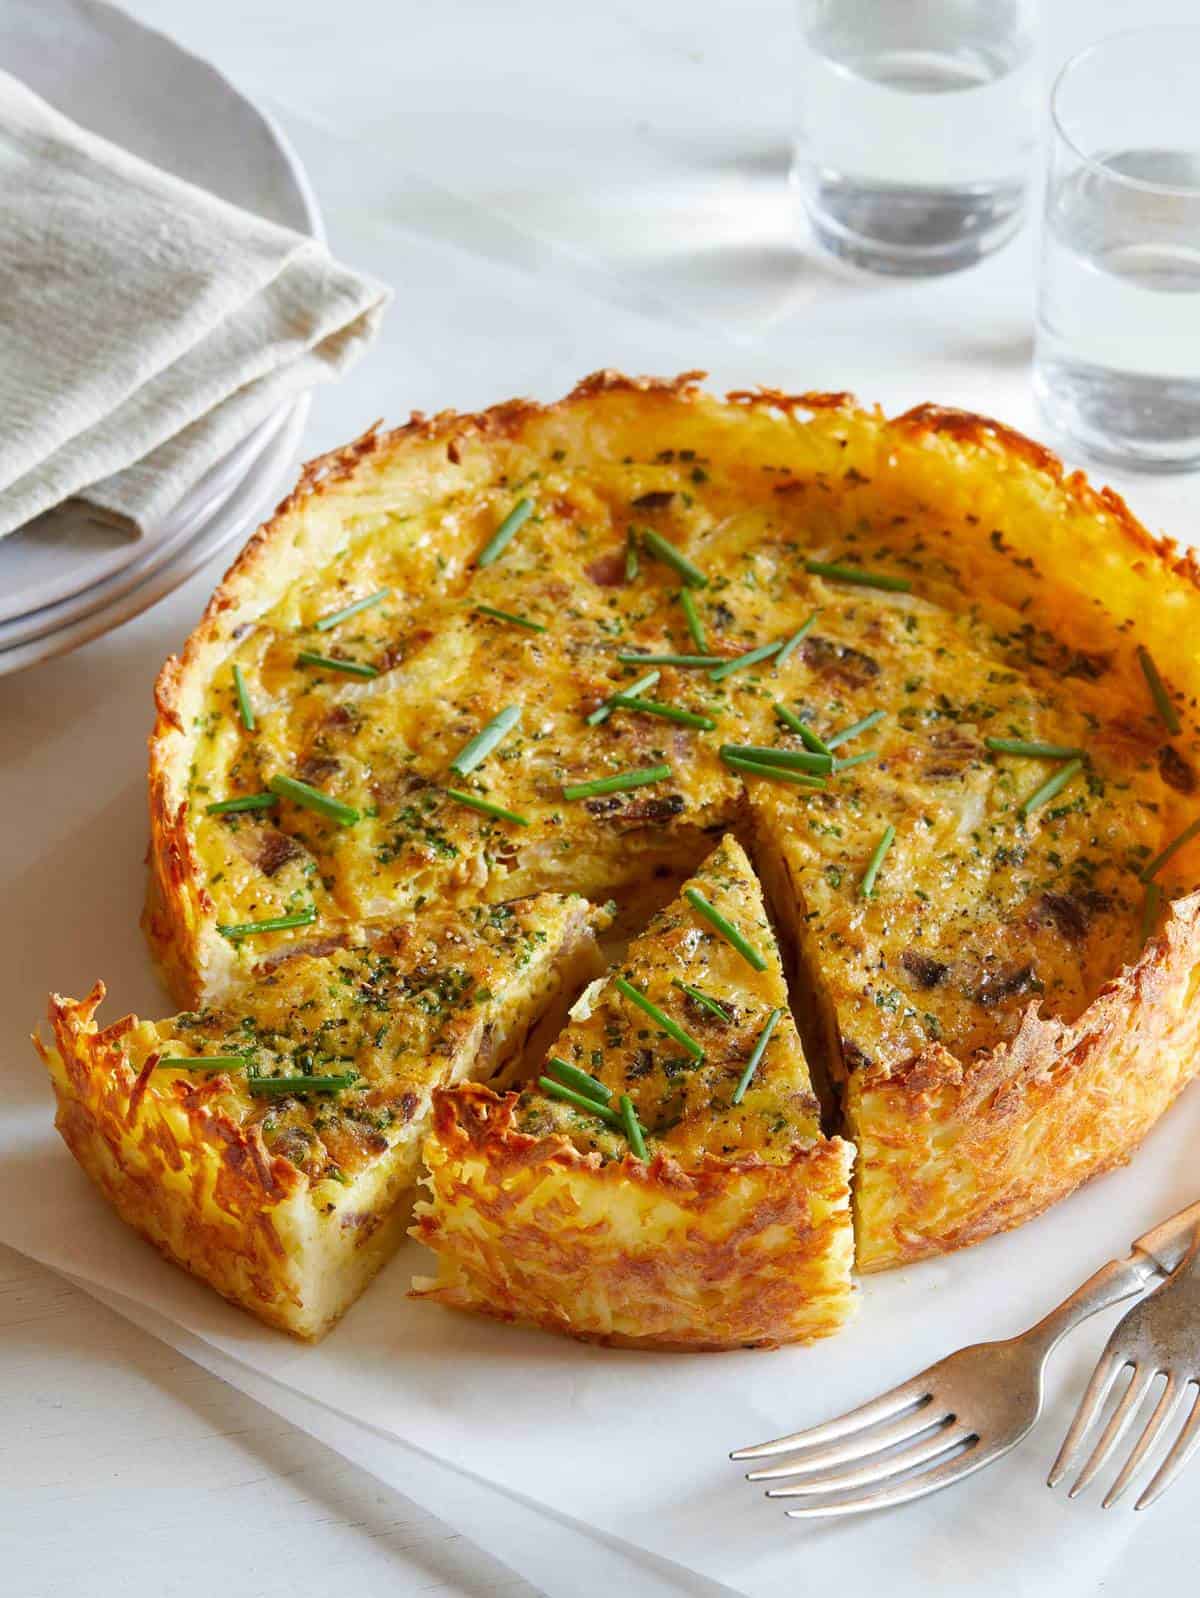
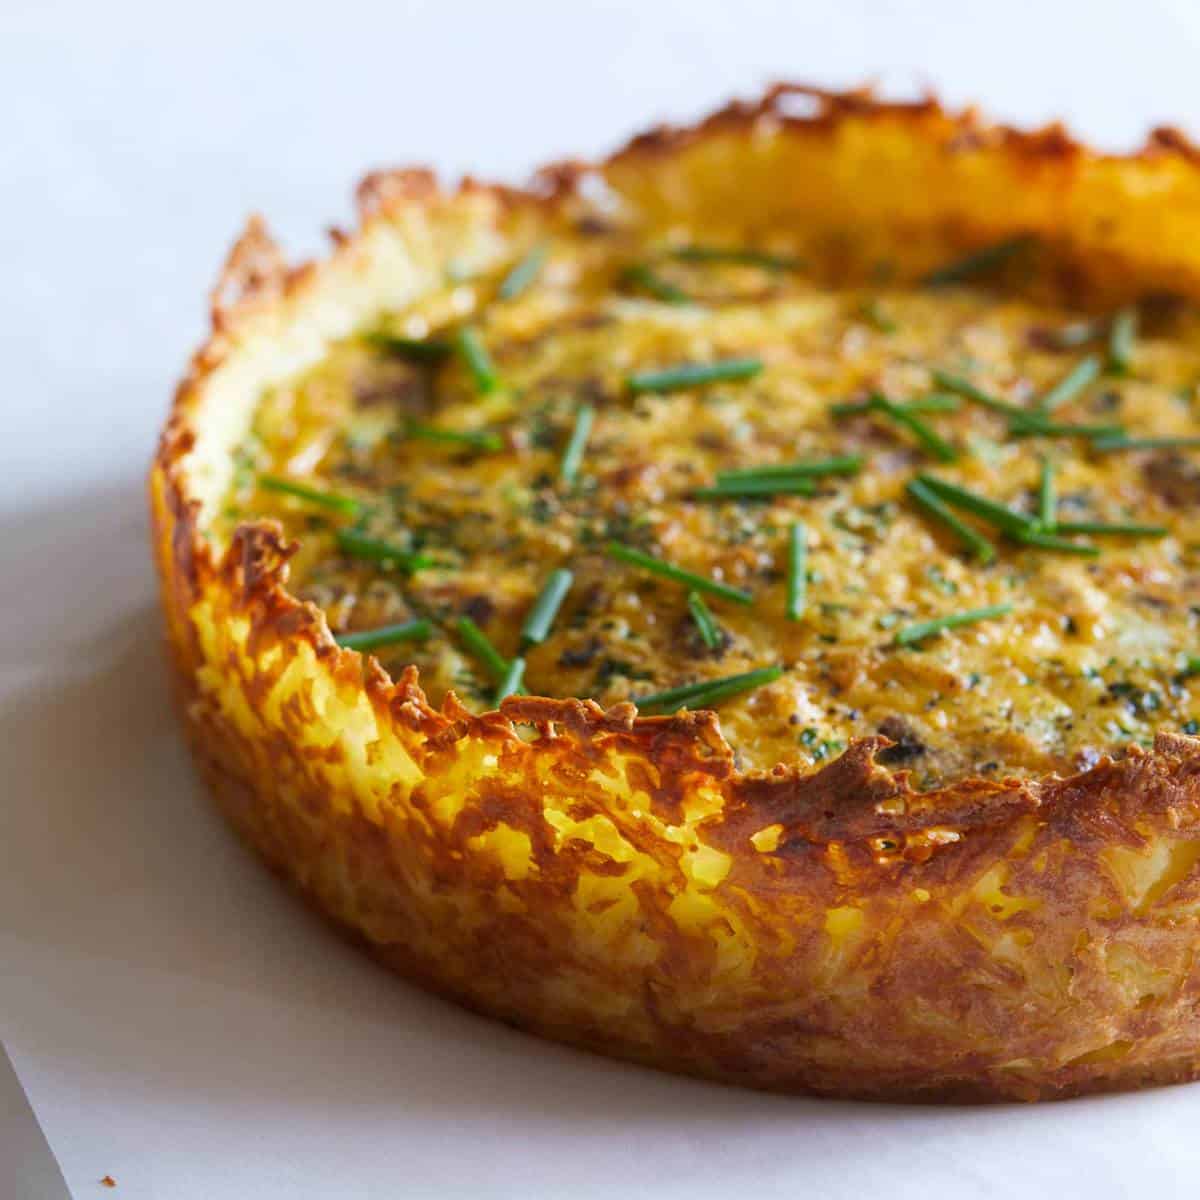
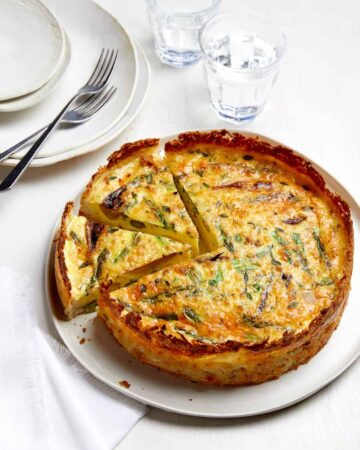
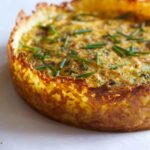
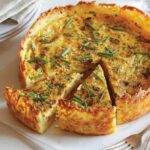
We love this recipe for our Hash Brown Crust Bacon and Cheddar Quiche! The hash brown is actually really easy to make and gets crispy around the edge, just the way great hash browns should be. It’s a really great texture to add to the light and fluffy quiche.
This quiche recipe has all your favorite breakfast items in one dish, and makes it a super good option when you’re having people over.
How to Make Our Quiche Recipe
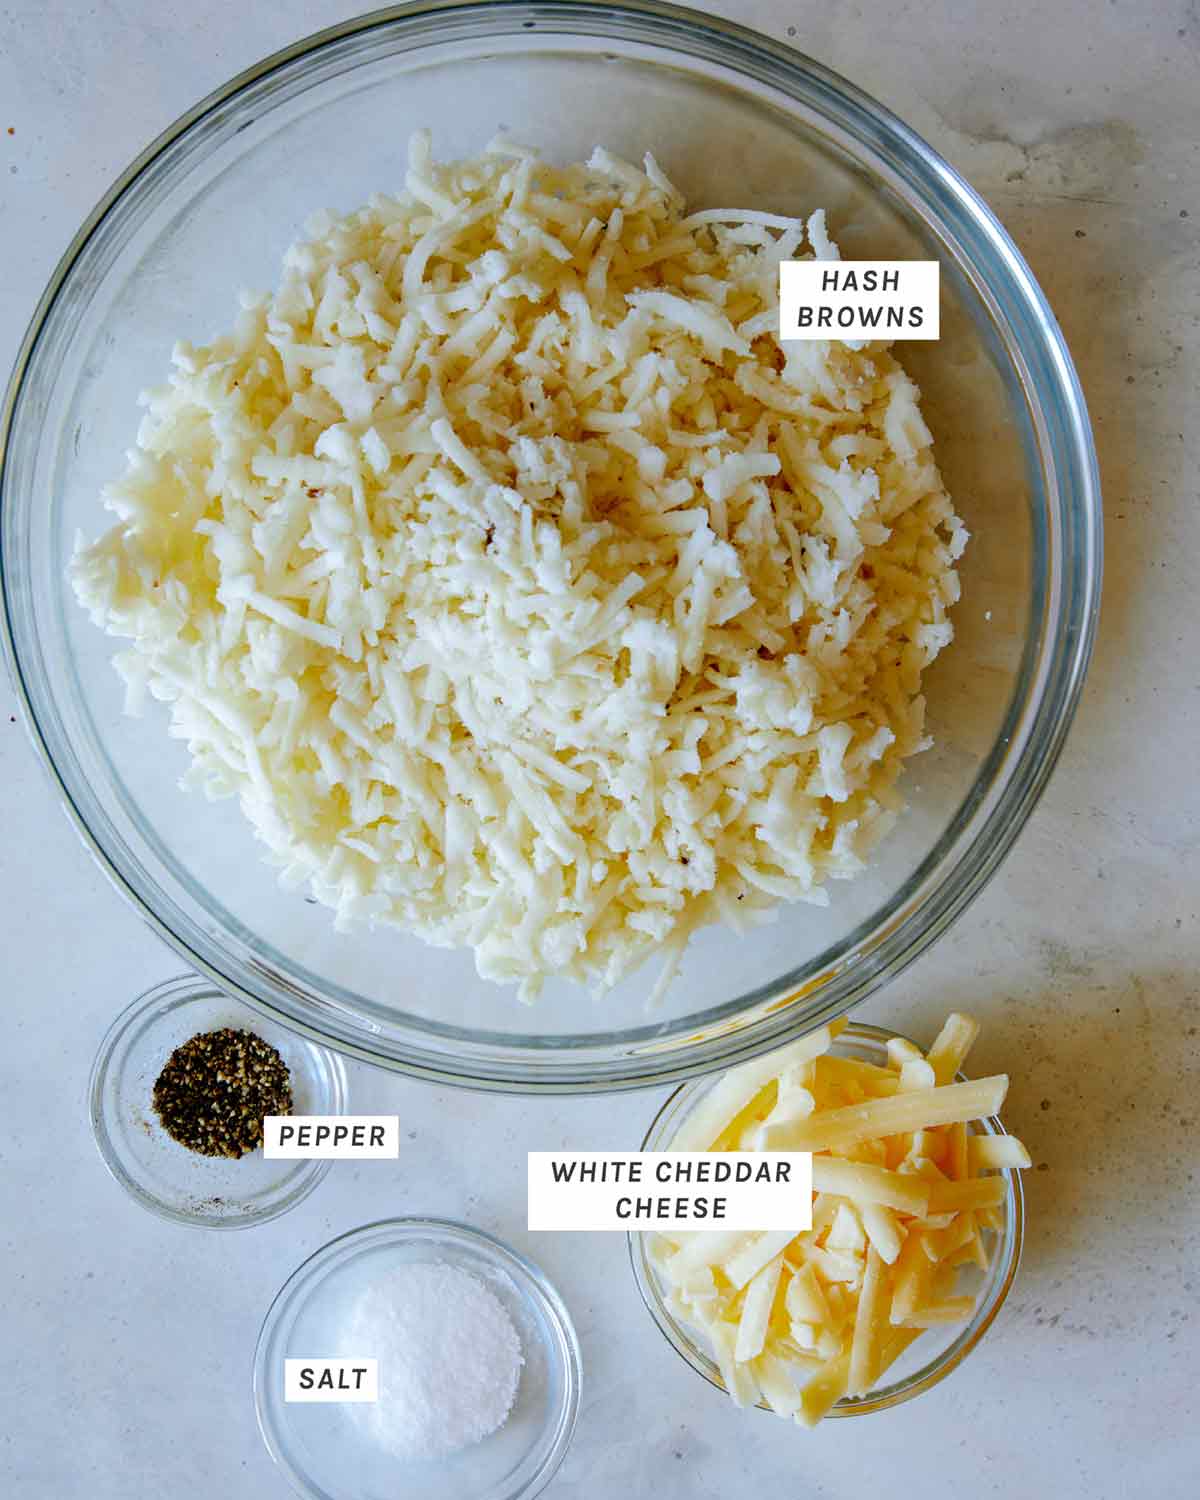
Hash Brown Crust Ingredients
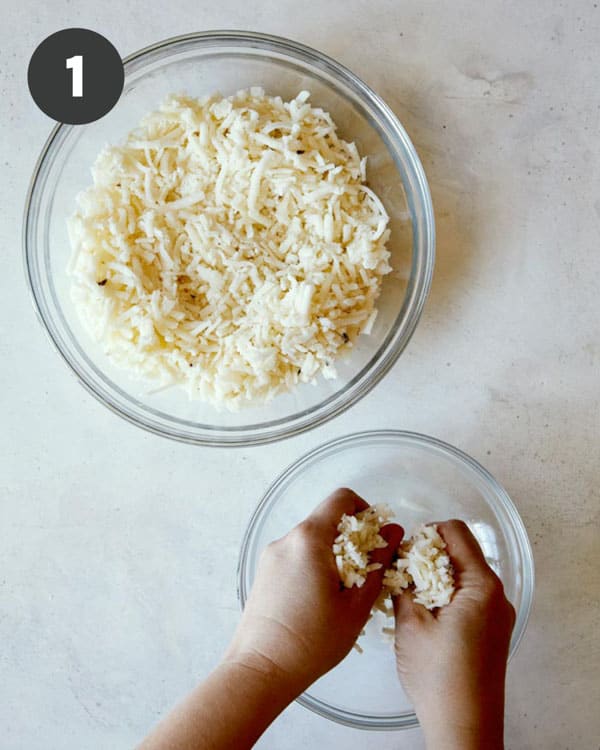
Crust Process
- Squeeze as much liquid from the thawed hash browns as possible and place into a large mixing bowl. This is important to make sure the crust will crisp up.
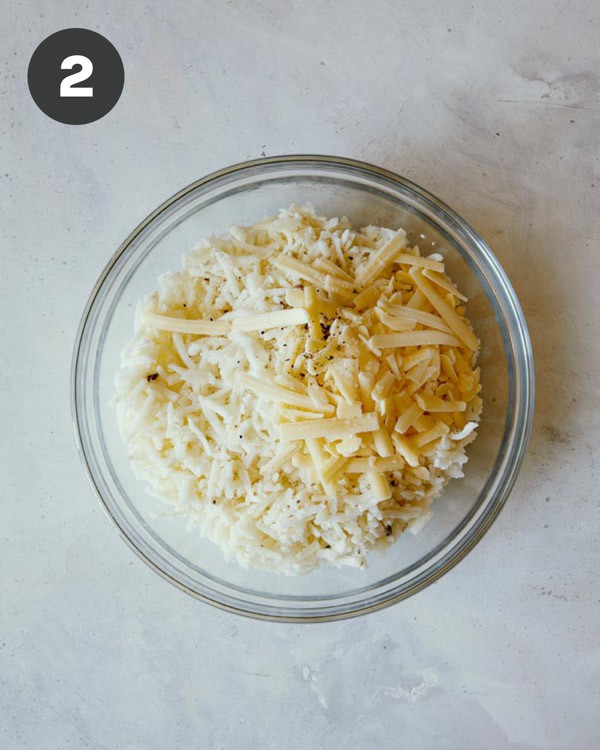
- Add cheddar, salt and pepper and stir together.
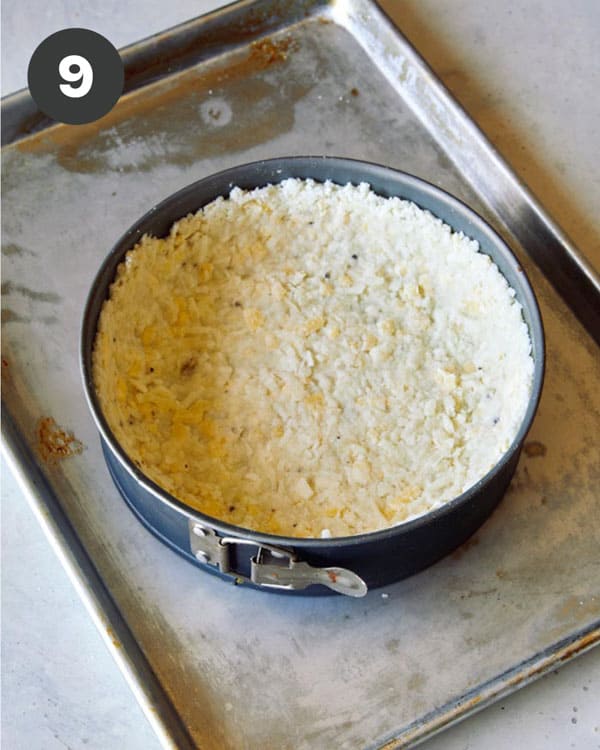
- Lightly grease a 9” spring form pan with cooking spray and add shredded potatoes.
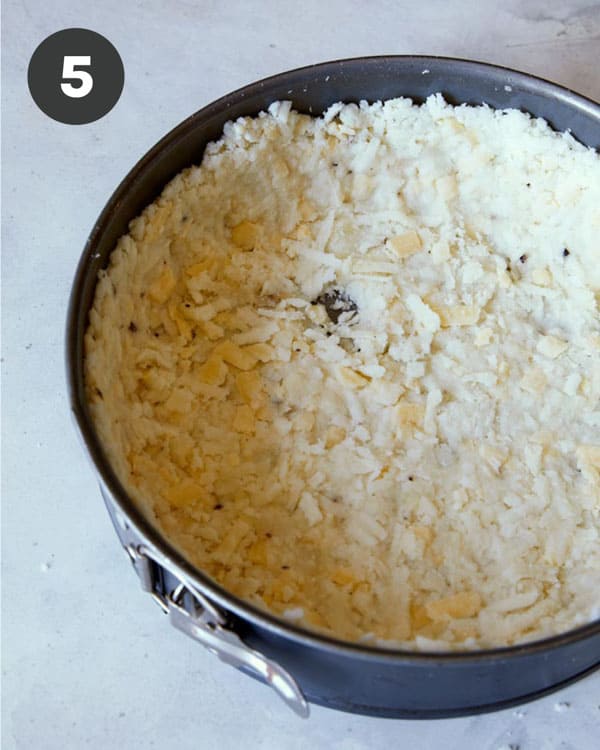
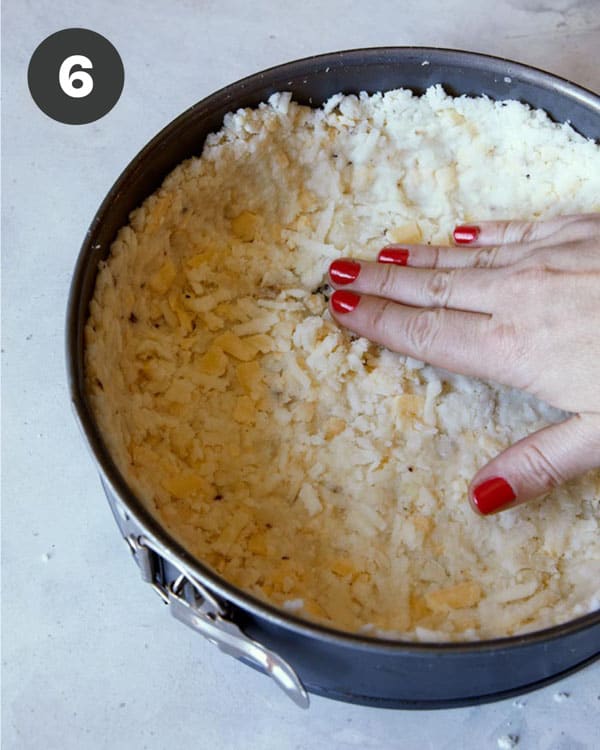
- Evenly press the hash browns mixture into the bottom and sides of the pan.

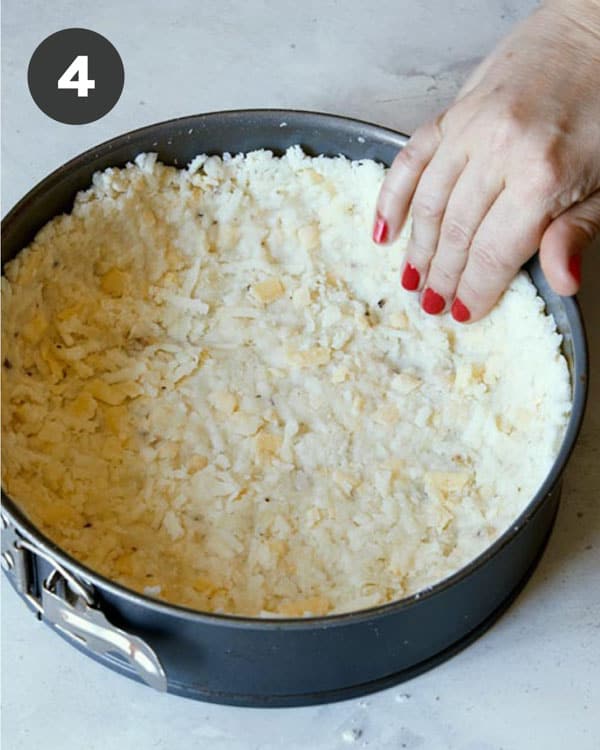
- Make sure you don’t have any holes within the crust. This is very important to prevent any leakage from happening when you pour the filling into the crust.
- If you do, just covering it with more filling mixture. Place the pan in the freezer and freeze for at least 1 hour.
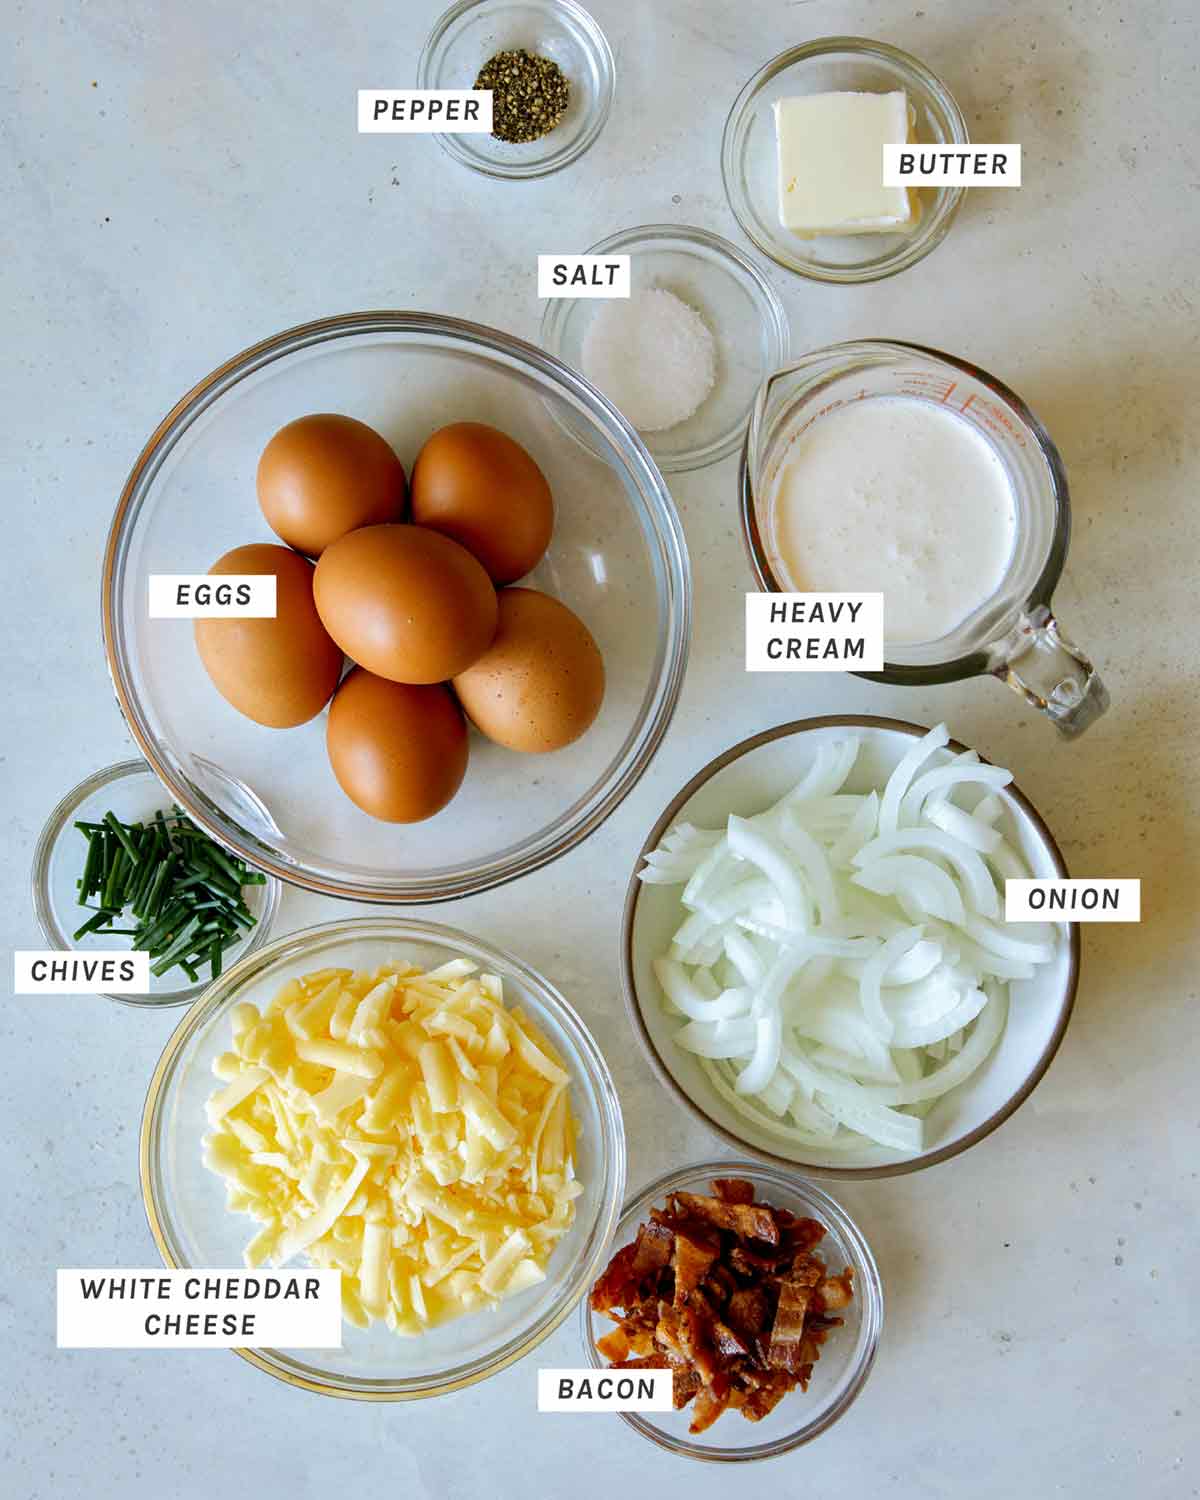
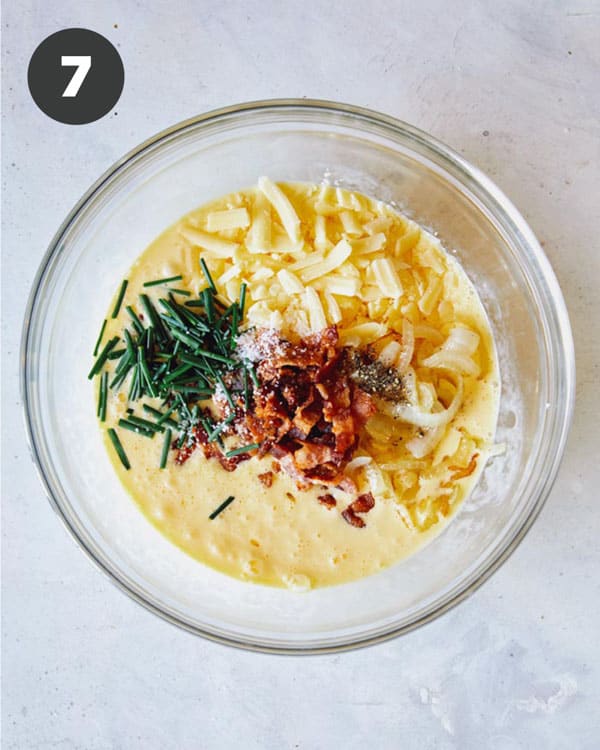
Quiche Filling Ingredients
Filling Process
- Combine filling mixture into a mixing bowl.
- Whisk together.

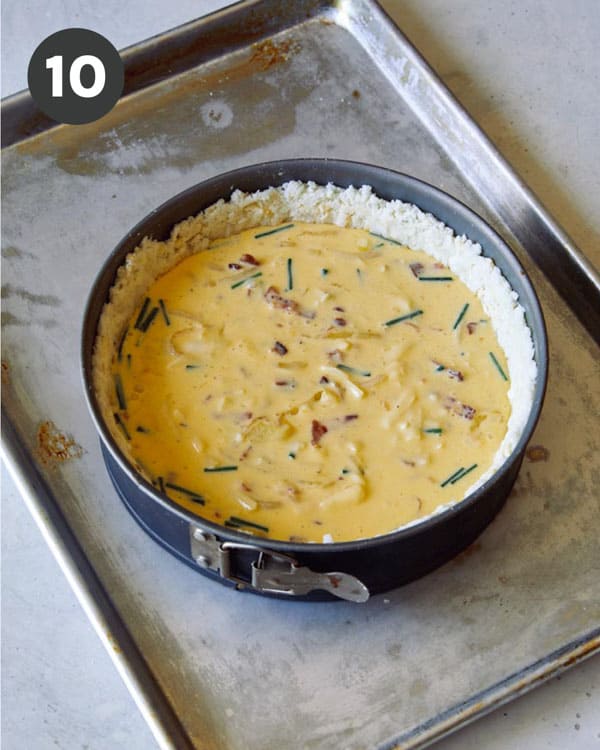
- Transfer frozen crust onto a baking sheet.
- Carefully pour filling into crust and bake!
Make Ahead and Freezing Instructions
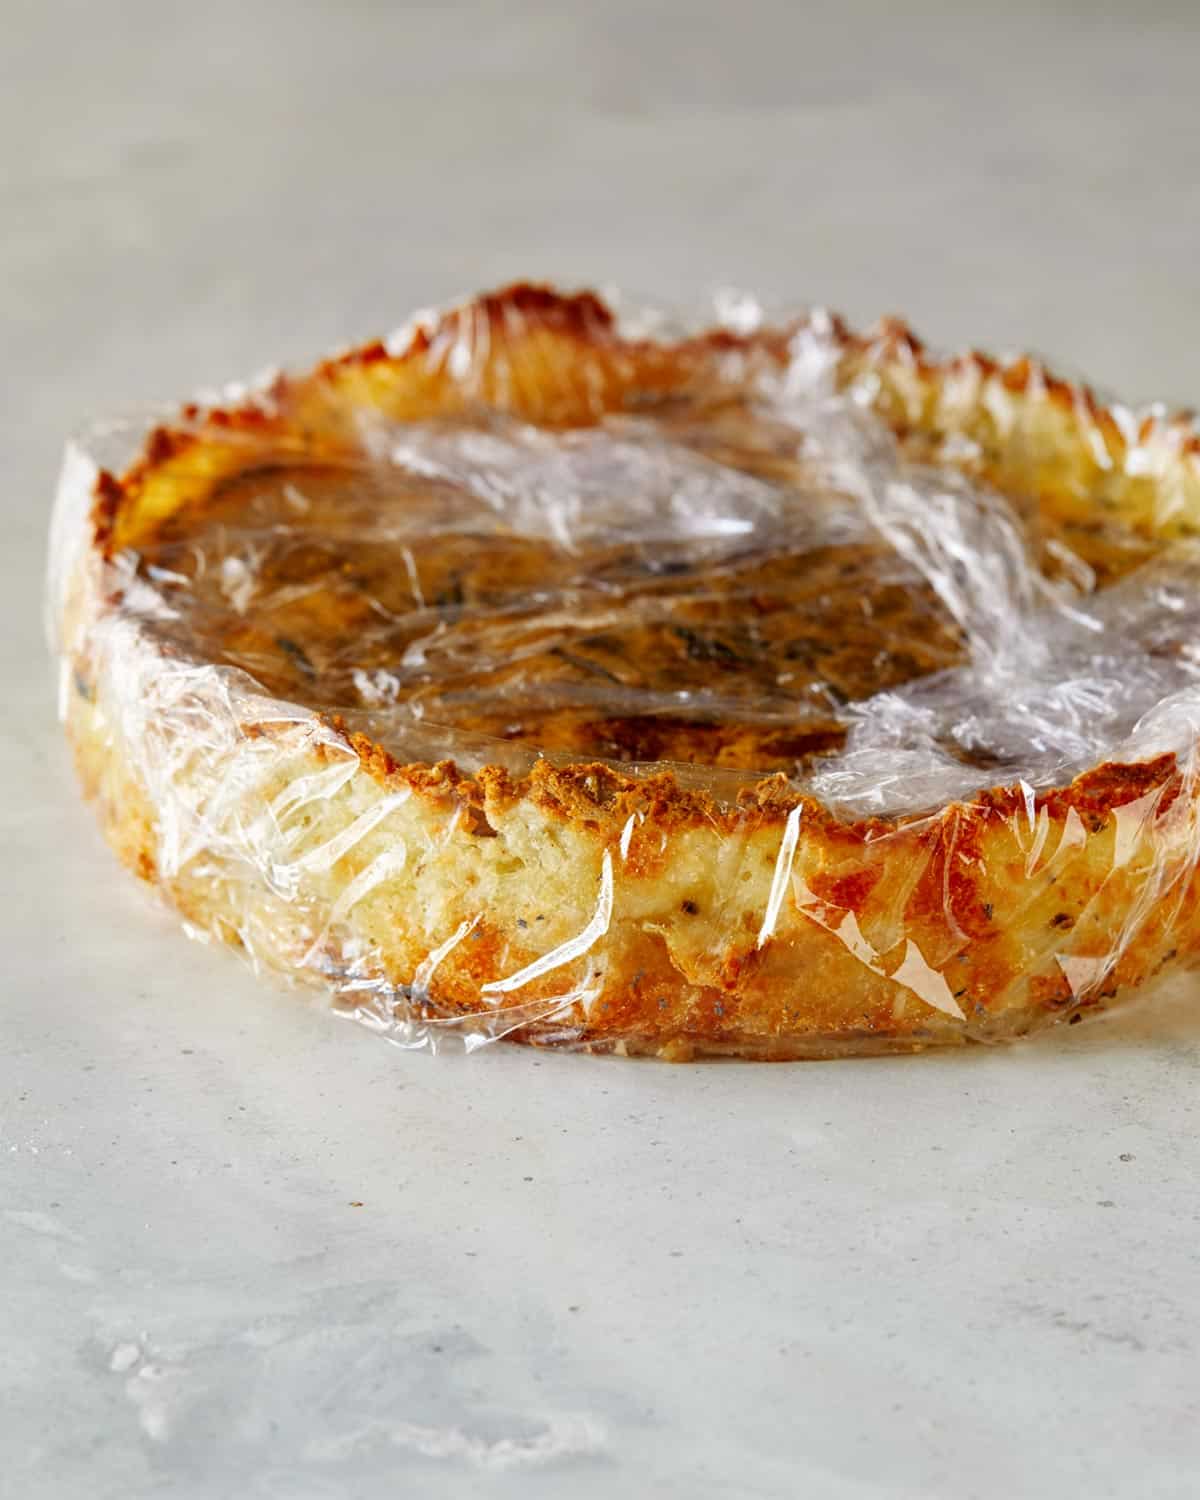
Make Ahead and Freezing Whole Quiche
To freeze quiche, bake as instructed then cool completely. Place in freezer uncovered until fully frozen. Tightly wrap with foil or plastic wrap. Freeze for up to 3 months for optimal freshness.
When ready to serve preheat oven to 425˚F. Place quiche onto a lightly greased baking sheet. Bake for 30 to 35 minutes or until warmed through and crust is crisp. Remove from oven, slice and serve.
Freezing Individual Wedges
Bake and cool the quiche completely. Cut into wedges and follow the same process from above, except once the wedges are frozen wrap each piece individually in foil or plastic wrap before storing in the freezer.
Tips and Tricks for Success
- The most important thing about this recipe is to make sure you’ve filled in every single little gap throughout the hash brown crust. This is to make sure there’s no leakage that occurs when the filling is poured into the par-baked crust.
- I like to use the bottom and sides of a glass or measuring cup to press the crust down into the bottom and sides of the pan, which will help to give you an even crust.
Variations
- The cheddar can be swapped out for almost any cheese of your choice, like crumbled goat cheese, shredded fontina, crumbled feta, or shredded Swiss.
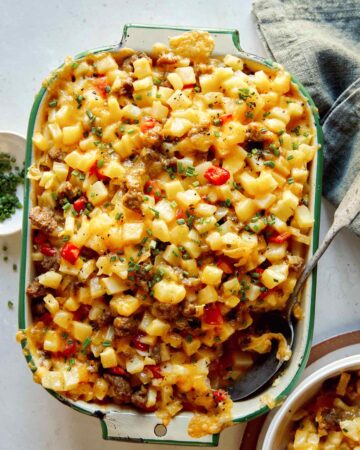
- This recipe can be made vegetarian friendly by swapping the bacon out for sauteed spinach (just make sure to squeeze as much liquid from the spinach before adding it to the filling mixture).
- You can also add diced and par-cooked potatoes or sweet potatoes to double down on the spuds and bulk this quiche up even more.
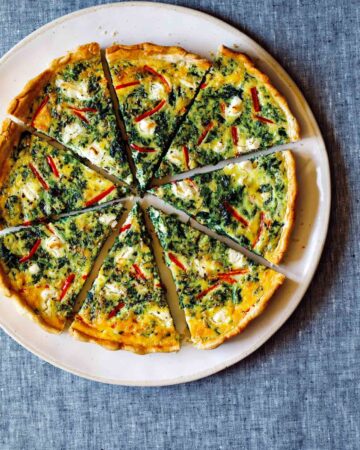
We also have this version with asparagus instead of bacon for a little variety. We used this spring form pan. Although it costs a little more than the average spring form pan, it’s a great quality and allows the quiche to release from it easily every time!
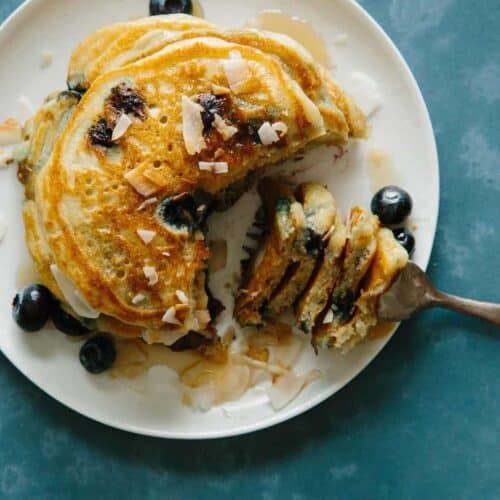
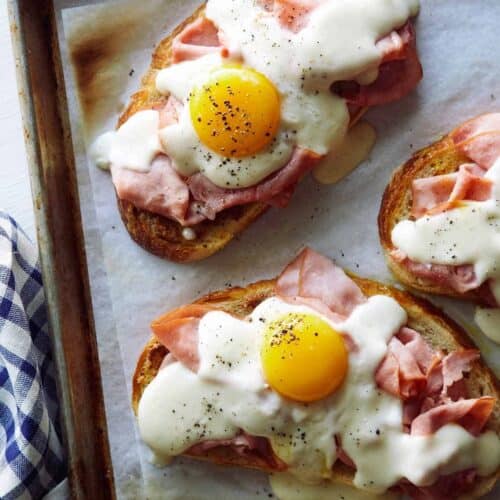
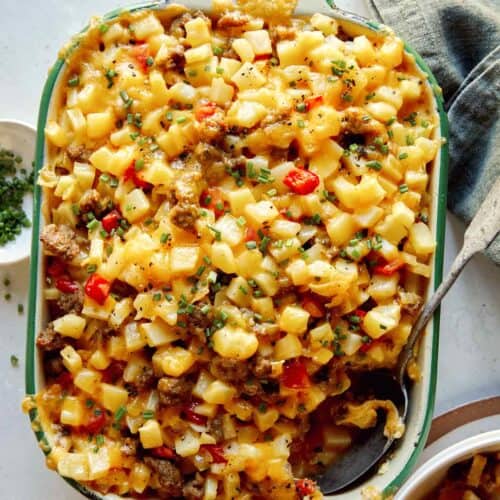
More Delicious Breakfast Recipes You Will Love


Hash Brown Crust Bacon and Cheddar Quiche
EQUIPMENT
- 9" spring form pan
INGREDIENTS
hash brown crust
- 20 ounces frozen hash browns thawed
- ½ cup white cheddar shredded
- ½ teaspoon salt
- ¼ teaspoon cracked black pepper
filling
- 2 tbs unsalted butter
- ½ onion thinly sliced
- 6 large eggs lightly beaten
- ½ cup heavy cream or whole milk
- 4 rashers bacon crispy cooked and crumbled (a rasher is a slice of bacon)
- 1 cup white cheddar cheese shredded
- 1 tbs chives thinly sliced, plus more for garnish
- salt and pepper to taste
INSTRUCTIONS
- Squeeze as much liquid from the thawed hash browns as possible and place into a large mixing bowl. Add cheddar, salt and pepper and stir together.
- Lightly grease a 9” spring form pan with cooking spray and evenly press the hash browns mixture into the bottom and sides of the pan, making sure you don't have any holes within the crust (this is important to prevent any leakage)
- Place the pan in the freezer and freeze for at least 1 hour.
- Preheat oven to 425˚F.
- Place frozen crust into the oven and par-bake for 15 minutes. Remove from oven and slightly cool.
- In a skillet melt butter over medium heat. Add onions and lightly caramelize for 10 to 15 minutes. Season with salt and pepper. Set aside.
- In a large mixing bowl, combine eggs and cream. Whisk together until light and fluffy. Add remaining ingredients, including caramelized onions and stir together until mixed up. Season with salt and pepper.
- Pour filling mixture into the par-baked crust and place into the oven.
- Lower oven temperature to 375˚F and bake the quiche for 25 to 30 minutes or until the eggs have just set.
- Remove quiche from oven and run a paring knife around the perimeter of the springform pan. Loosen springform pan from sides of quiche and place quiche back into the oven for an additional 10 to 15 minutes. (this will help the crust get crisp on the sides)
- Remove quiche from oven and cool for 10 minutes.
- Slice quiches into wedges, top with sliced chives and serve.
NOTES
- We recommend freezing for up to 3 months for optimal freshness.
- The most important thing about this recipe is to make sure you’ve filled in every single little gap throughout the hash brown crust. This is to make sure there’s no leakage that occurs when the filling is poured into the par-baked crust.
- I like to use the bottom and sides of a glass or measuring cup to press the crust down into the bottom and sides of the pan, which will help to give you an even crust.

Did you make this recipe? We want to see!
tag @SpoonForkBacon and #SpoonForkBacon on Instagram
I’ve made this same quiche, & it ALWAYS comes out perfect! I changed the recipe a bit; 1\2cup each grated mexican blend & swiss cheeses. I used a diced ham steak & added spinach. Deelish!
I believe your nutritional info says that there are two carbs in this recipe. I can’t believe that to be true since you’re using a bag of frozen hashbrowns. Just wanted to give you a heads up as you may want to double check on that nutritional info.
Oh thanks for letting us know! That is definitely a mistake. We will have the correct info updated tonight!
Great! By the way, someone asked below about using a cake pan instead to make this. Could you use a glass cake pan? And if so, would you still do the crust ahead of time, freeze it in the glass cake pan, and then proceed with your other directions for baking?
I really did made it as per this recipe. Although there were no visible holes in hashbrown crust the liquid still ran out from the side. I transfered everything into a glass pie dish and it came out fine. I added spinach to mine as well
Have you ever made it just one day ahead and refrigerated instead of freezing? I don’t need to make it a month ahead, just one day. Do you know how long to reheat from refrigerated? Thanks!
Hi Sarah! You should be able to reheat in the oven for about 15 minutes, which should warm the quiche through the center.
I made this for Christmas morning and it was devoured. Another banger from Spoon Fork Bacon.
After you freeze it to serve at a later date, do you cook from frozen?
Yes!
I cannot stop making this recipe. I have made so many variations of the filling (feta, spinach and sundried tomatoes is my fave) and the quiche has turned out beautifully every time. I will be trying the ‘make ahead’ option for the holidays. Thanks for a new favorite!
Looks nice. I got cranky waiting for 5 Walmart ads to finish before the video. Instead of using defrosted store-bought hash browns can I use shredded russets and go from there?
Any other pan besides a Spring Form?
You can use a round cake pan!
I don’t understand step 5. Place frozen crust until the oven ?
Hi Robert! That’s a typo – it should read ” Place frozen crust into the oven! The instructions have now been updated!
Could you make the crust the day before? I was thinking to prepare the day ahead then cool while preparing the filling.
Yes! You should freeze the crust if making ahead of time (and add a few minutes to the bake time)