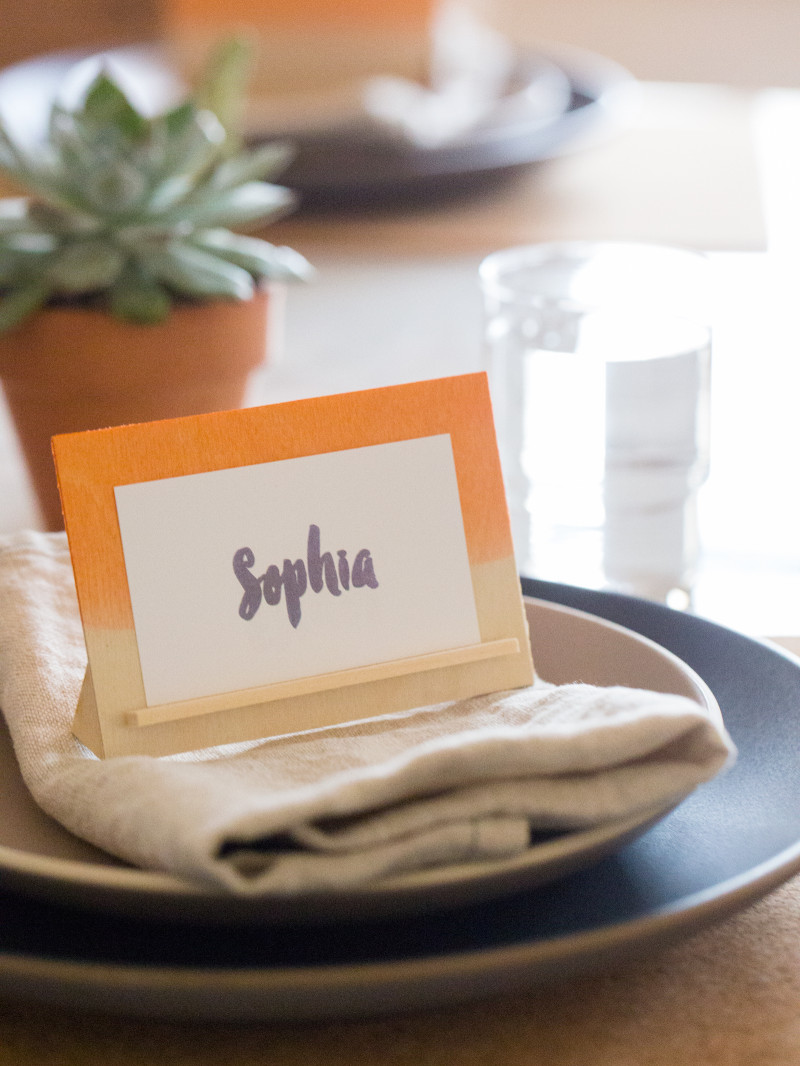
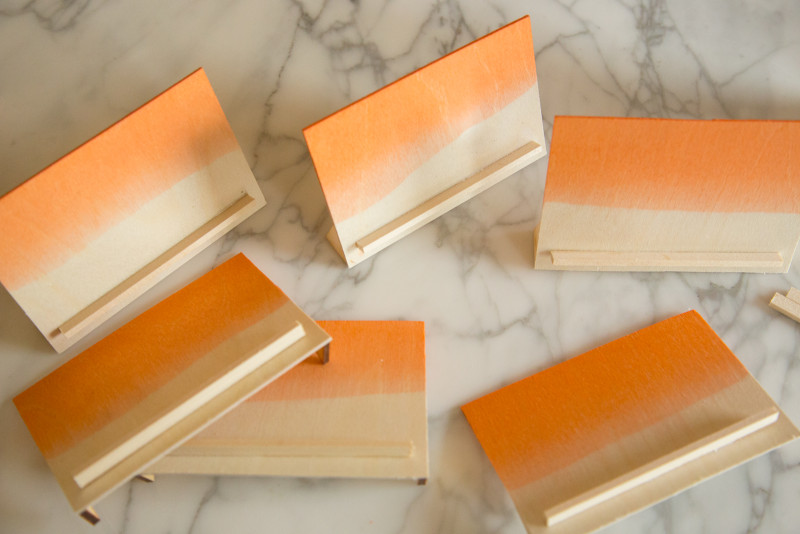
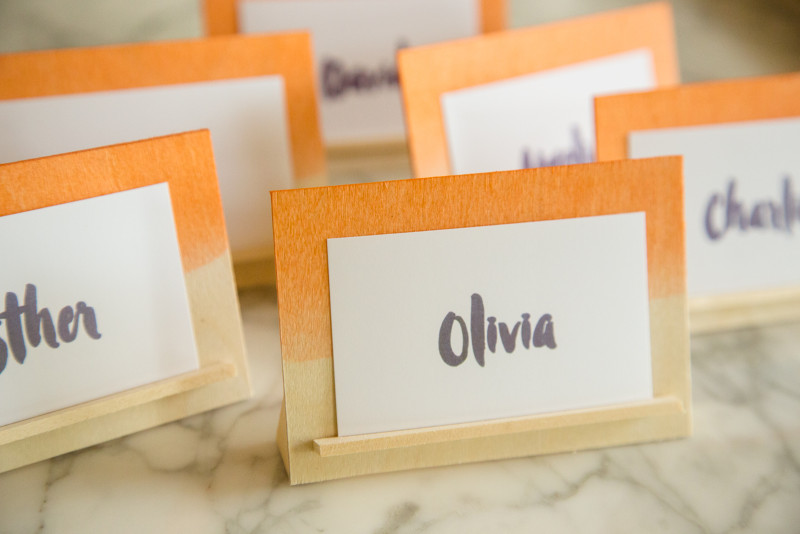
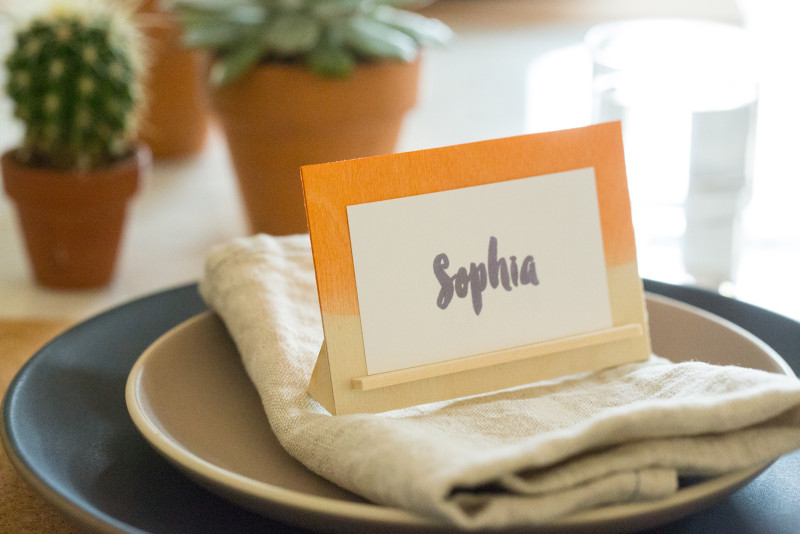
 This year for our annual-ish place card design I wanted to make one that could be reused. So I basically made a simplified easel situation with a layer of color to make things extra pretty. This DIY is surprisingly easy, and the components are pretty easy to find as well. This place card holder is designed to hold a business card sized piece of paper. I have terrible hand writing so I used these printable Avery business cards and typed peoples names out with this fond and printed them. Surely some of you don’t have handwriting that looks like you are in 1st grade so I skipping that step will be a little time saved.
[print]
DIY Dip Dye Wood Place Card Holders
Here is what you need:
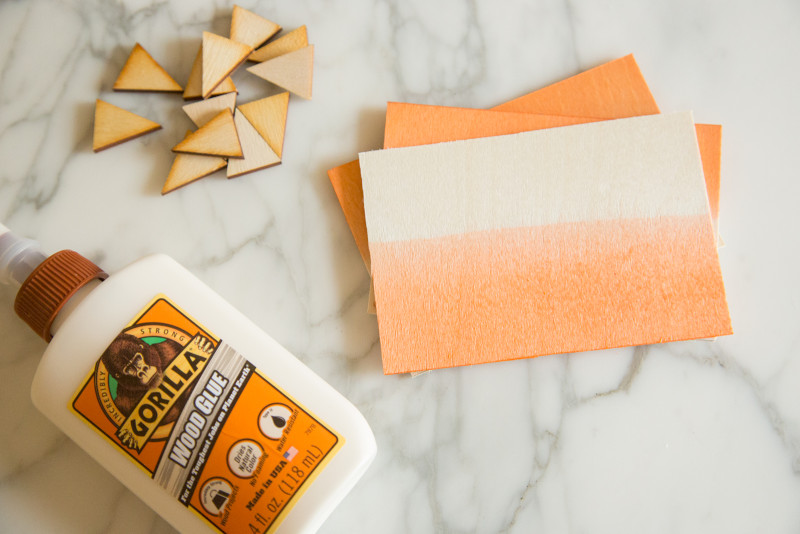
– One sheet of balsa wood (I found mine at Blick, you can get it on Amazon here)
– Pencil
– Ruler
– Cutting Board
– Exacto Knife to cut that wood
– Thin strip (in my case 1/4″ x 1/8″ ) of balsa wood
– Rit Dye, I used the color Tangerine
– A glass bowl for the dye
– Plastic spoon
– Optional clothes pin or rubber gloves so you don’t get dye on your hands
– Drying rack
– Paper towels for under that drying rack
– Wood glue
– Business card sized paper (I printed mine using printable Avery business cards)
– Optional these triangle pieces of wood
Directions:
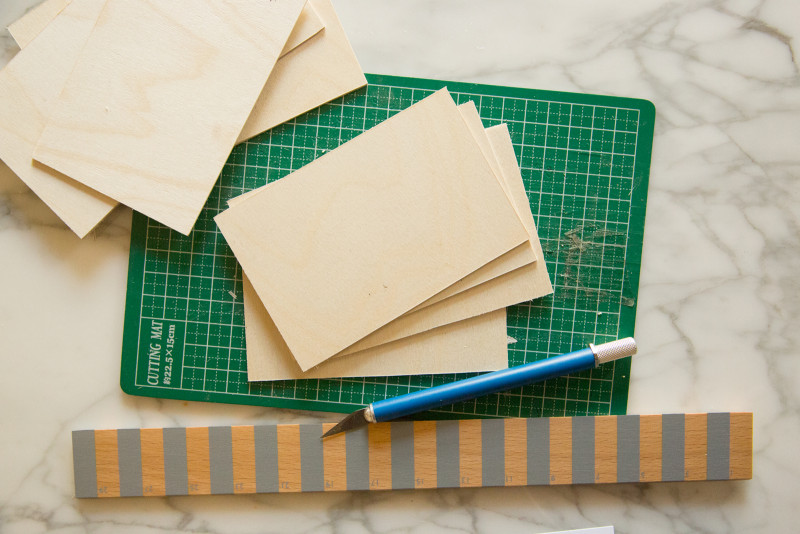
1. On the sheet of balsa wood draw rectangles 3″ x 4.5″ using your ruler and pencil. Cut out the pieces of balsa wood and set aside.
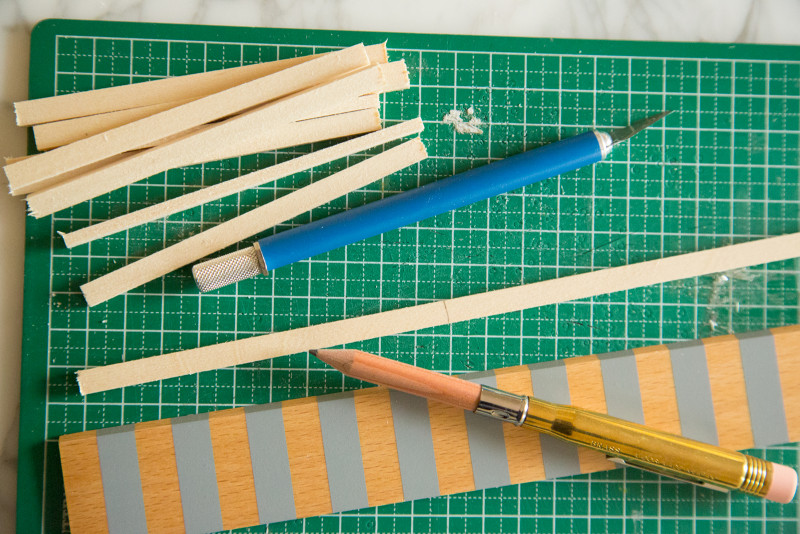
2. Now cut the strips in 4″ length.
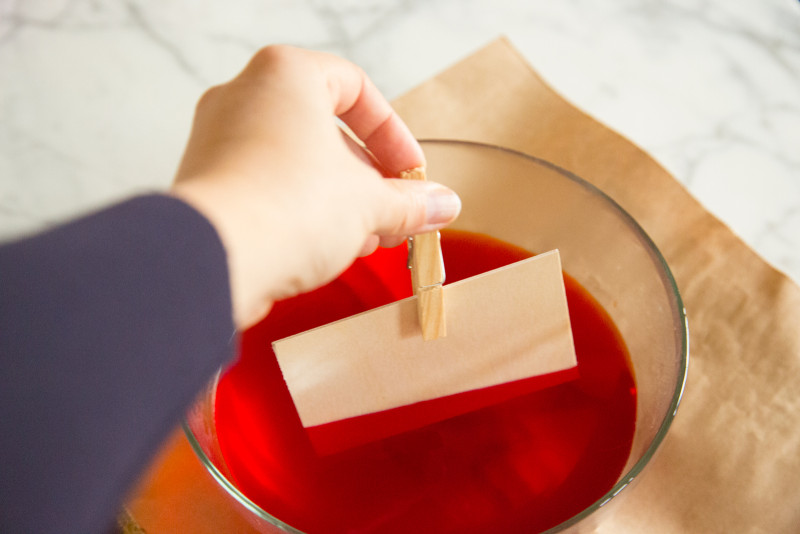
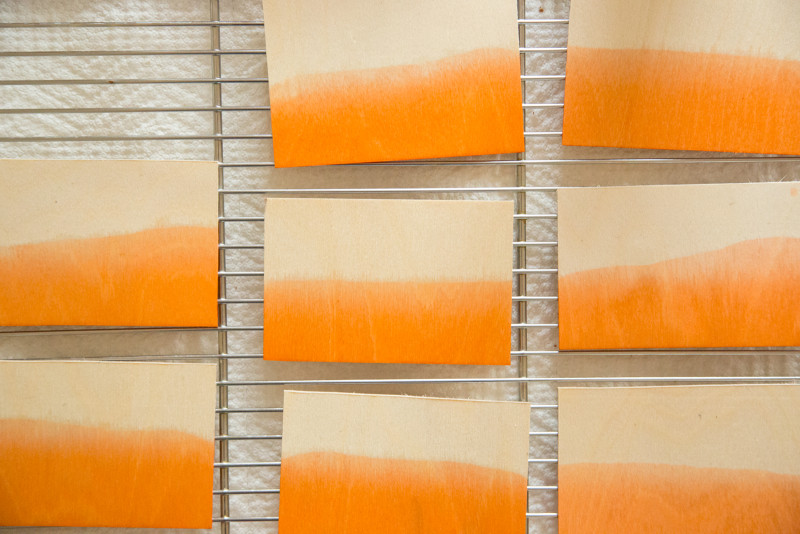
3. Next mix the Rit Dye in a glass bowl with warm water. I eyeballed it and used about a tablespoon of dye for about 5 cups of water. Mix well with a plastic spoon. Prepare your workspace by protecting whatever surface you will doing the dye on. Place paper towels under the drying rack.
4. Using the clothes pin (or rubber gloves, or nothing at all cause you’re crazy) dip the balsa wood card into the dye and hold it there for about 30 seconds to a minute, then place it onto your drying rack. Repeat until you have done all the cards. Clean up your dye mess!
5. While you are waiting for your cards to dye, grab your triangles and get the glue ready. If you opted to purchase the wood triangles, great job, if you didn’t then let’s cut them out. Draw a large rectangle on your sheet of balsa wood that is about 1″ x 5″ (longer or shorter depending on how many you’re making). Then draw lines from one corner up about 3/4″ to make little triangles inside the large rectangle. Use your exacto and ruler to cut these little triangles out.
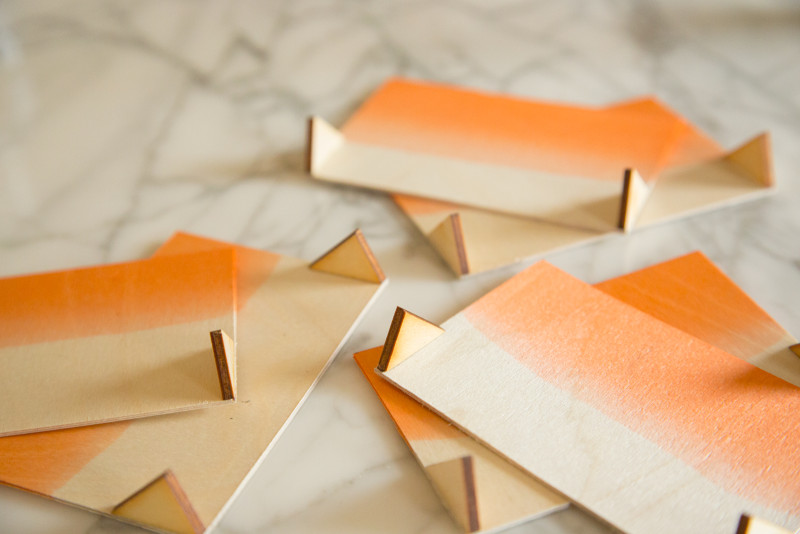
6. Glue the triangles onto the back and corners of the cards. Let dry for a couple of minutes and then adhere the strip of balsa wood that will be the business card “shelf.” I eyeballed these on all the placecards, but the strip of wood is centered, and sits about 1/4″ up from the bottom.
7. Like I said above, I printed my names with these printable business cards using this font. You can totally hand write them though! That is it! Easy huh!??!
[/print]


Leave a Reply