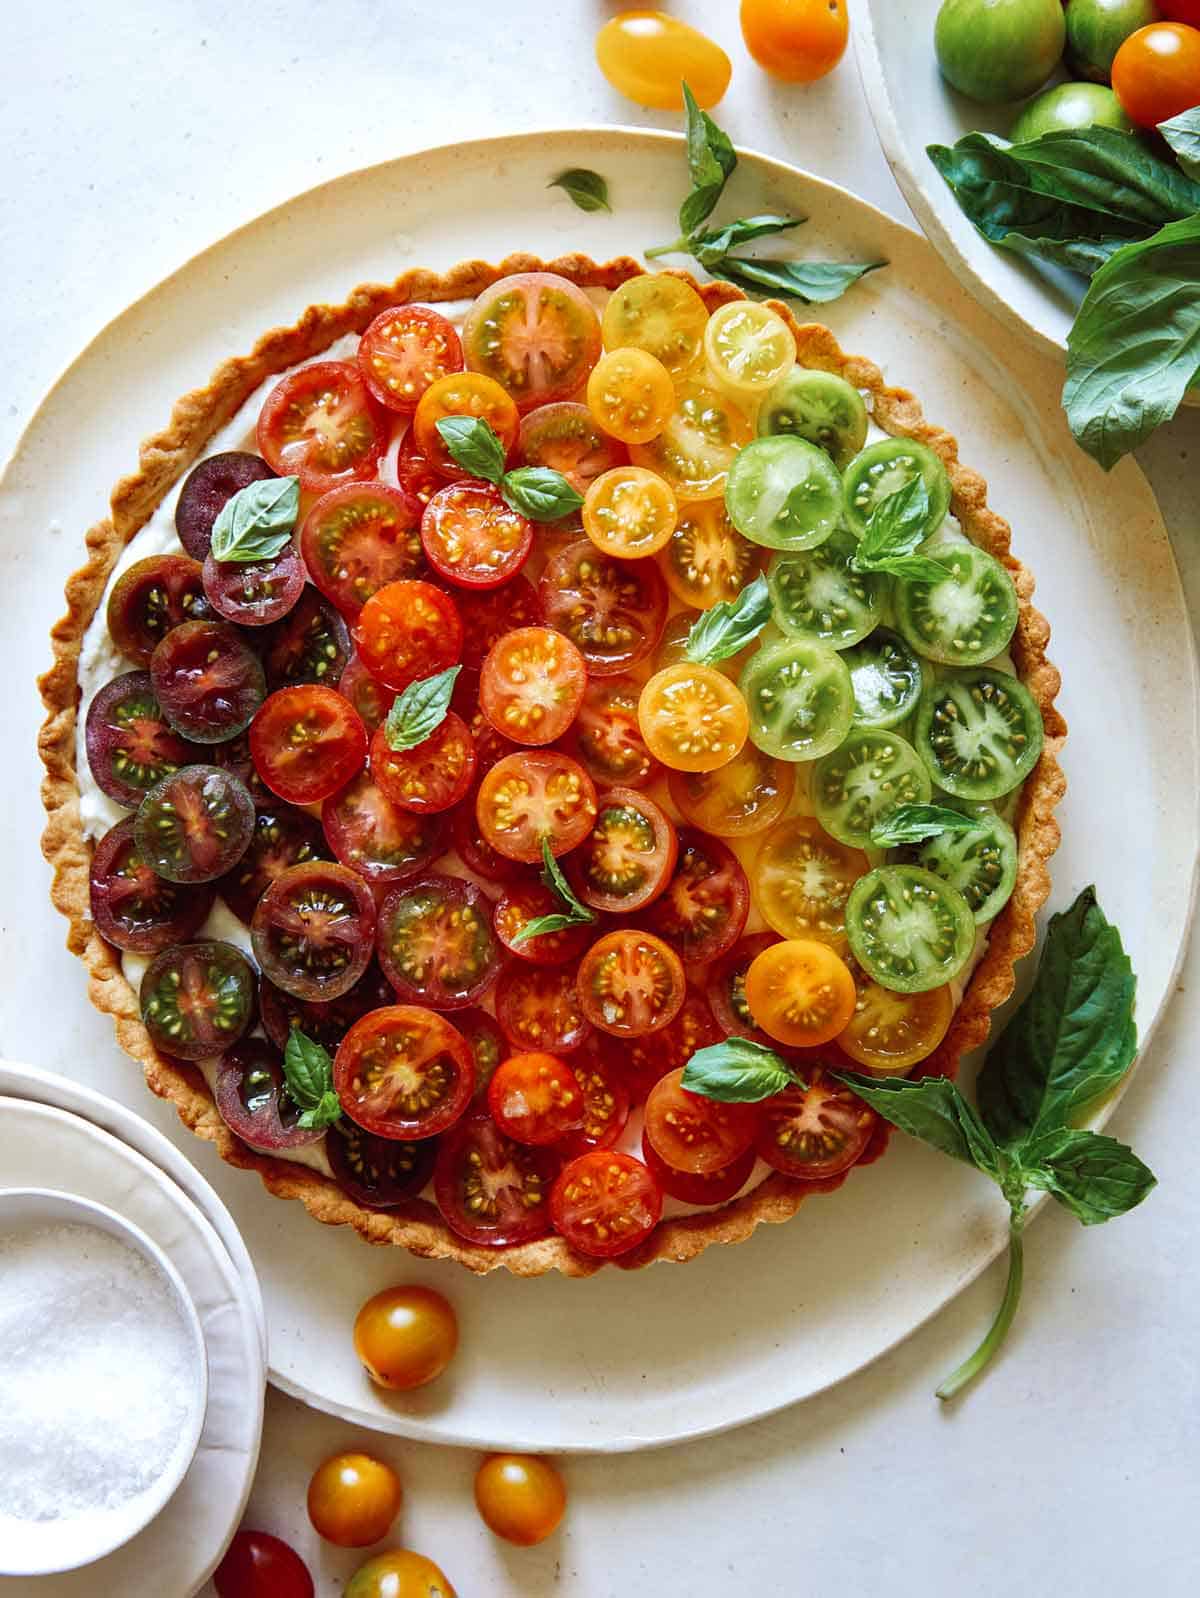
Every summer we go extra hard with the fresh tomato recipes, one of our favorites being this Heirloom Tomato Tart. Nothing quite screams summertime like sweet, juicy, ripe tomatoes!
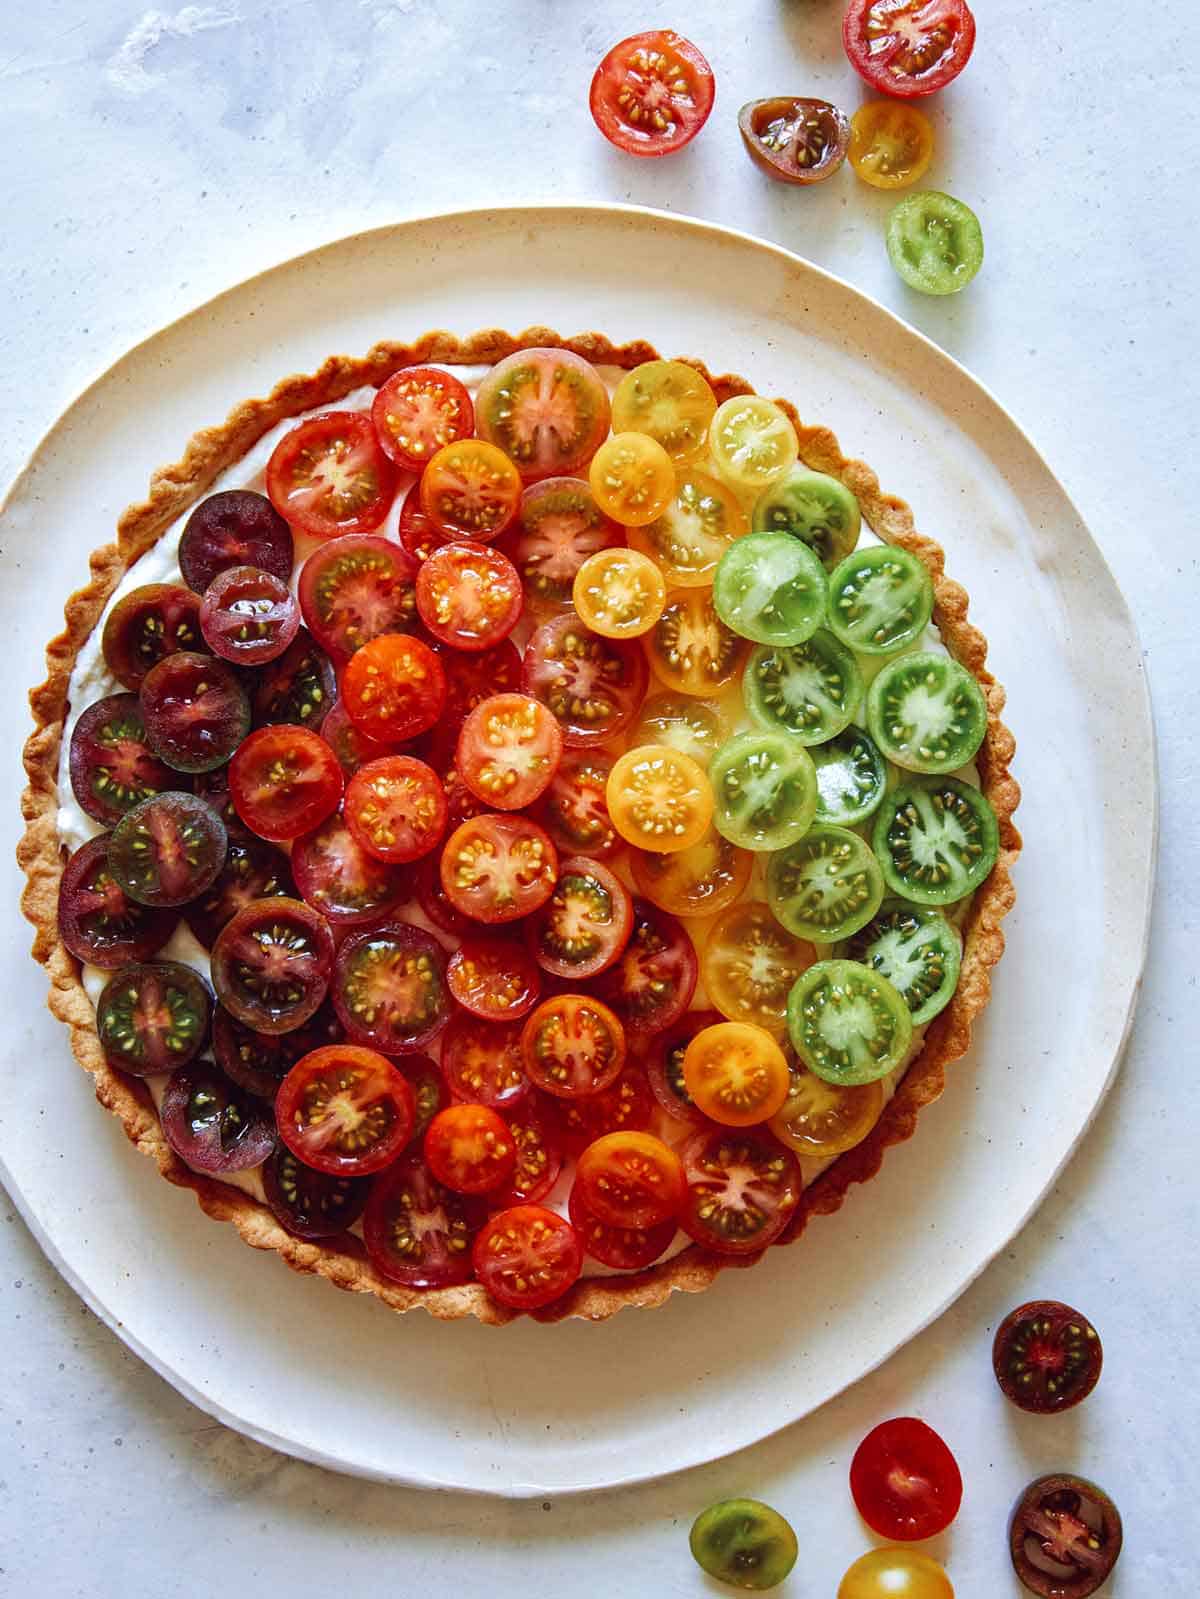
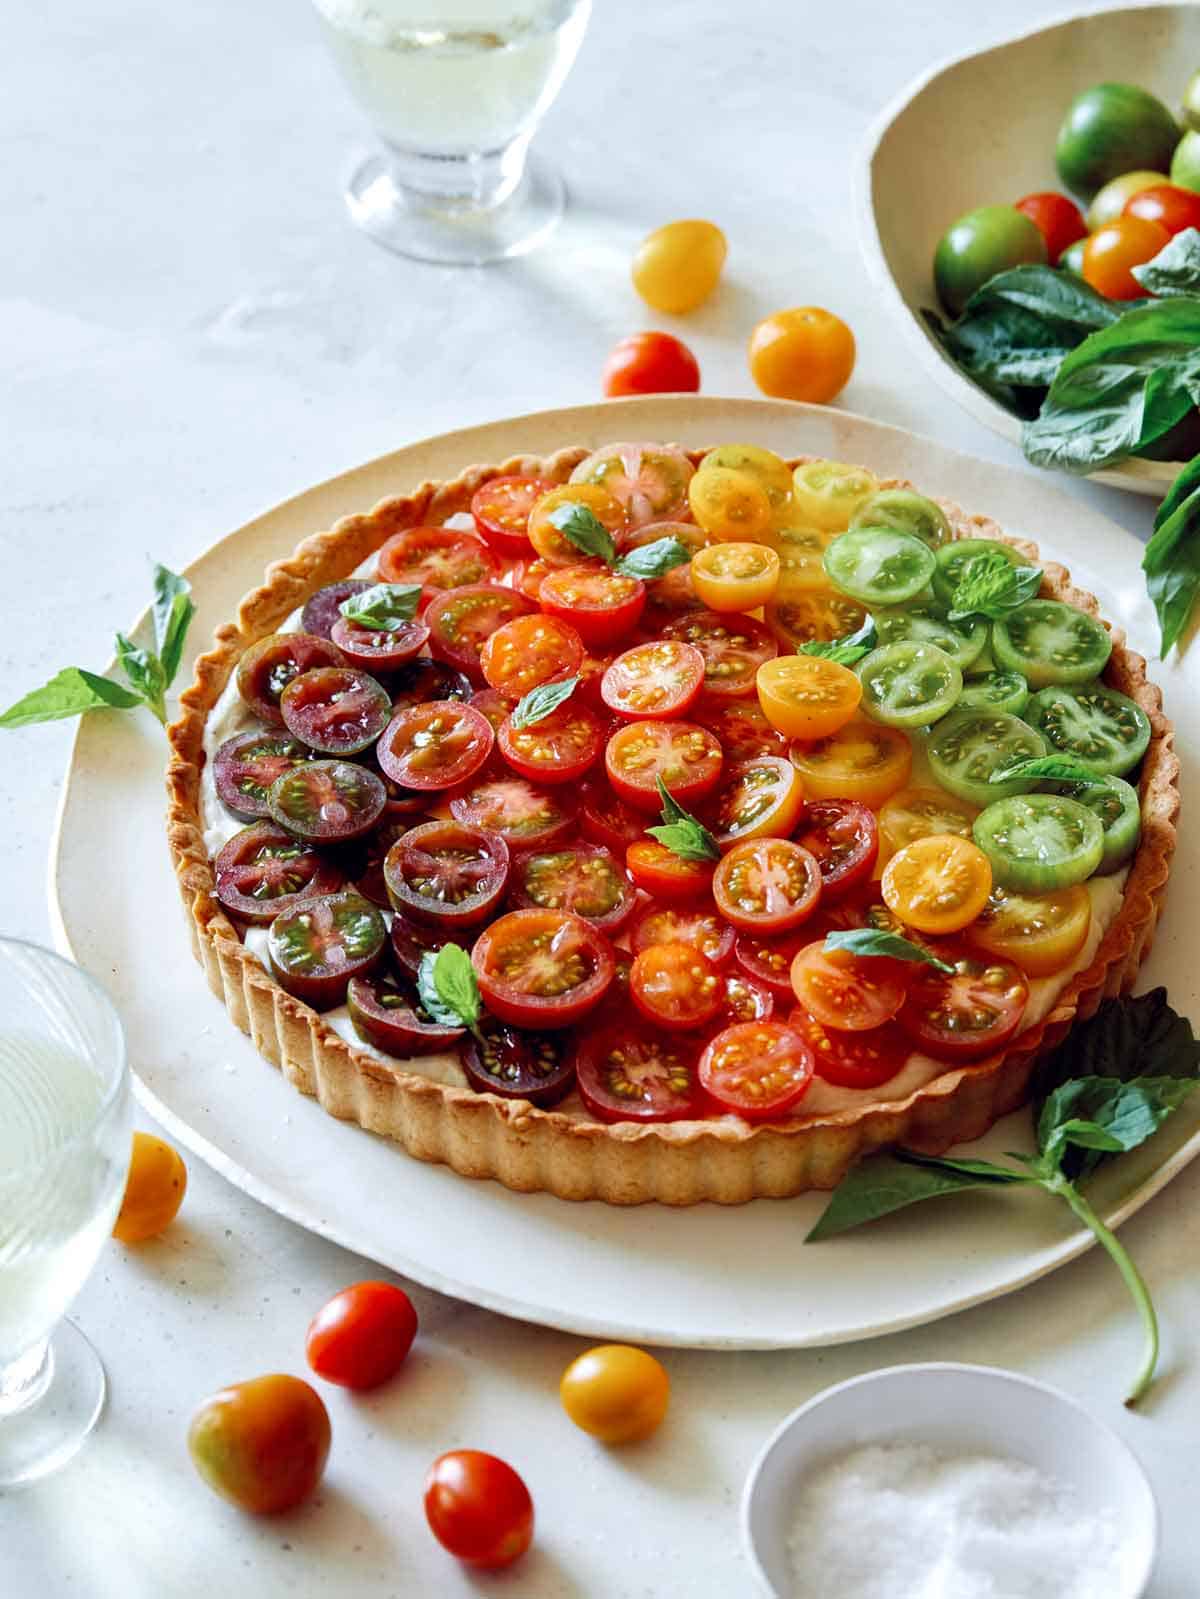
Not only is this tart delicious, but it’s also a total show stopper and perfect to bring to a gathering. Sure, you don’t need to create the gradient effect with the tomatoes on top, but it’s easy to do and really takes this tart up a notch.
How to Make Our Heirloom Tomato Tart
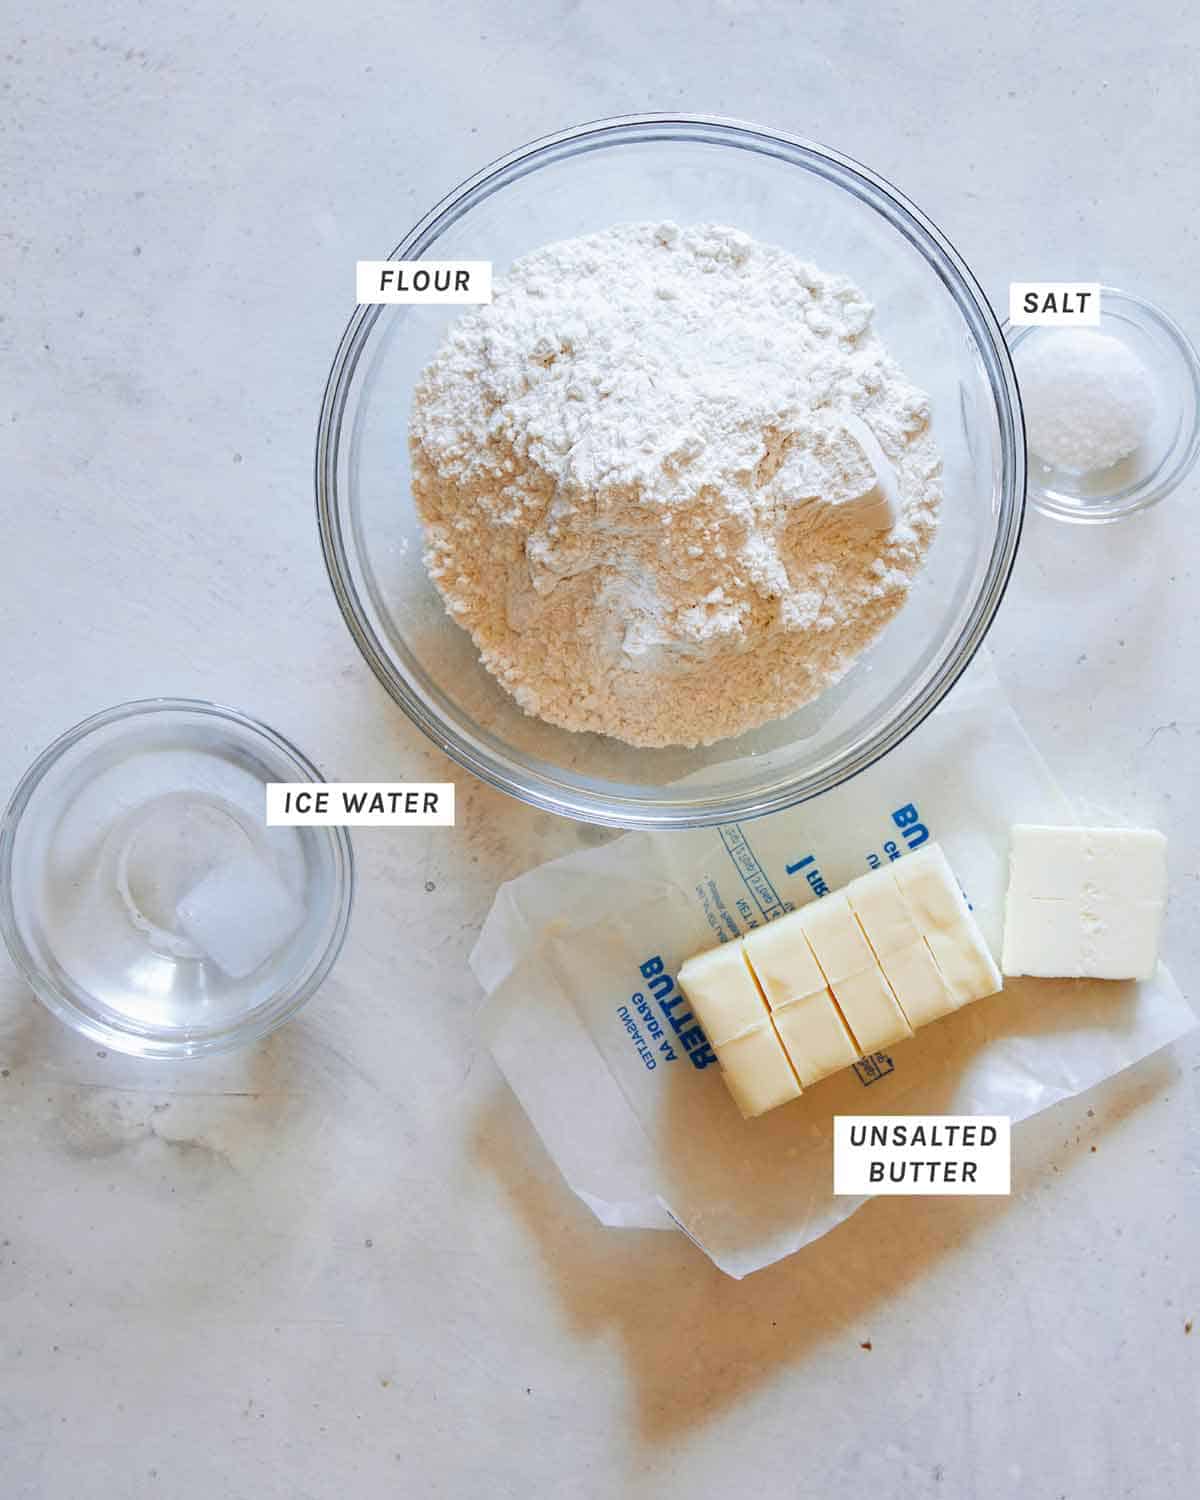
Tart Shell Ingredients
Tart Shell Process
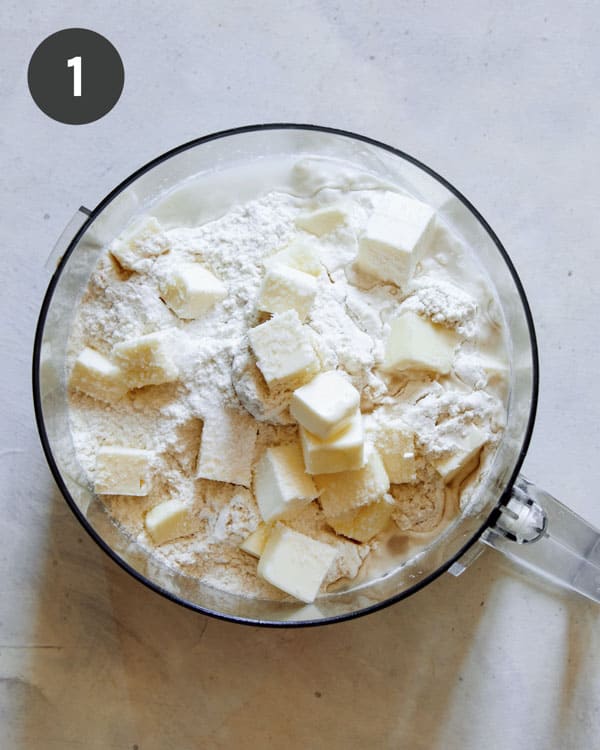
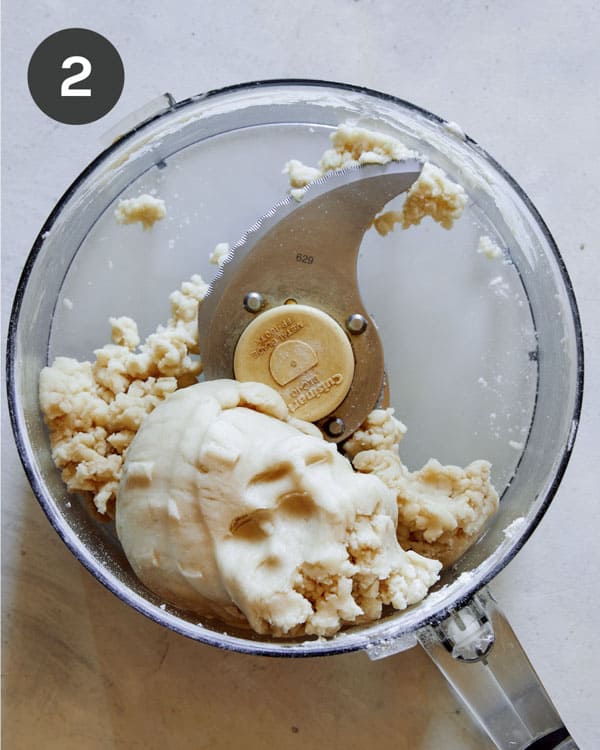
- Place flour, salt and butter into a food processor.
- Pulse until mixture is crumbly. While pulsing add water, a little at a time, until dough comes together.
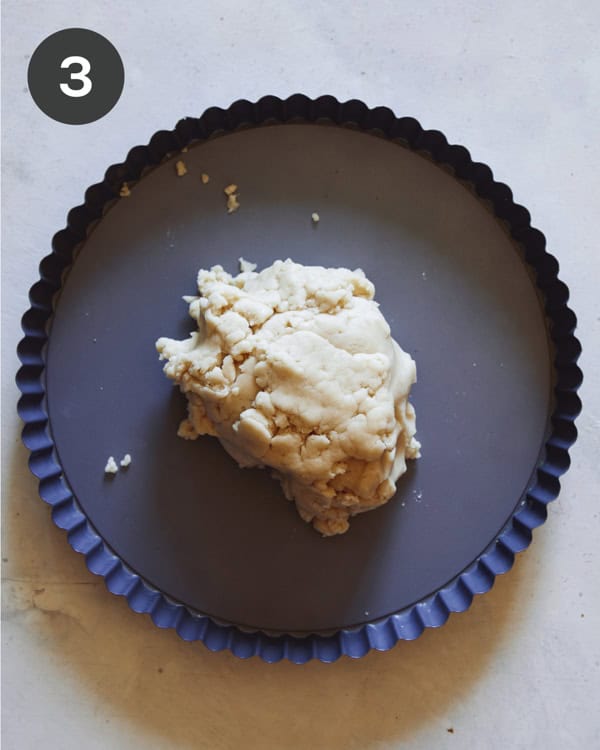
- Transfer dough to a tart shell.
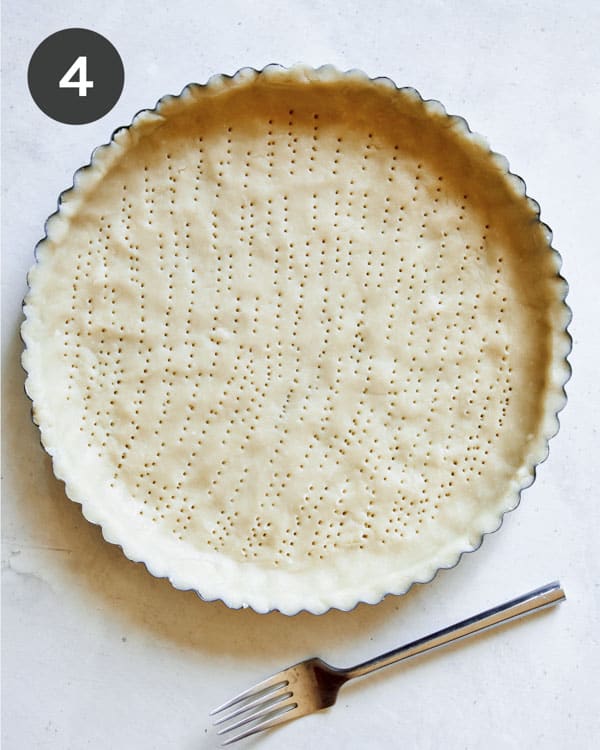
- Evenly press mixture along the bottom and sides.Using a fork, prick holes around the bottom and sides of the shell and refrigerate until chilled.
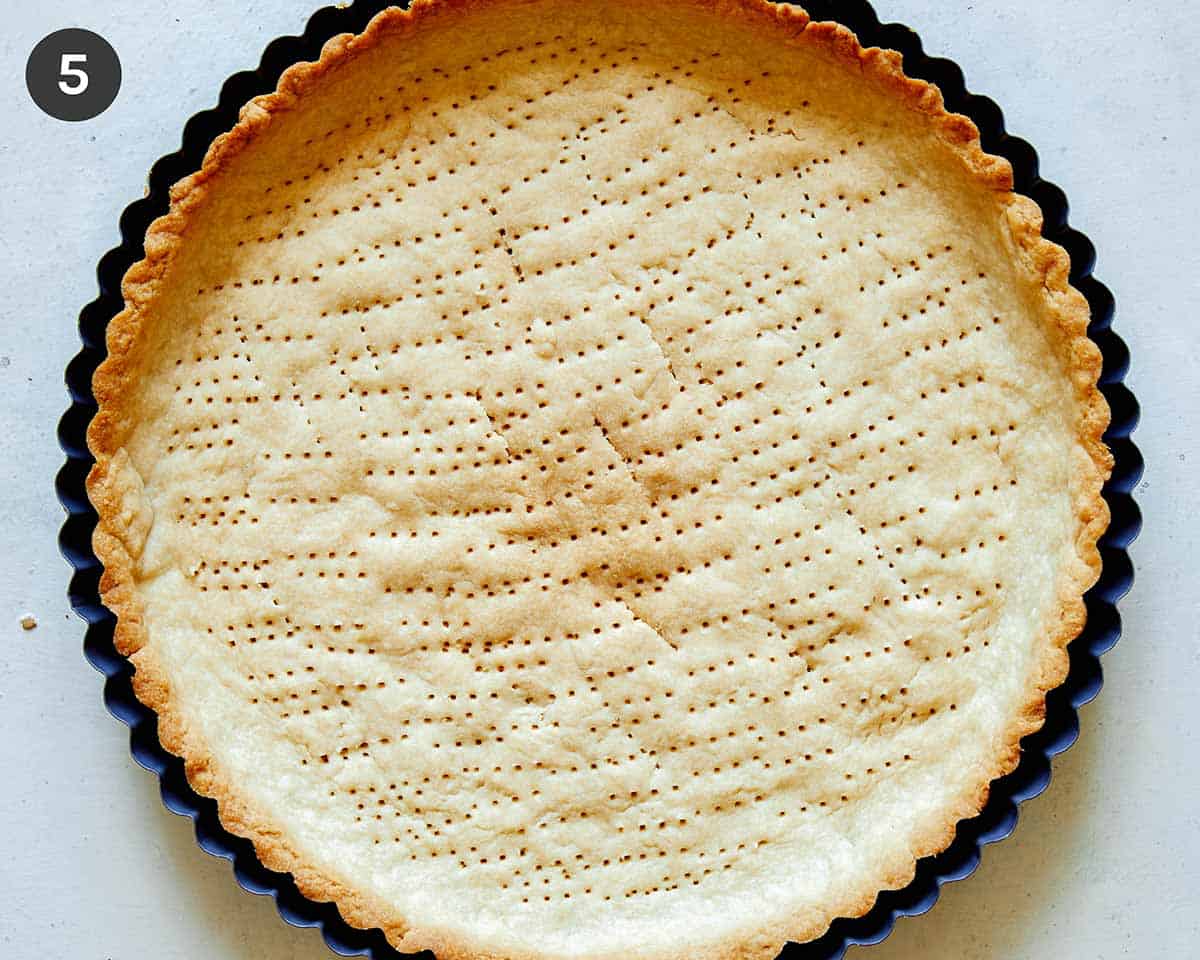
- Preheat oven to 400˚F. Place cold tart shell onto a baking sheet and bake until golden brown. Remove shell from oven and allow it to cool completely before removing from pan.
Goat Cheese and Tomato Filling Ingredients
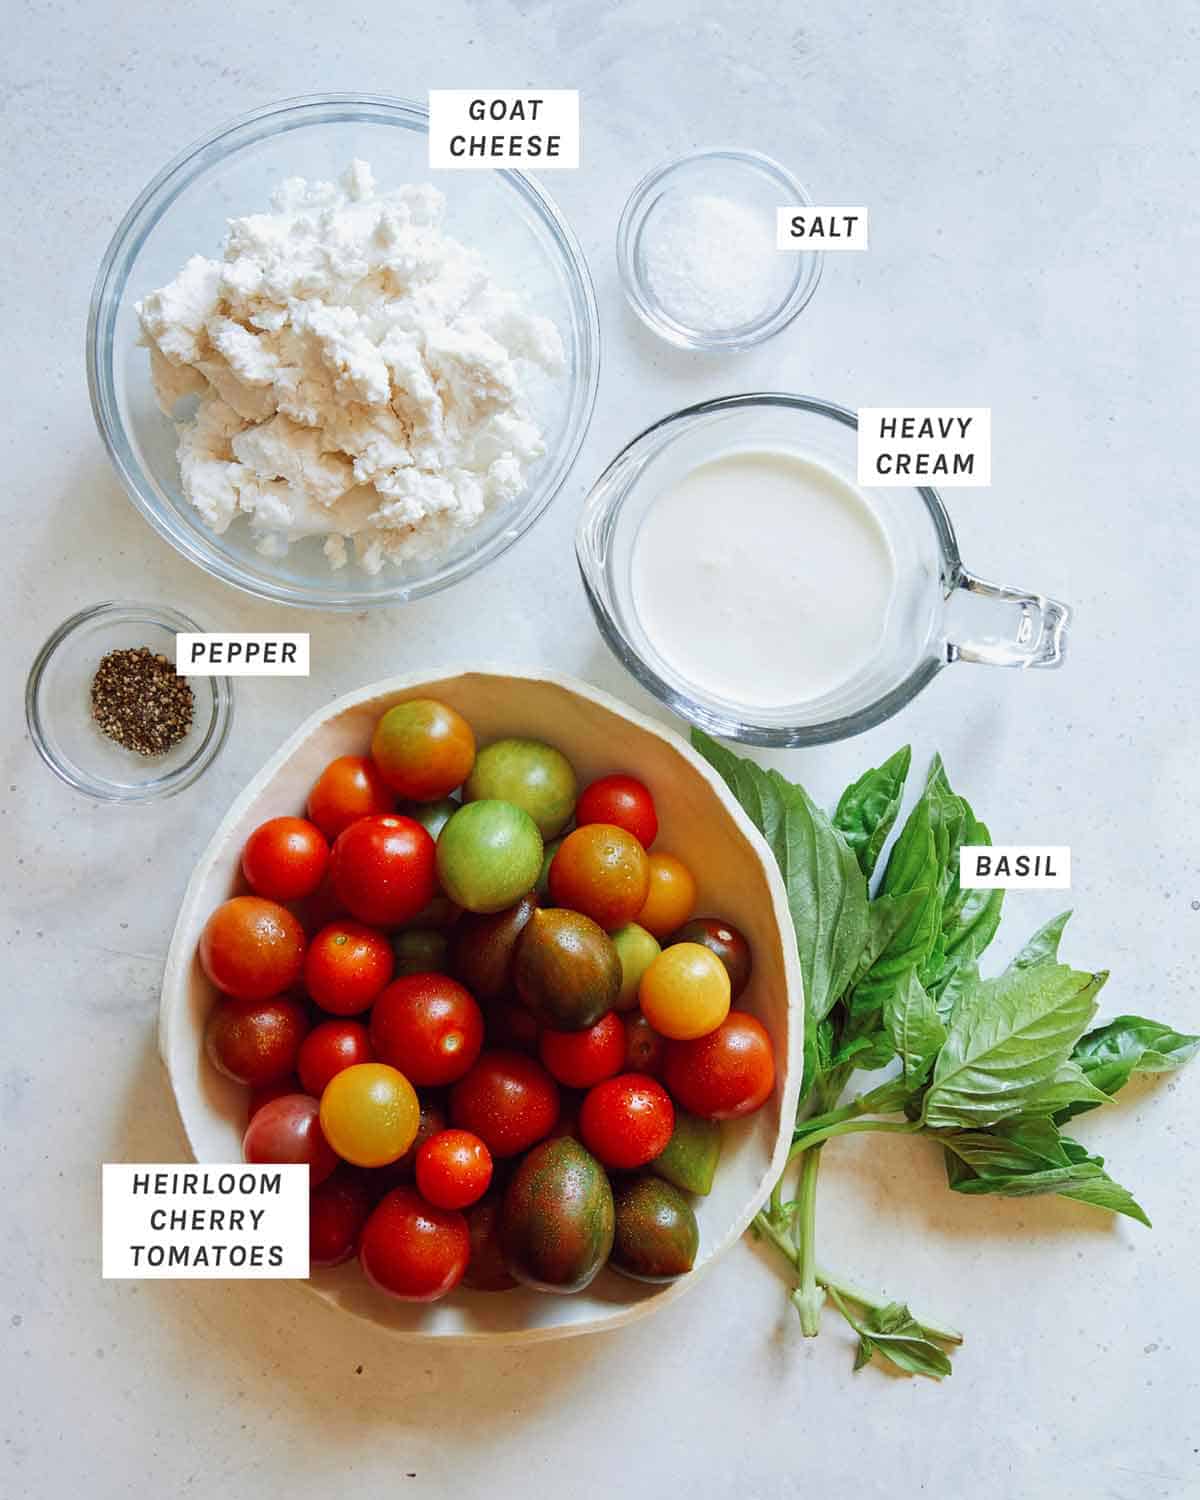
Goat Cheese and Tomato Filling Process
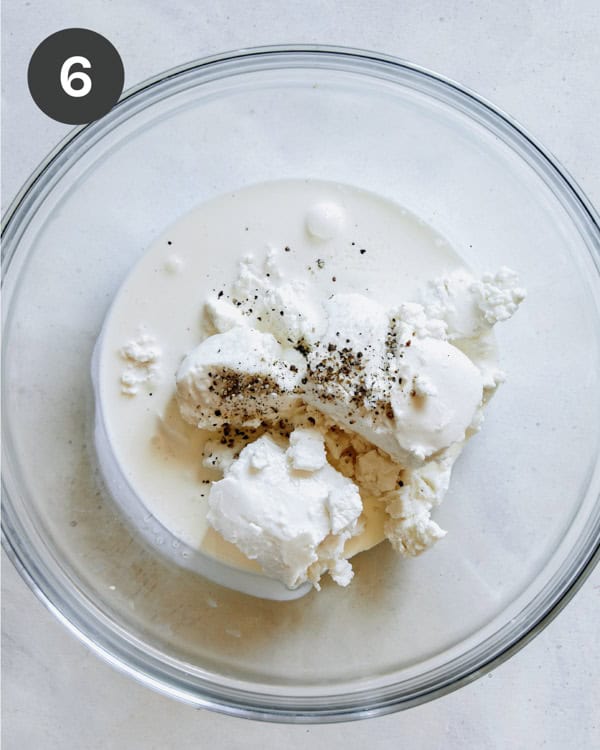
- Place goat cheese and cream in a mixing bowl. Season with salt and pepper.
- Beat together using an electric hand mixer. Continue to beat together until mixture is light and fluffy. Season with salt and pepper and mix together once more.
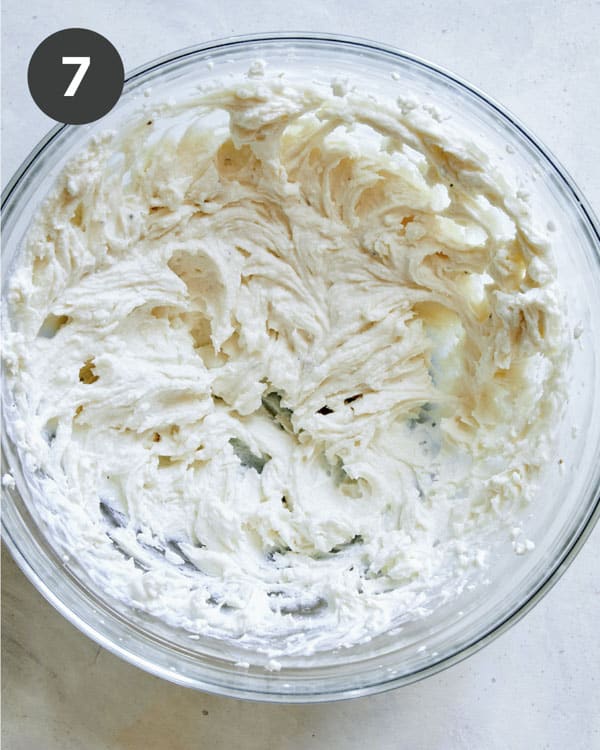
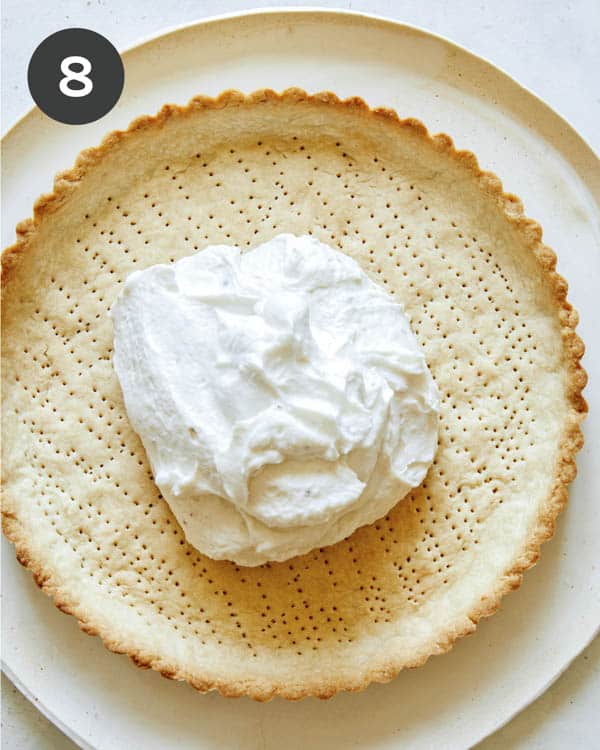
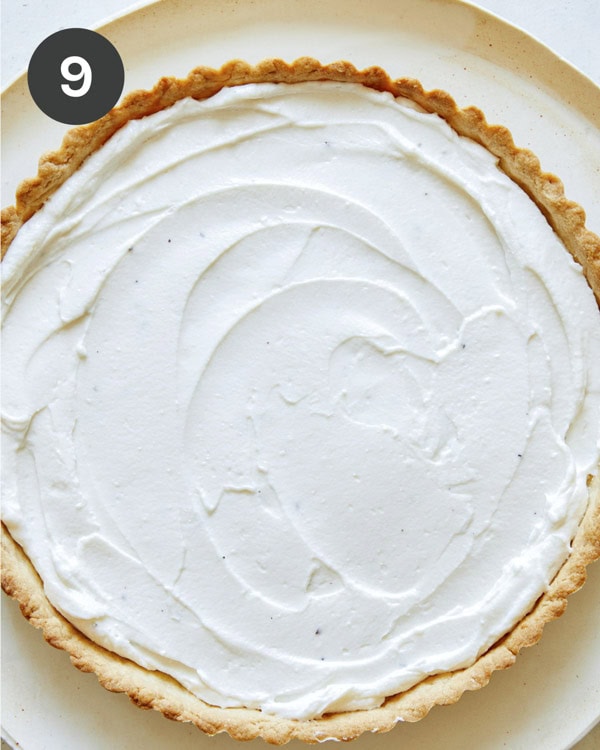
- Transfer whipped goat cheese to cooled tart shell.
- Spread mixture evenly in the tart shell.
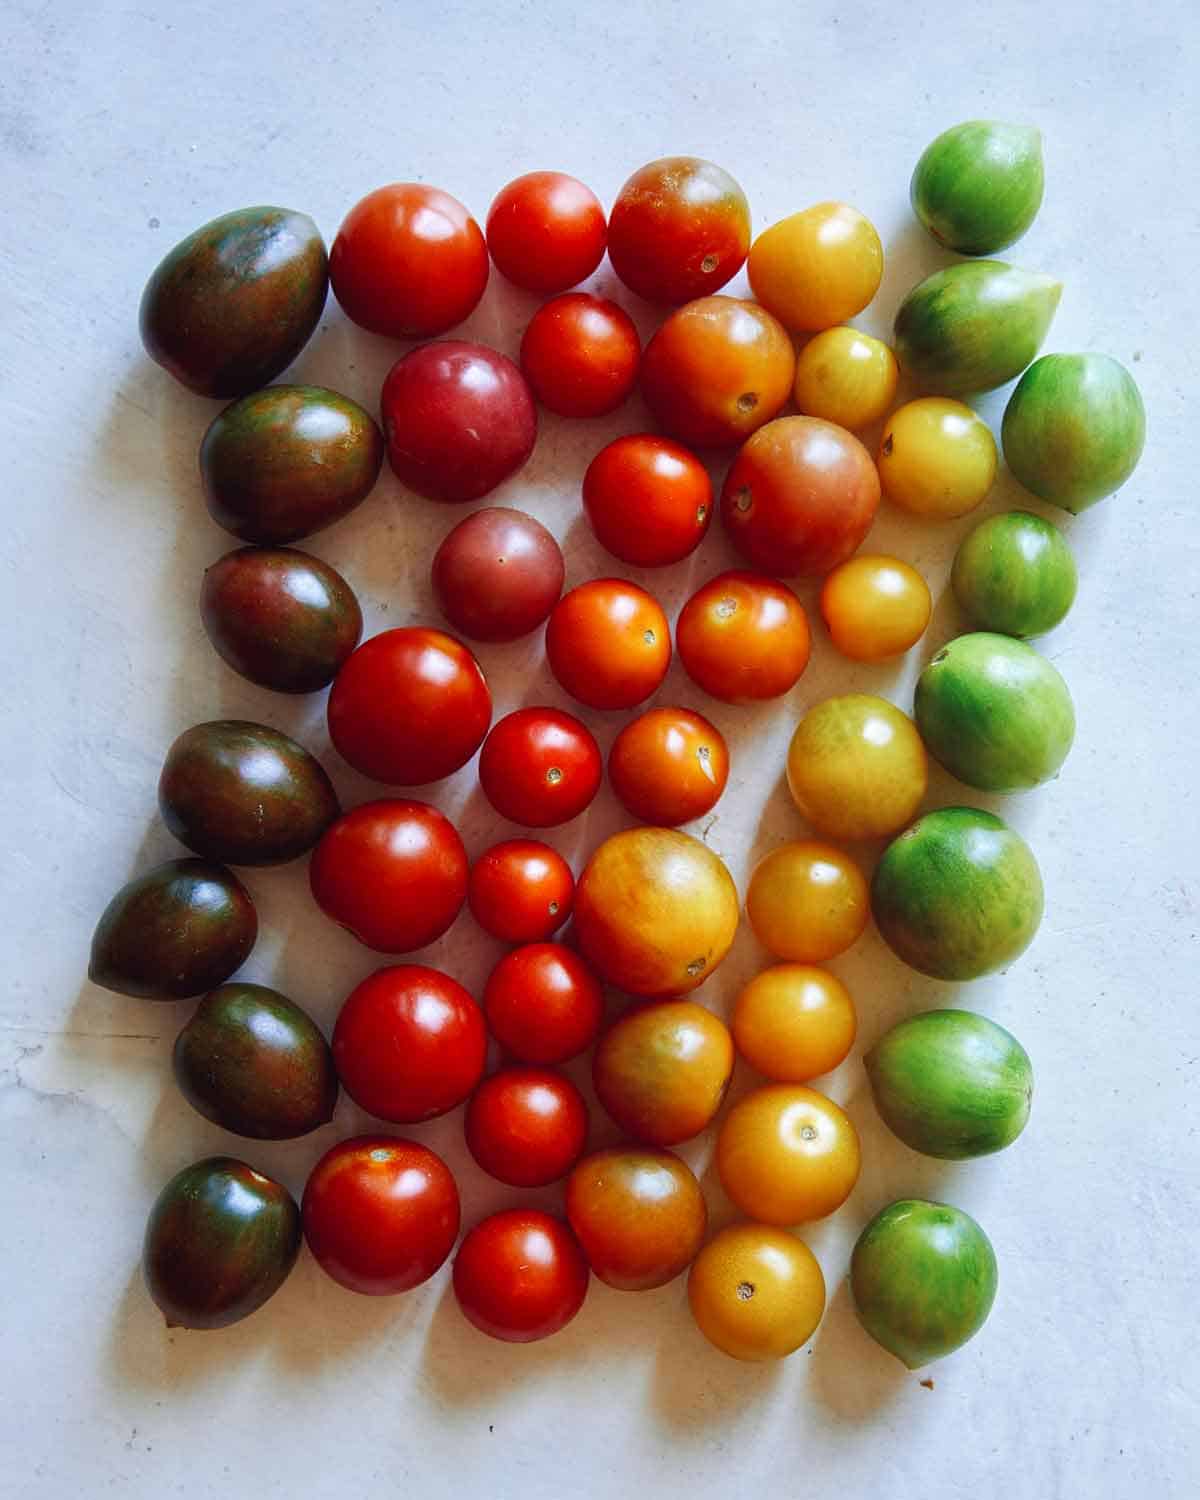
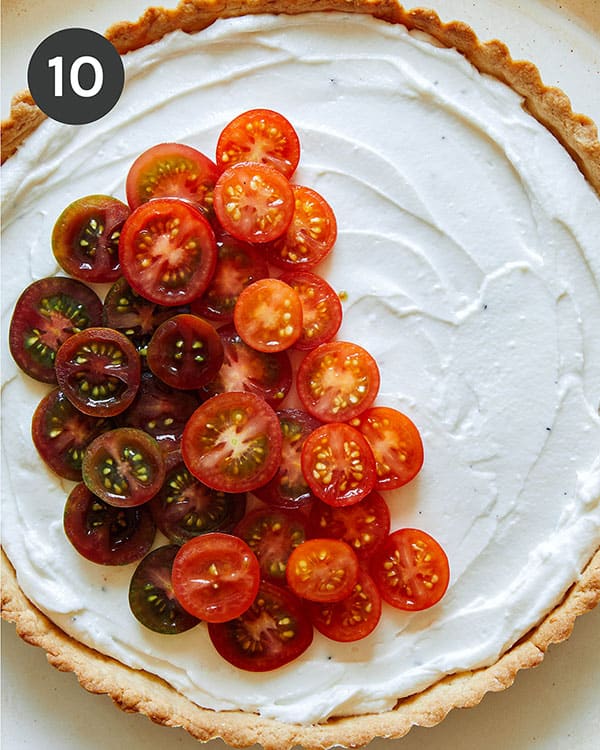
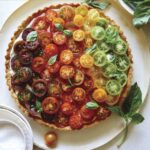
- Top goat cheese with sliced cherry tomatoes, cut side up, in a gradient pattern from top to bottom, if desired (using our photo below for reference).
- Continue adding cherry tomatoes until top of tart is filled.
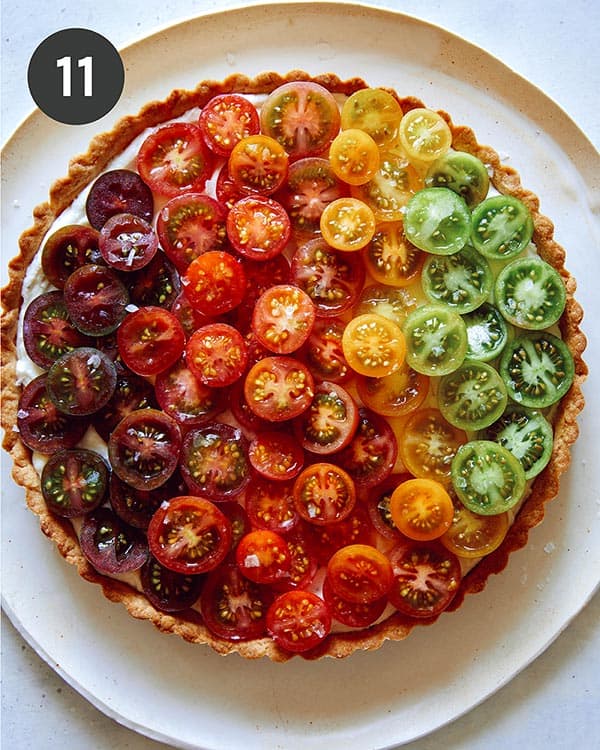
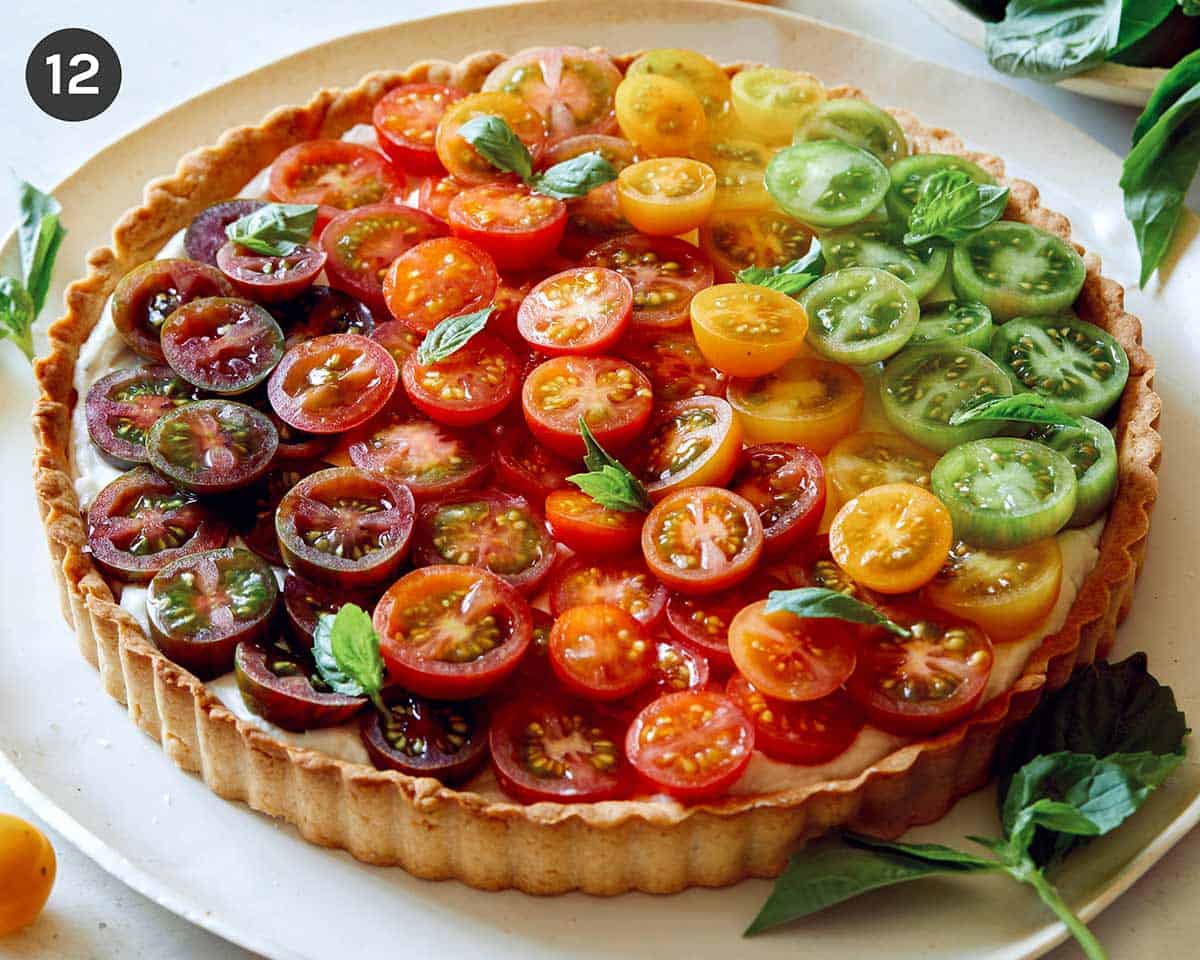
- Top tart with a sprinkle of sea salt flakes and fresh basil leaves. Serve.
Tools You Will Need
Tips and Tricks for Tomato Tart Success
- Pressing the prepared dough into the tart pan is much easier than rolling the dough and laying it into the pan, which can cause the dough to break in many spots and create an uneven crust.
- Chilling the dough will allow the glutens to relax, creating a more tender crust. It will also create less shinkage once baked.
- Adding some cream (can use half and half, milk, or a dairy milk alternative) to the goat cheese before whipping it will create a silky smooth filling, especially when dug into, instead of a crumbly filling.
- Once cherry tomatoes are halved, line them up in a gradient pattern on a large plate or small sheet pan. This will make it much easier to create the gradient effect on the actual tart and take much less time when building the tart. (also keep in mind that the gradient pattern is totally optional. The tomato tart will be just as delicious without the pattern)
Make Ahead Instructions for Our Tomato Tart
This entire tomato tart can be made up to 24 hours in advance, covered and refrigerated until ready to serve. Once ready to serve, remove from the refrigerator and allow tart to sit for 15 to 20 minutes at room temperature before topping with sea salt flakes and basil leaves.
Alternatively, the tart shell can be made and baked up to 2 days ahead of time. Once tart shell has completely cooled, carefully wrap it in plastic wrap and store in the refrigerator until ready to use. The tomatoes can be sliced and arranged on a plate or small baking sheet up to 24 hours in advance. Once arranged in a gradient pattern on the plate, cover with plastic wrap and refrigerate until ready to use.

Variations for Our Tomato Tart
- Use whole, thinly sliced heirloom tomatoes instead of halved cherry tomatoes. If using sliced tomatoes, don’t add the tomatoes to the tart until up to 1 hour before serving, to prevent too much liquid from collecting onto the whipped goat cheese.
- Add some minced herbs (like basil, oregano or chives) and/of lemon zest to the goat cheese filling to add even more flavor and freshness to the tart.
- If goat cheese isn’t your thing, replace it with some strained ricotta cheese or even some whipped feta. If using ricotta cheese, there’s no need to add the cream to the filling. If using crumbled feta, whip the mixture in a food processor for a smooth consistency, and add 2 tablespoons cream at a time until desired consistency is achieved.
More Delicious Tomato Recipes You Will Love

Heirloom Tomato Tart
INGREDIENTS
savory tart shell
- 1 ½ cups all-purpose flour
- ¼ teaspoon salt
- ½ cup (1 stick) cold unsalted butter, cubed
- 3 to 4 tablespoons ice water
filling
- 11 ounces goat cheese, softened
- 1/2 cup heavy cream
- 3 cups heirloom cherry tomatoes, halved
- salt and pepper to taste
garnish
- fresh basil leaves
- sea salt flakes
INSTRUCTIONS
tart shell
- Place flour, salt and butter into a food processor and pulse until mixture is crumbly. While pulsing add water, 1 tablespoons at a time, until dough comes together.
- Transfer dough to a 9" fluted tart shell and evenly press mixture along the bottom and sides.
- Using a fork, prick holes around the bottom and sides of the shell and refrigerate for 30 minutes.
- Preheat oven to 400˚F.
- Place cold tart shell onto a baking sheet and bake for 20 to 25 minutes or until golden brown. (If you notice the tart shell beginning to bubble, just open the oven door and quickly prick the bubble with a fork. You can also use parchment and pie weights to line the tart before putting in the oven, but I don’t think that’s always necessary here). Remove shell from oven and allow it to cool completely before removing from pan.
goat cheese and tomato filling
- Place goat cheese and cream in a mixing bowl and beat together using an electric hand mixer. Continue to beat together until mixture is light and fluffy. Season with salt and pepper and mix together once more.
- Fill cooled tart shell with whipped goat cheese, smoothing out the top.
- Top goat cheese with sliced cherry tomatoes, cut side up, in a gradient pattern from top to bottom, if desired (using our photo above for reference).
- Top tart with a sprinkle of sea salt flakes and fresh basil leaves. Serve.
NOTES
- Pressing the prepared dough into the tart pan is much easier than rolling the dough and laying it into the pan, which can cause the dough to break in many spots and create an uneven crust.
- Chilling the dough will allow the glutens to relax, creating a more tender crust. It will also create less shinkage once baked.
- Adding some cream (can use half and half, milk, or a dairy milk alternative) to the goat cheese before whipping it will create a silky smooth filling, especially when dug into, instead of a crumbly filling.
- Once cherry tomatoes are halved, line them up in a gradient pattern on a large plate or small sheet pan. This will make it much easier to create the gradient effect on the actual tart and take much less time when building the tart. (also keep in mind that the gradient pattern is totally optional. The tomato tart will be just as delicious without the pattern)
- Use whole, thinly sliced heirloom tomatoes instead of halved cheery tomatoes. If using sliced tomatoes, don’t add the tomatoes to the tart until up to 1 hour before serving, to prevent too much liquid from collecting onto the whipped goat cheese.
- Add some minced herbs (like basil, oregano or chives) and/of lemon zest to the goat cheese filling to add even more flavor and freshness to the tart.
- If goat cheese isn’t your thing, replace it with some strained ricotta cheese or even some whipped feta. If using ricotta cheese, there’s no need to add the cream to the filling. If using crumbled feta, whip the mixture in a food processor for a smooth consistency, and add 2 tablespoons cream at a time until desired consistency is achieved.







Leave a Reply