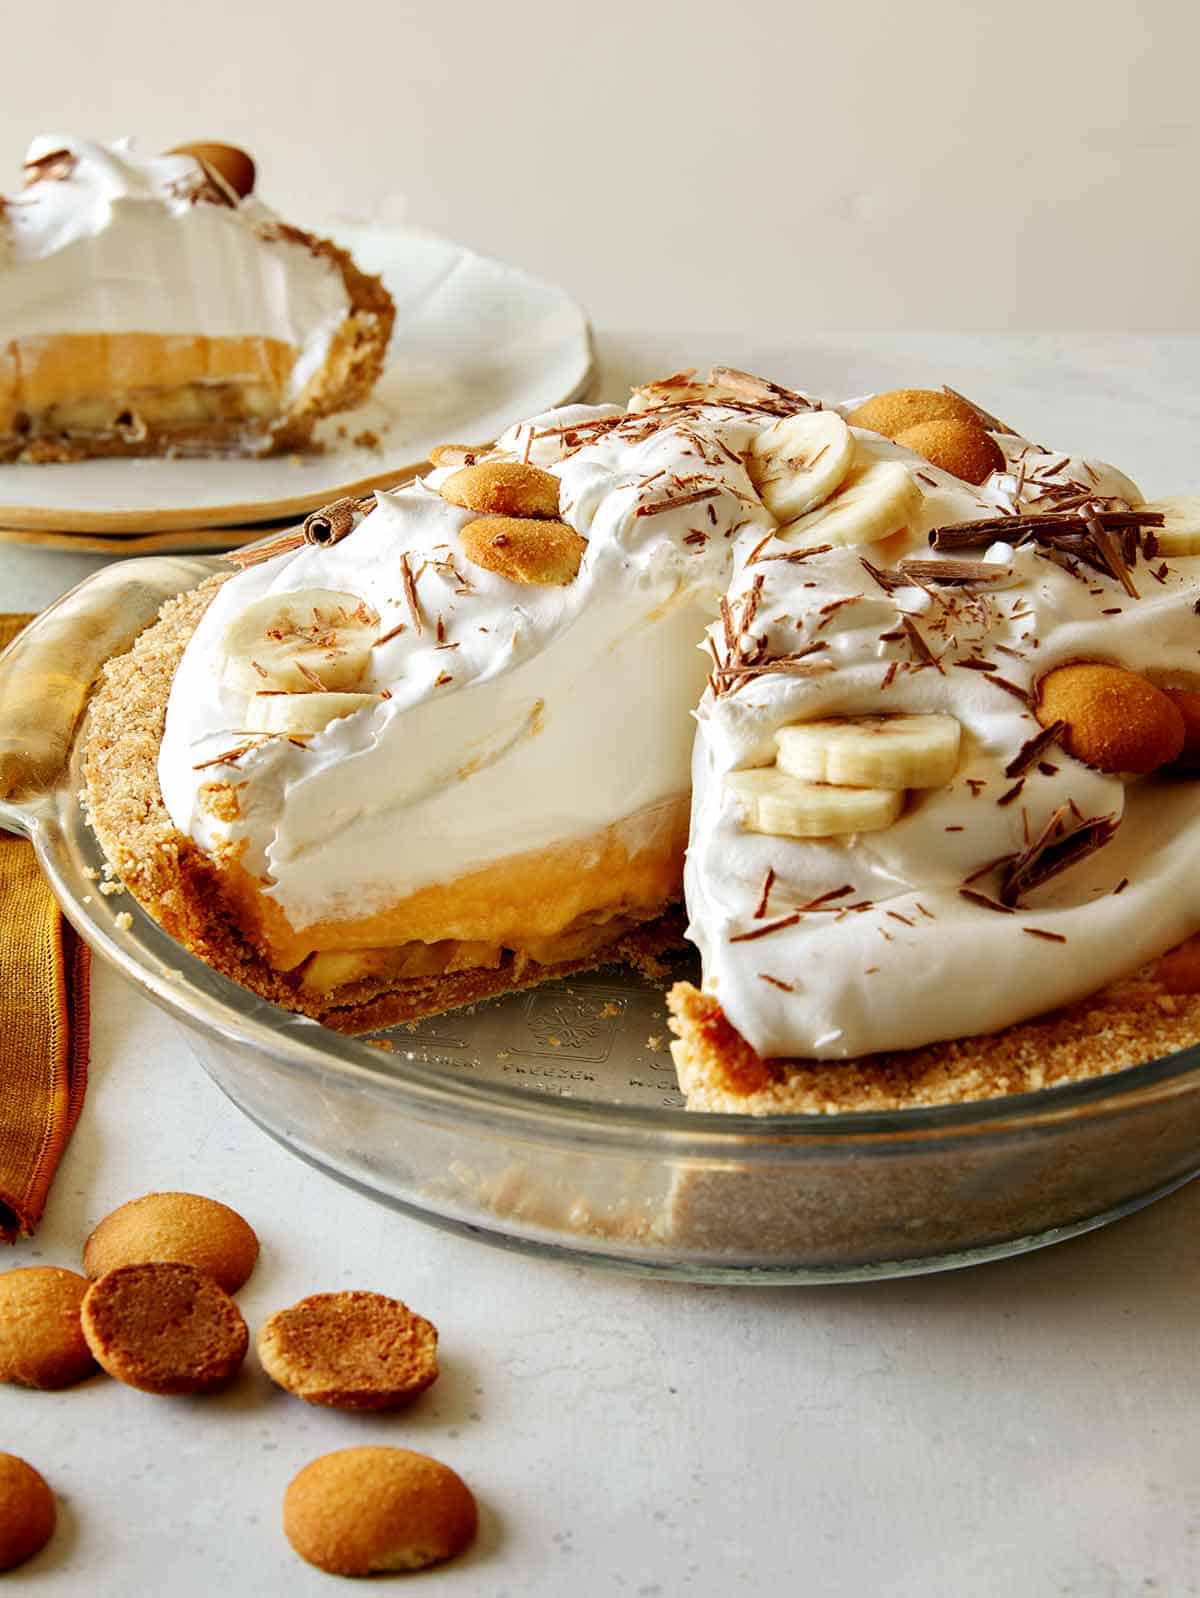
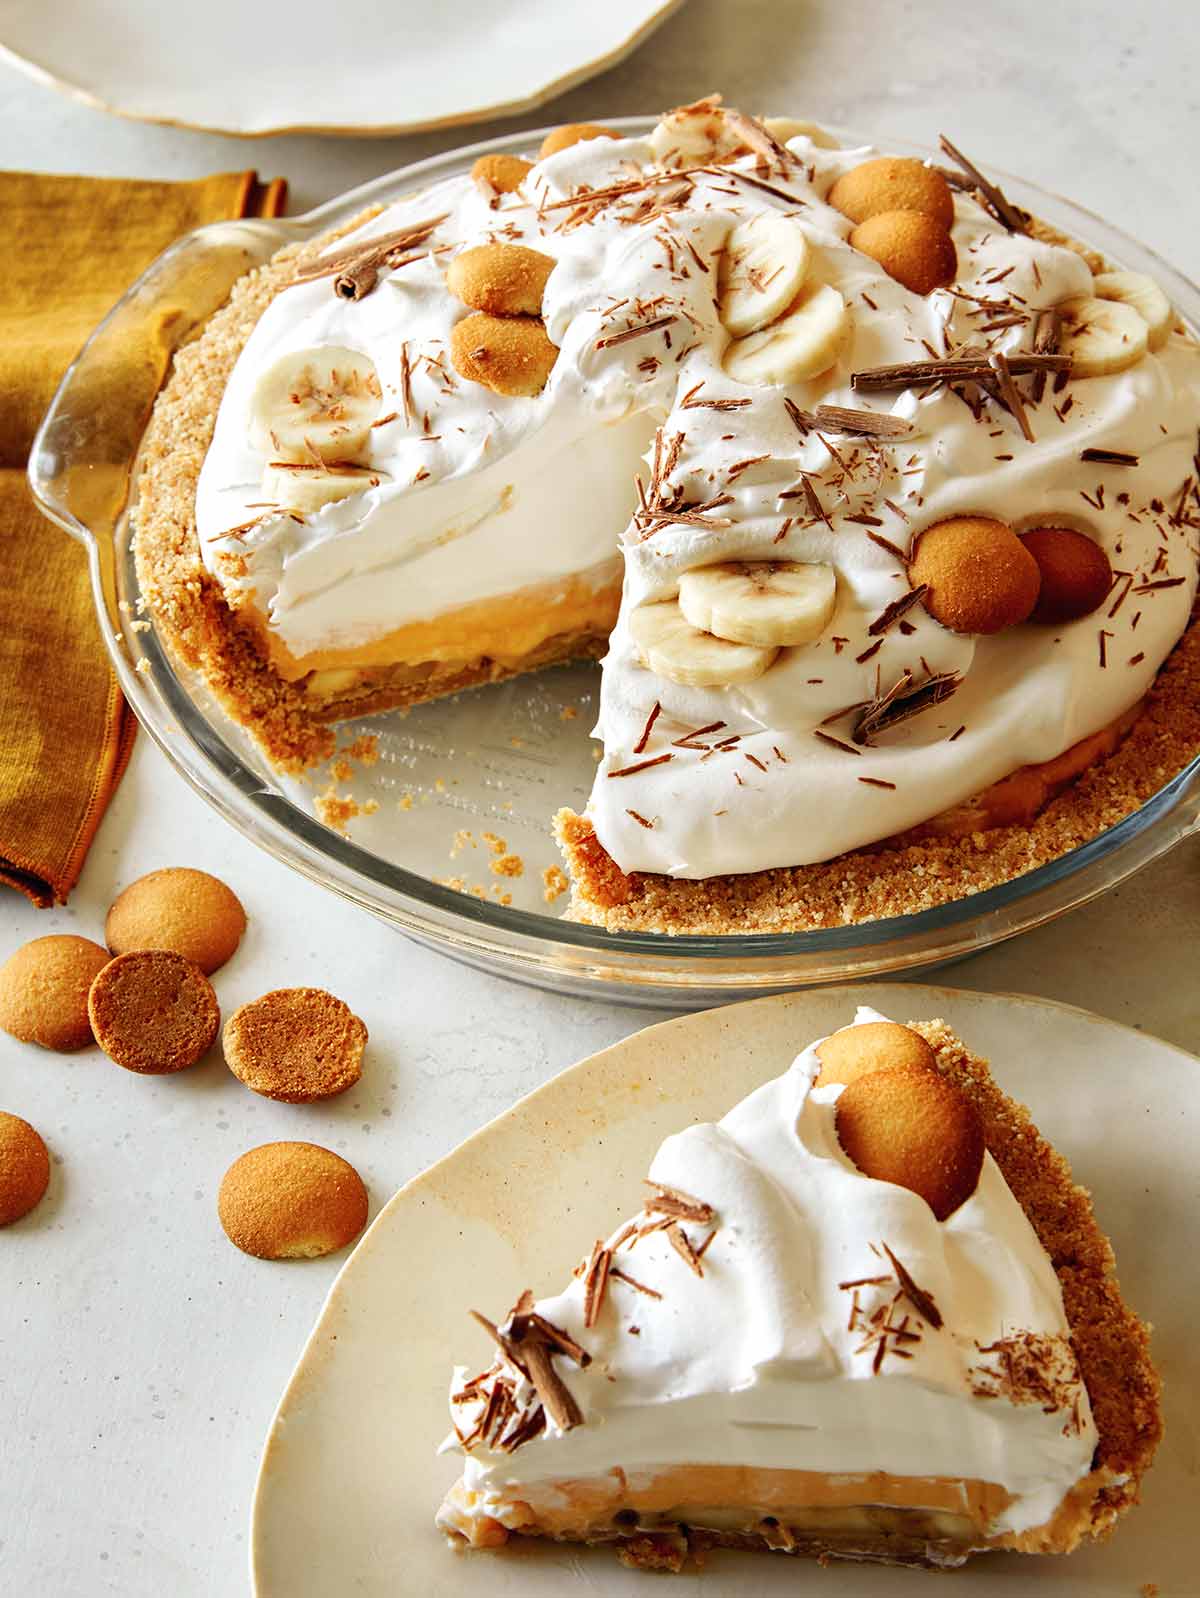
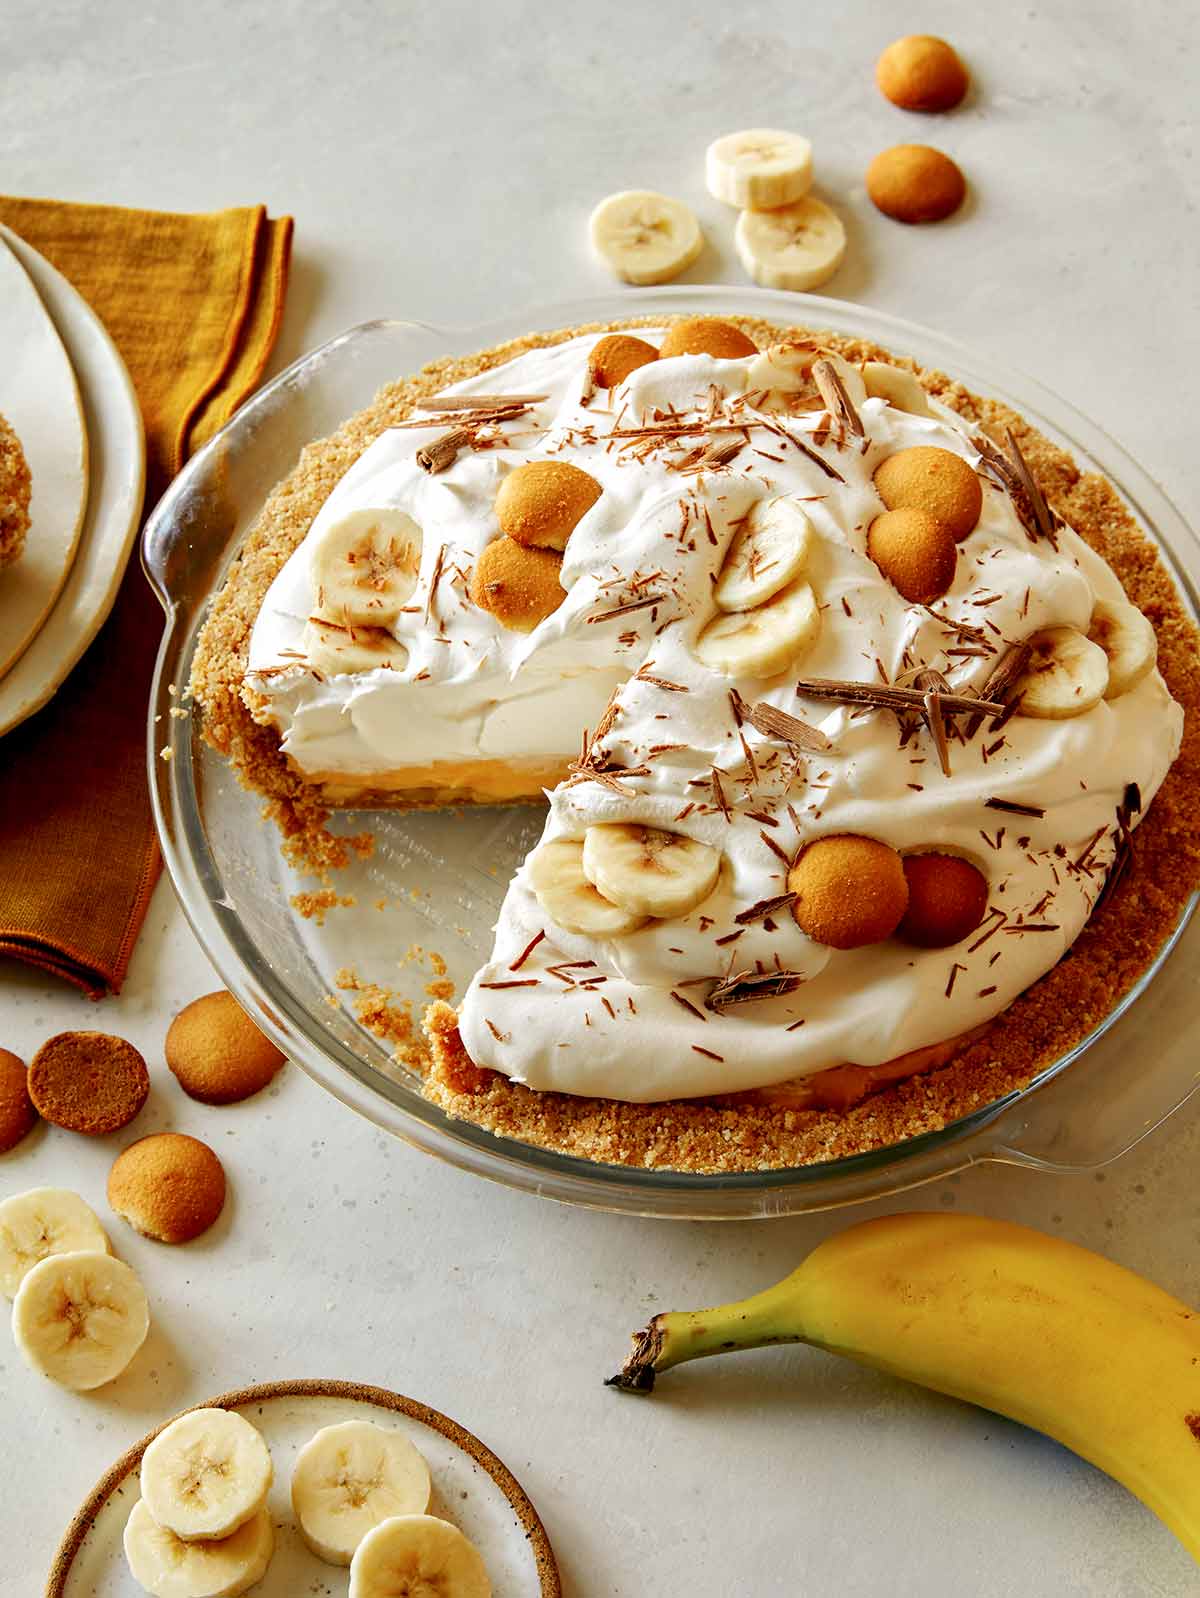
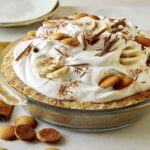
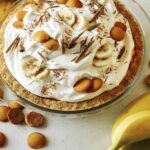
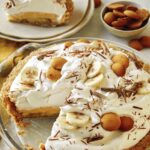
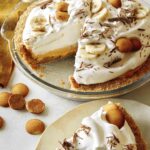
I’m incredibly excited about our homemade Banana Cream Pie Recipe we have for you all today! The vanilla custard is so creamy and smooth and pairs perfectly with the fluffy homemade whipped cream topping the pie off!
I also love this recipe so much because we use a no-bake, crushed Nilla wafers crust instead of a typical butter dough. The crust really gives the whole pie major banana pudding vibes and helps to cut on cooking time, which we’re all about it! We think this is the perfect spring and summer dessert, exploding with so much flavor!
How to Make Our Banana Cream Pie Recipe
Process
CRUST
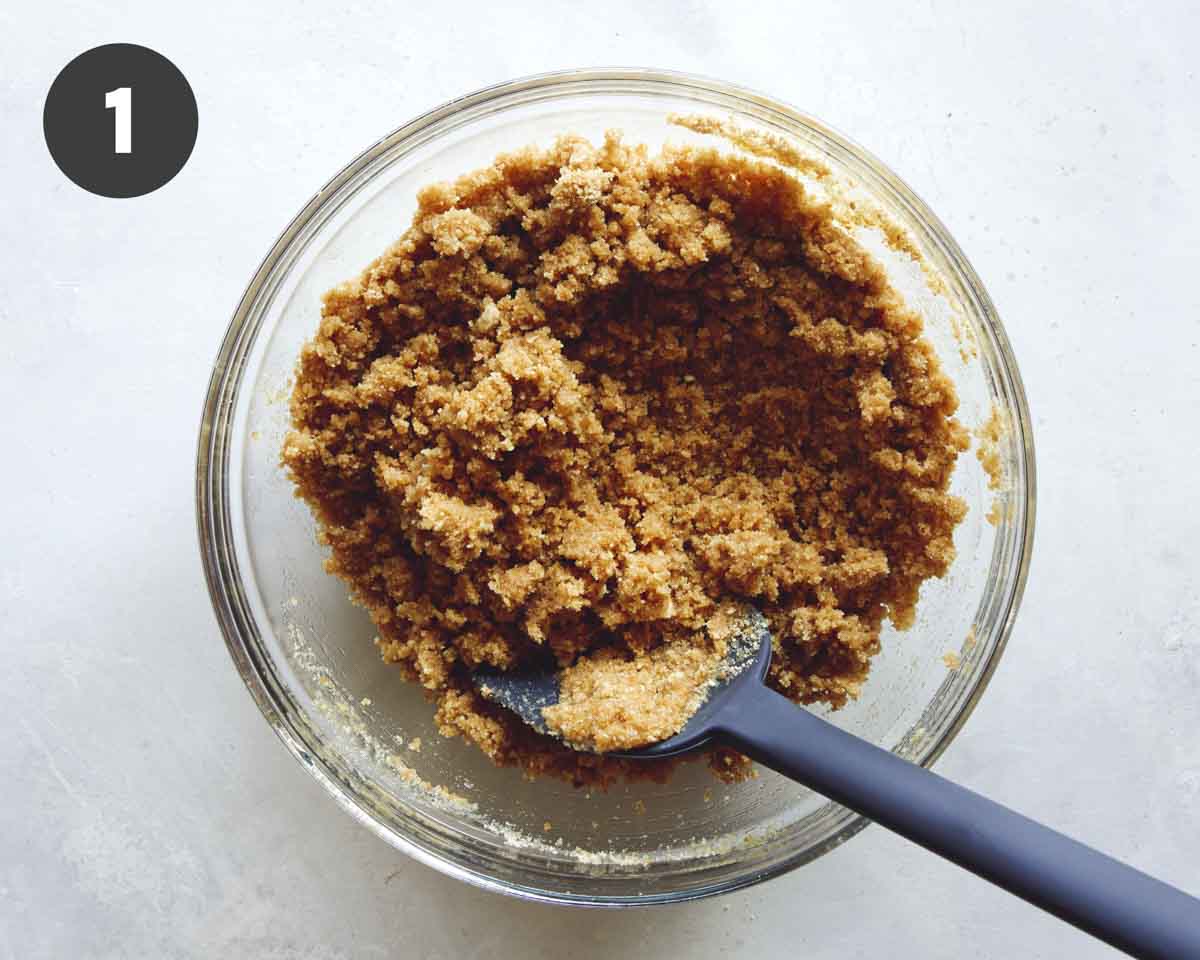
- Combine Nilla wafer crumbs and melted butter into a mixing bowl and stir together until fully combined.
- Pour crust mixture into a 9-inch pie plate and evenly press mixture into the bottom and sides of the dish.
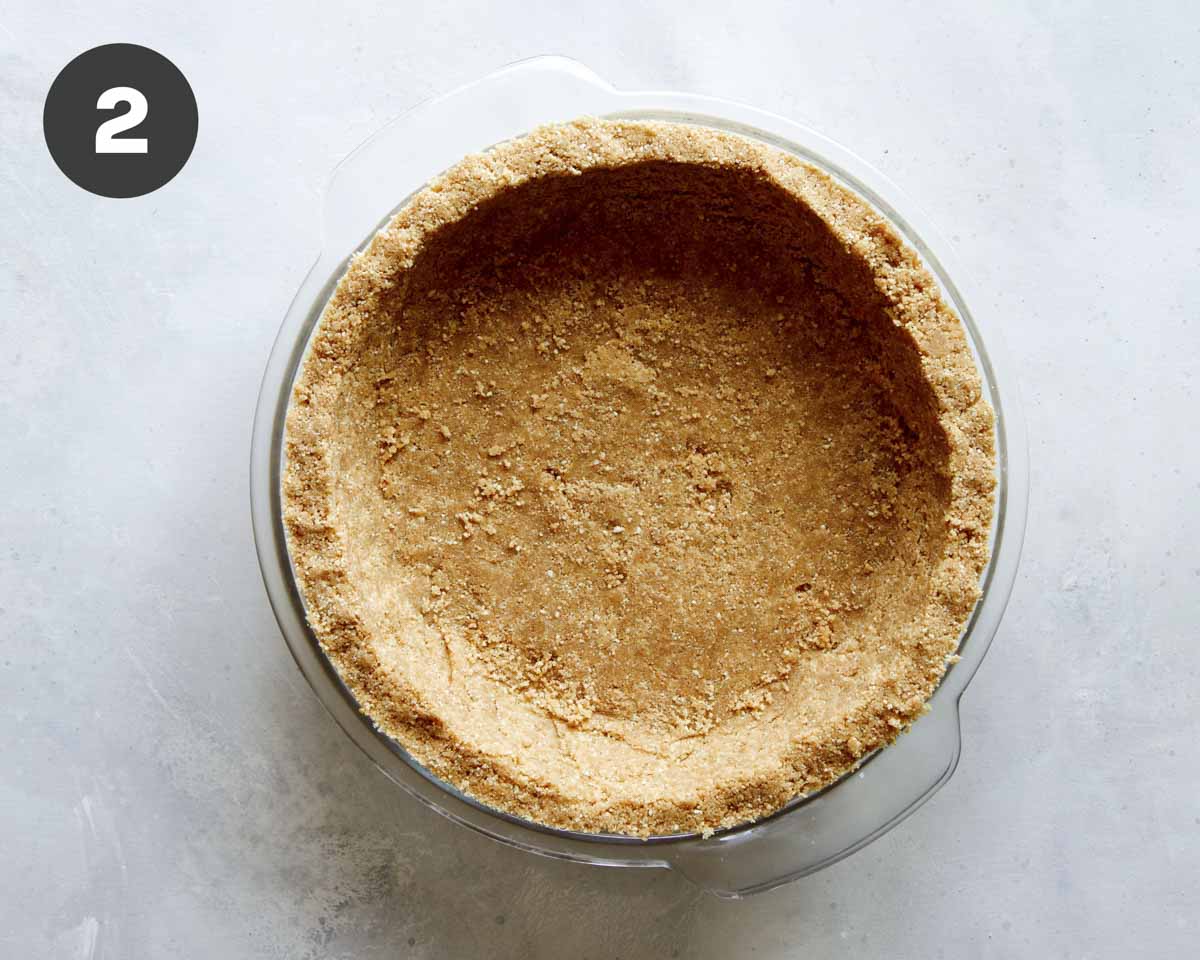
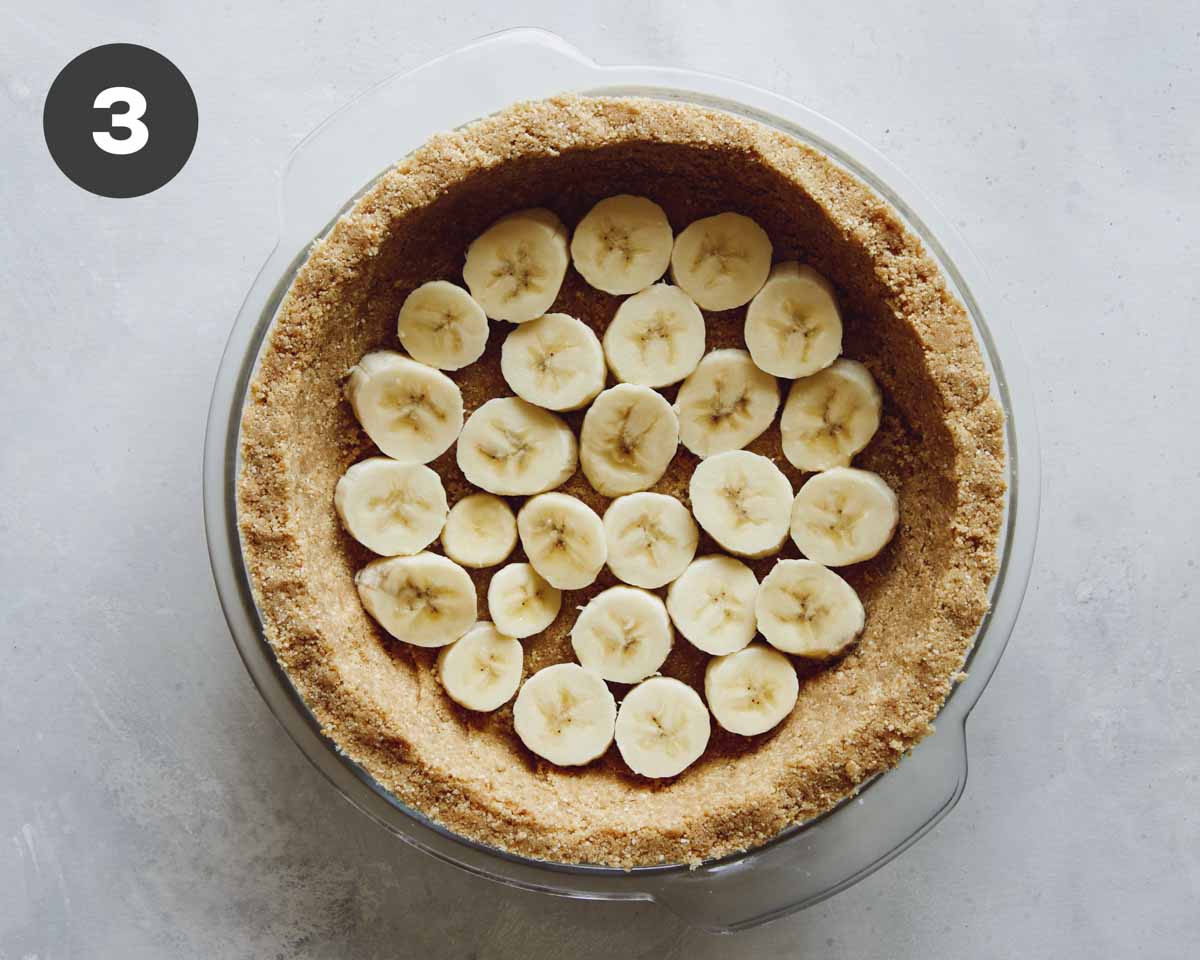
- Chill in fridge until pie crust is firm. Line bottom of chilled crust with a layer of banana slices and set aside.
FILLING
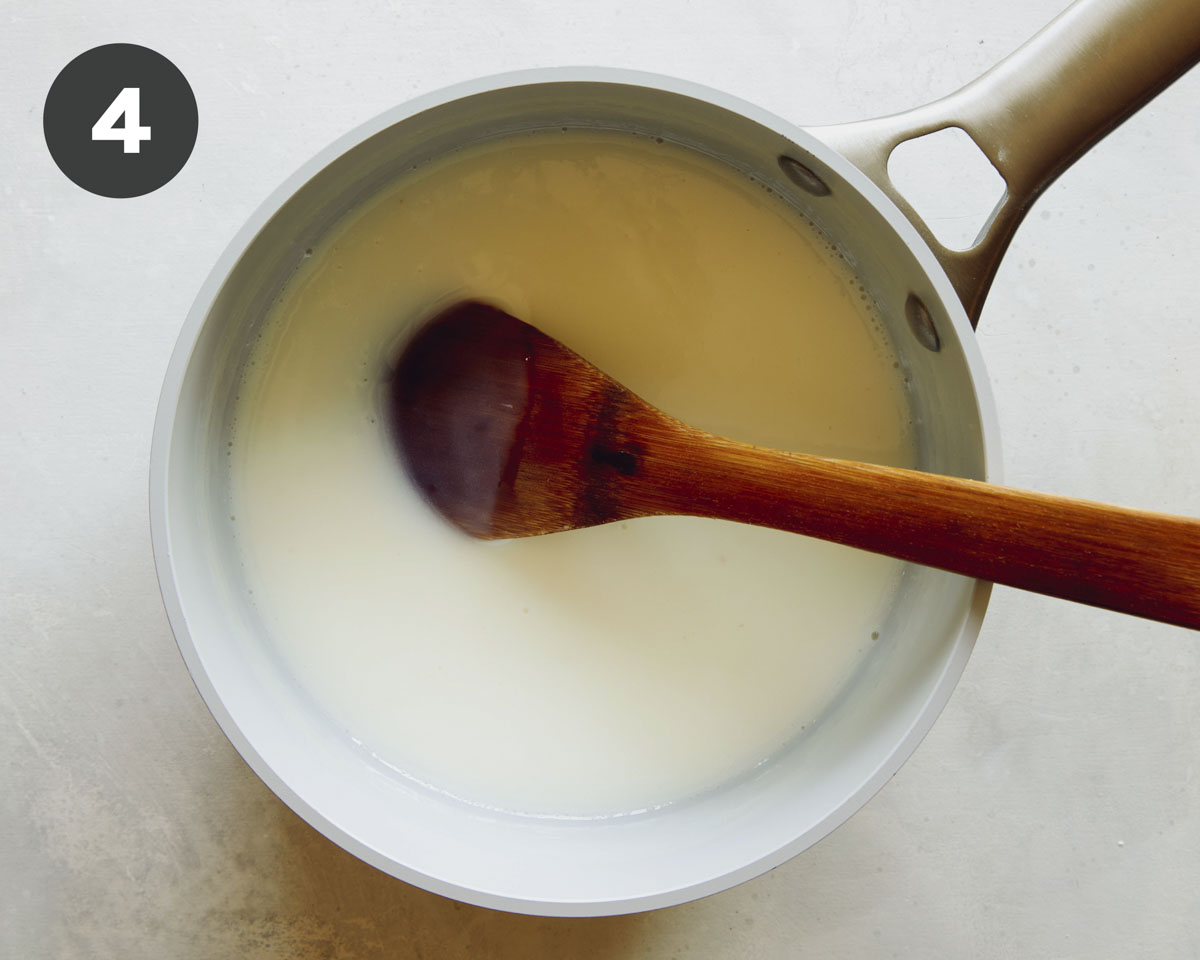
- Place milk, sugar, some of the cornstarch, and salt into a saucepan and place over medium heat. Whisk mixture until smooth and bring to a simmer, occasionally stirring with a wooden spoon until thick enough to coat the back of the spoon.
- In a small bowl, whisk together remaining cornstarch and egg yolks until mixture is smooth.
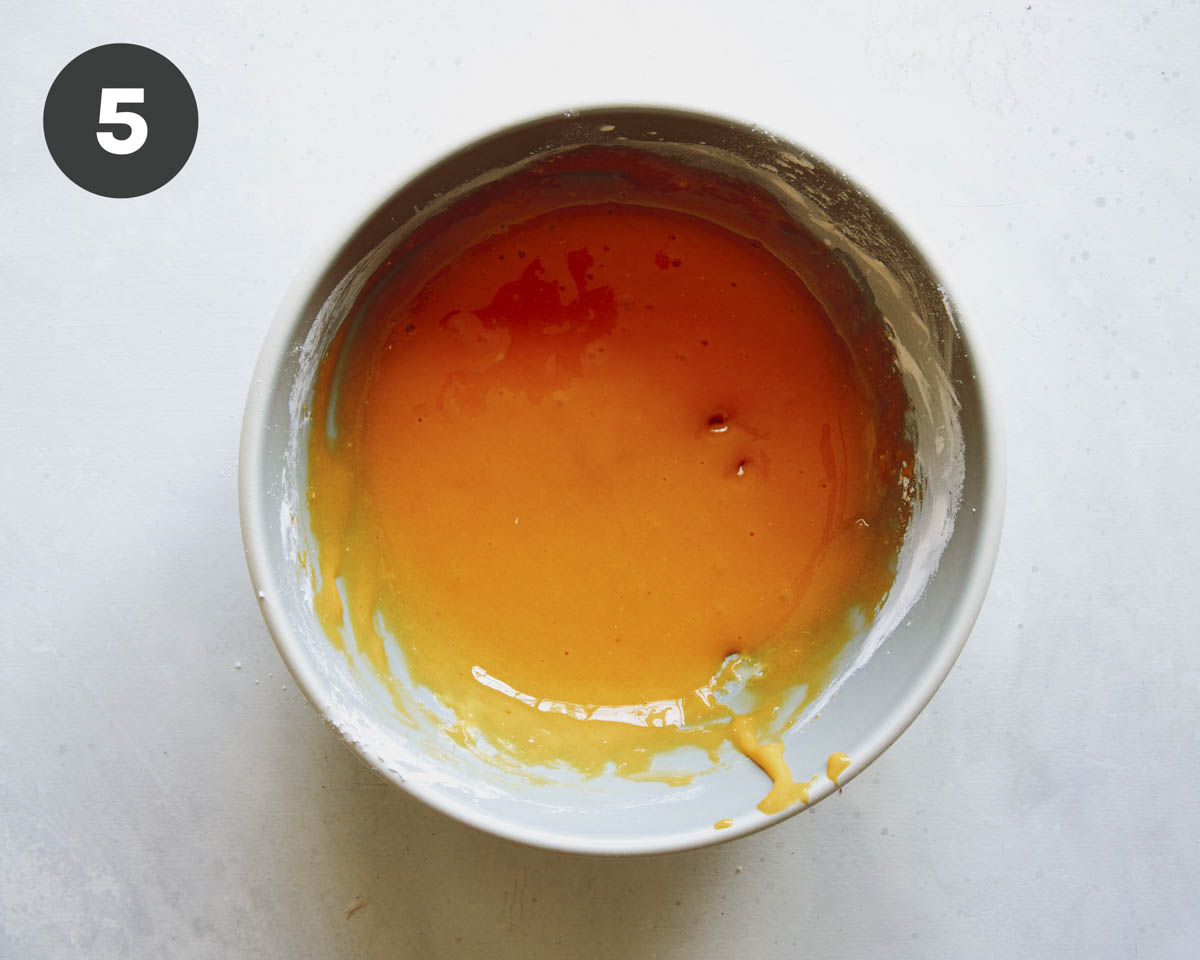
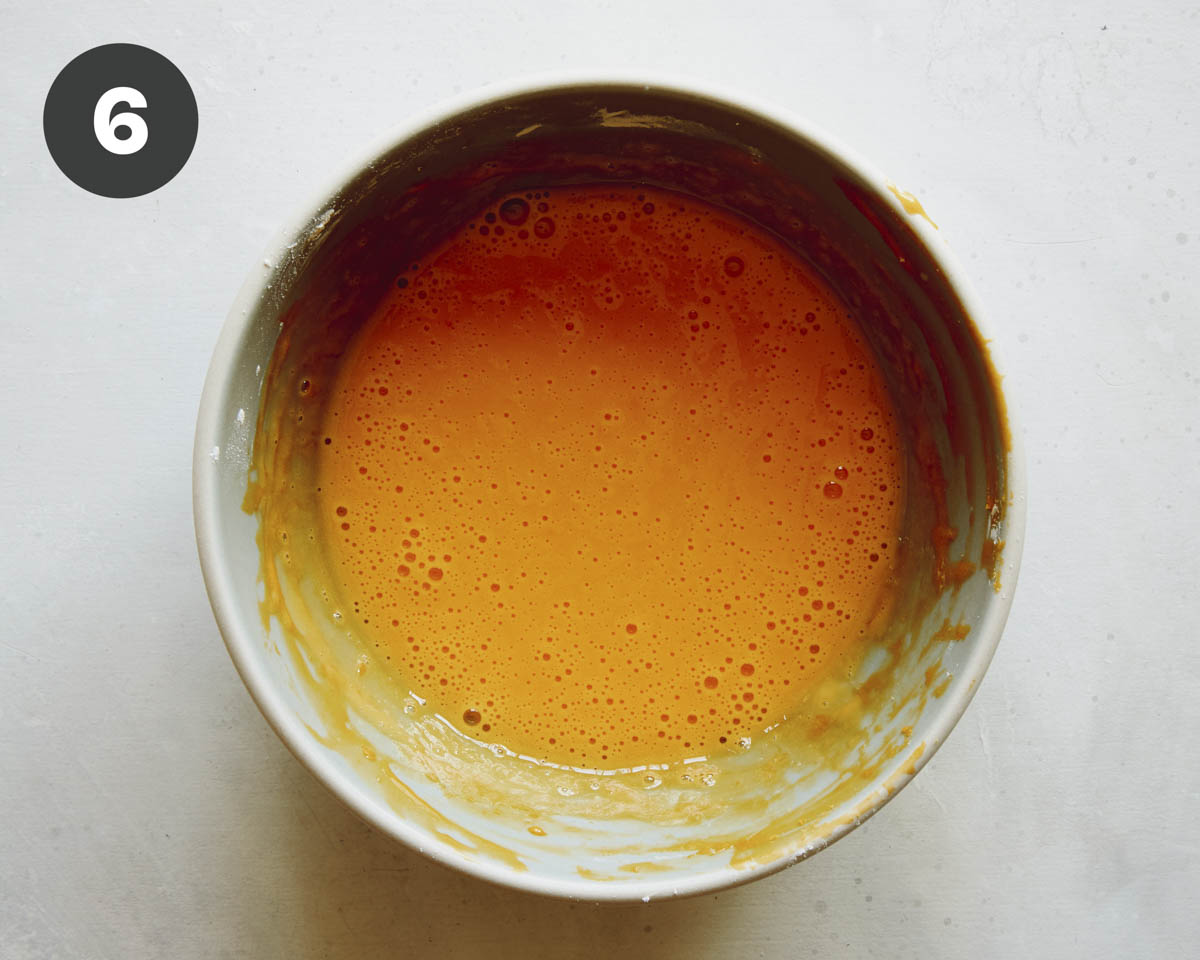
- Remove some hot milk from the pot and whisk into the yolks (in a mixing bowl) in a very slow and steady drizzle, making sure not to scramble the yolks.
- Lower heat and pour tempered egg yolk mixture back into the pot and stir together until smooth.
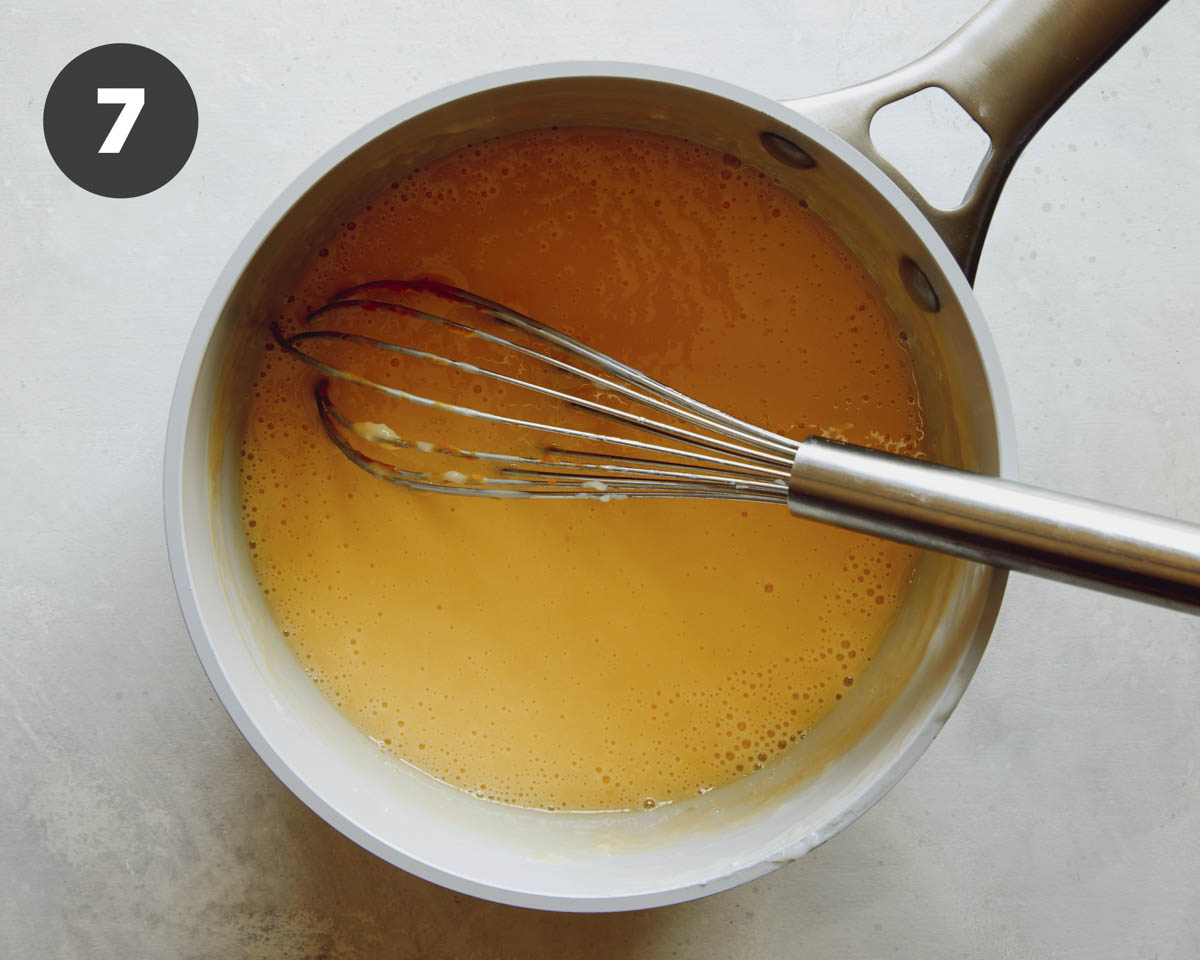
- Cook the mixture for a few minutes before removing from heat and stirring in the butter and vanilla. Stir until butter melts and is evenly incorporated into the pie filling. Mixture should be very thick.
- Place pot directly into an ice bath (to stop the cooking process), stirring occasionally until banana cream pie filling is slightly cooled.
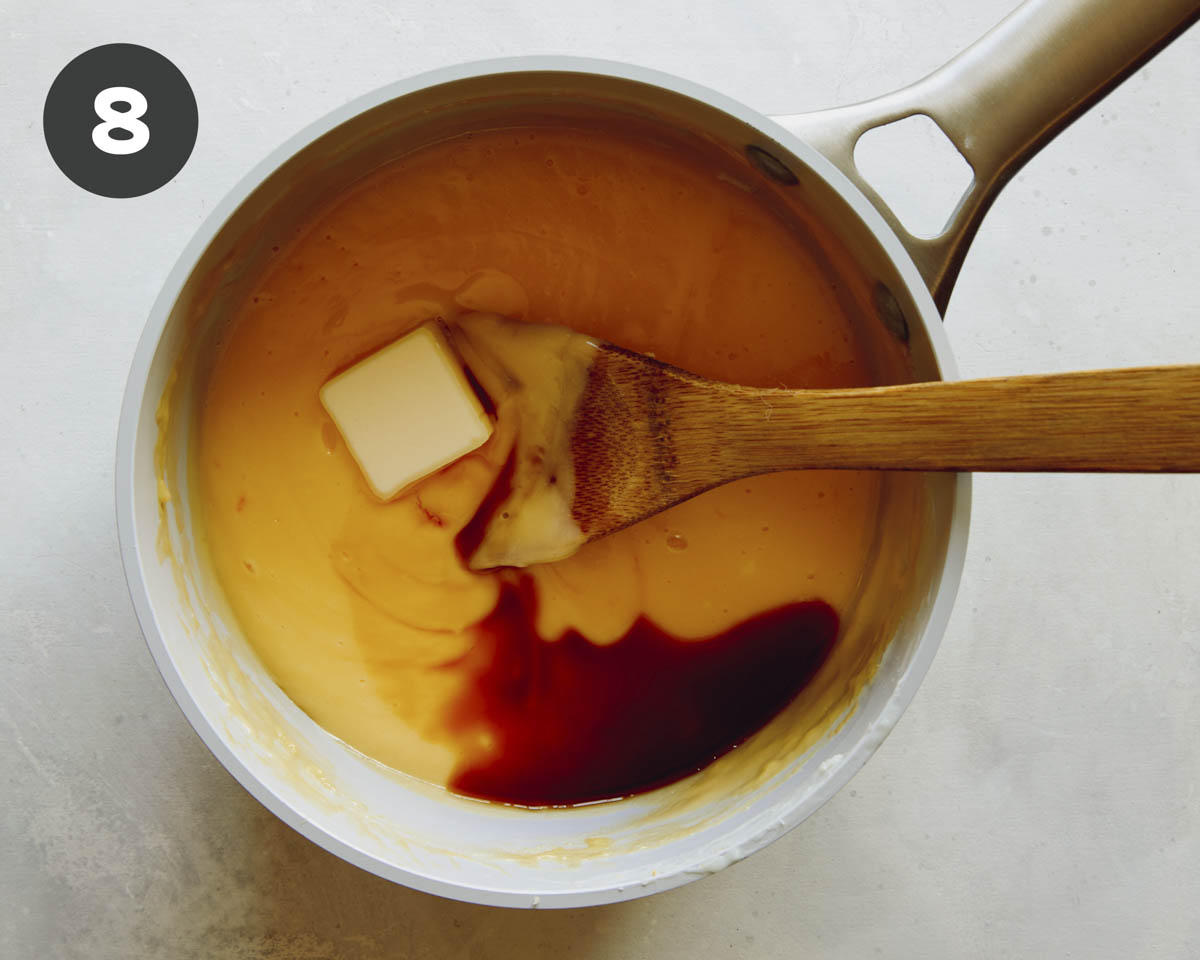
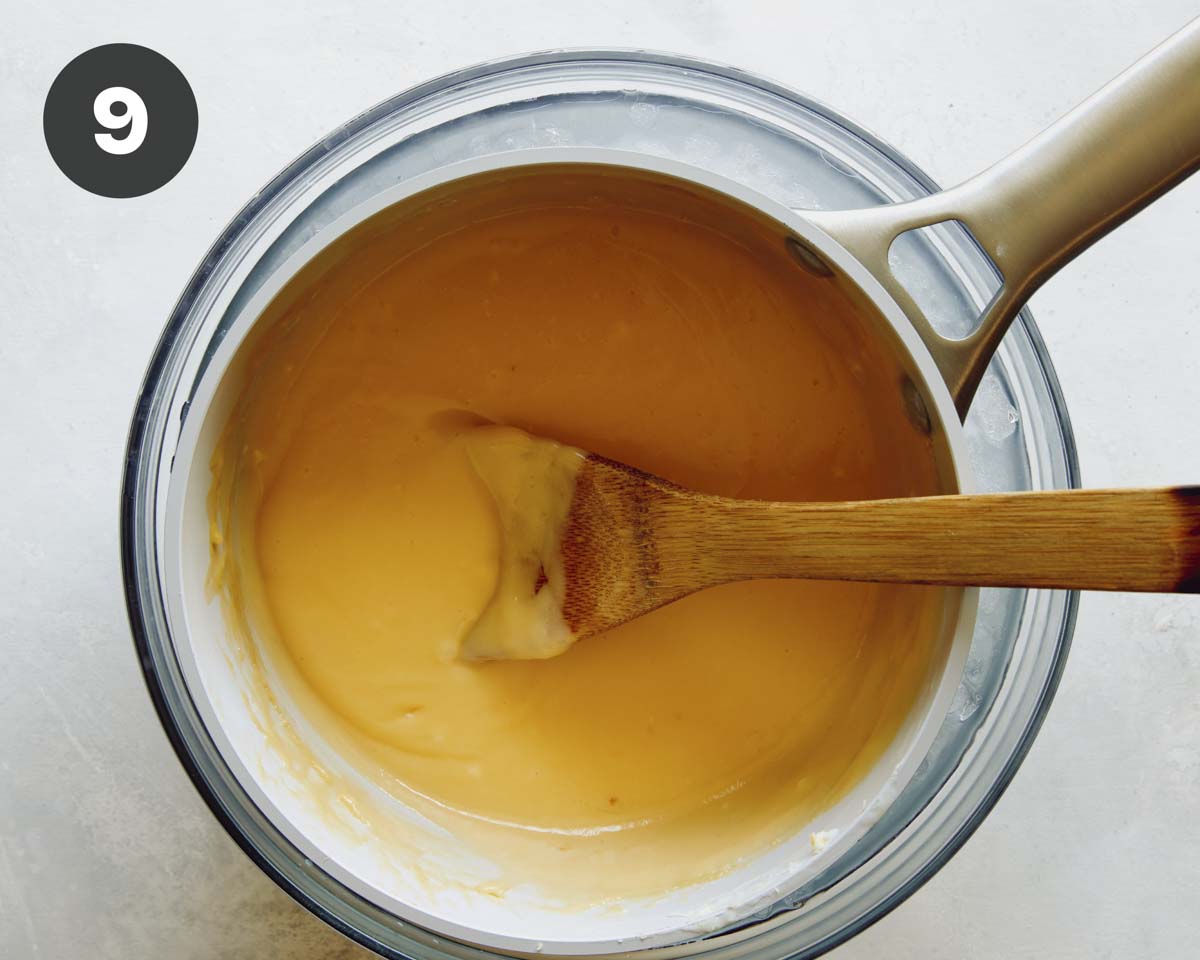
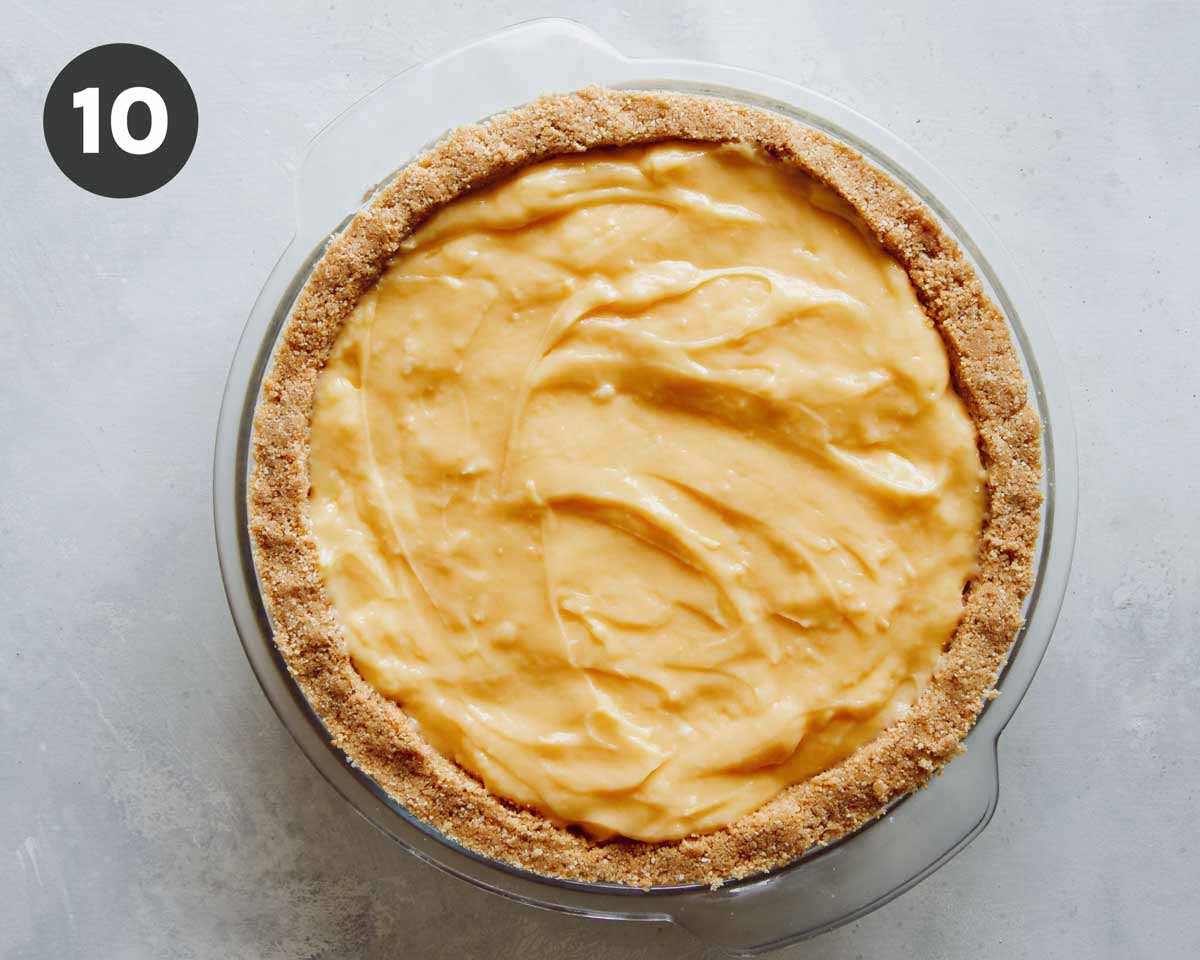
- Pour pudding into prepared crust and spread into an even layer. Refrigerate until filling has set and pie is cold.
TOPPING
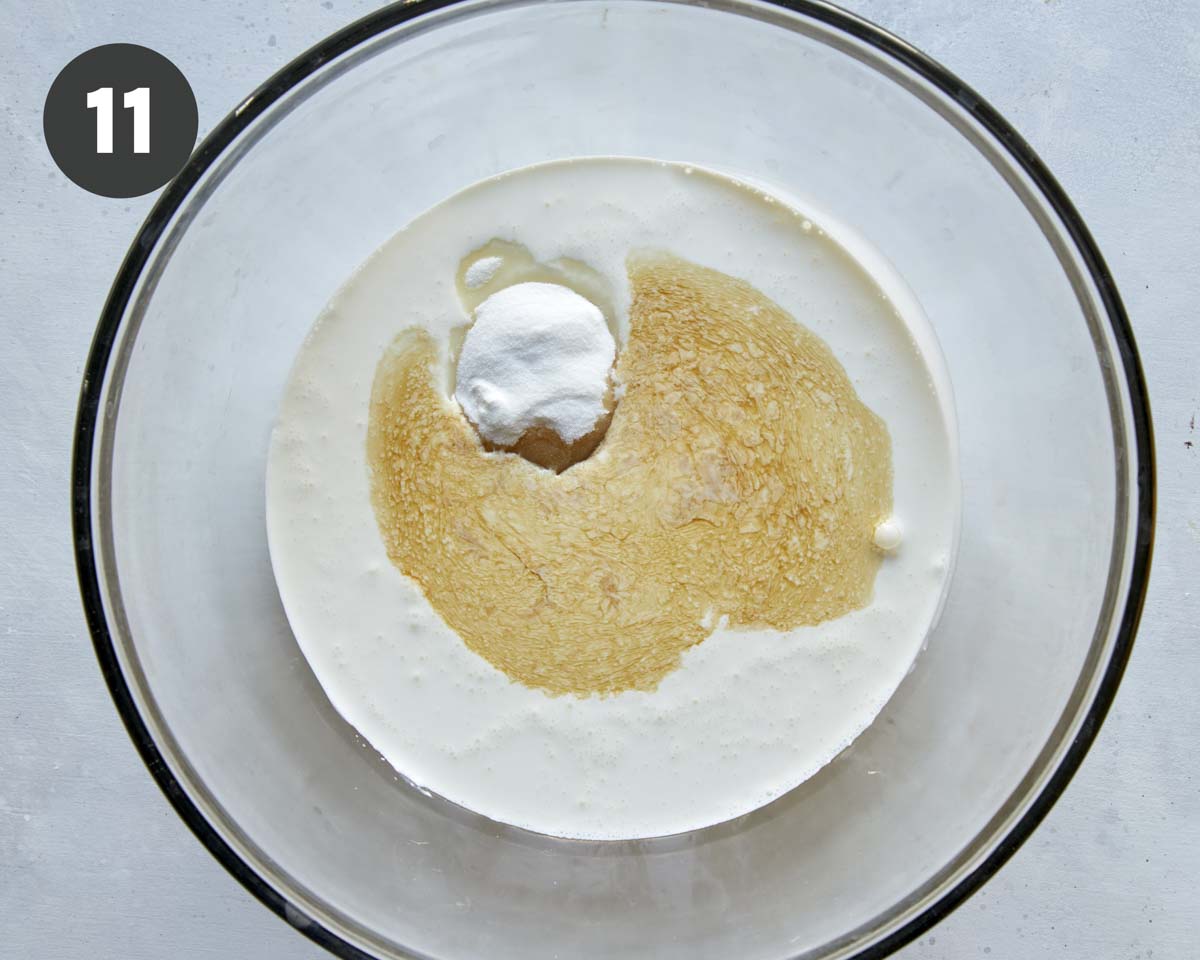
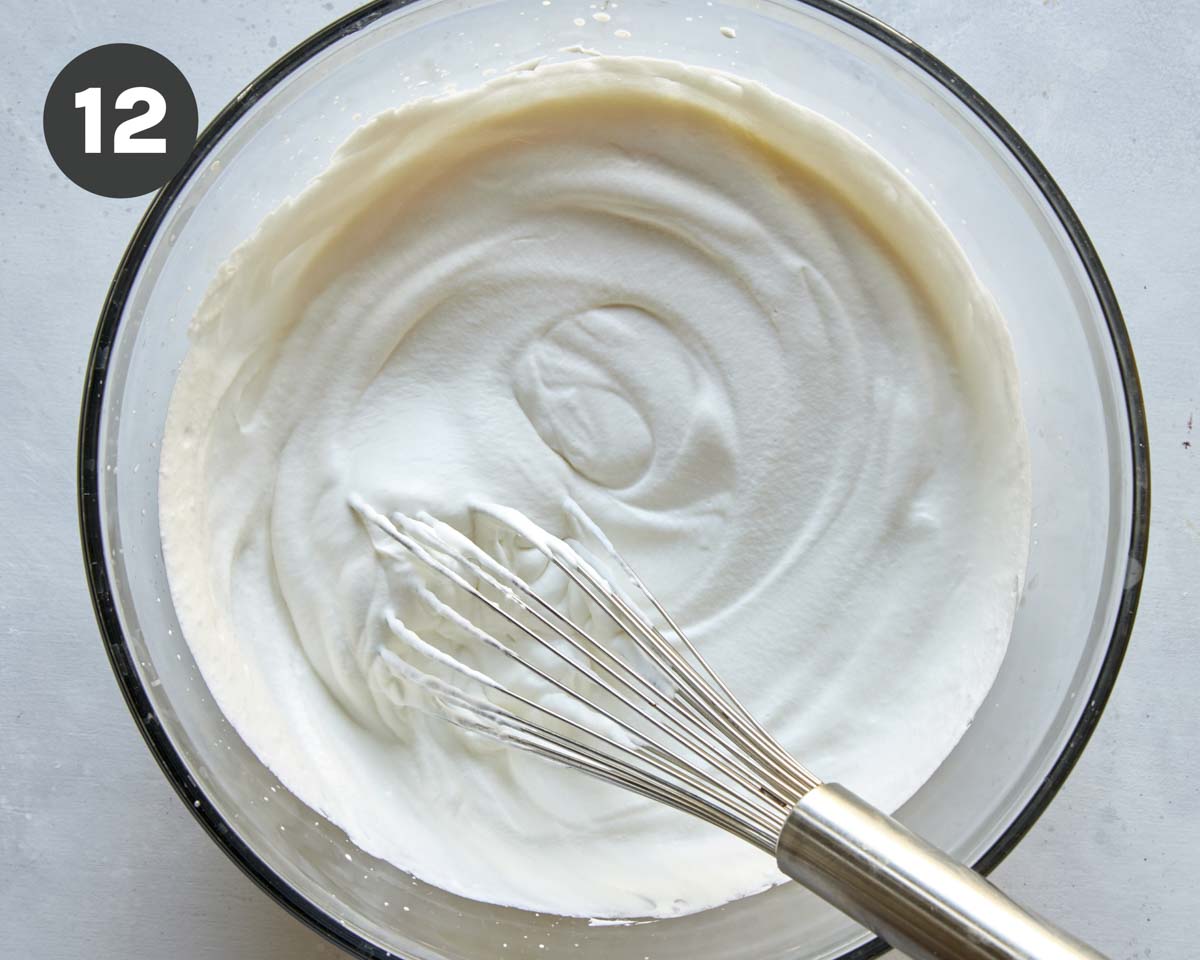
- In a large mixing bowl combine heavy whipping cream, sugar, vanilla, and salt.
- Beat mixture until stiff peaks just form, being careful not to over whip.
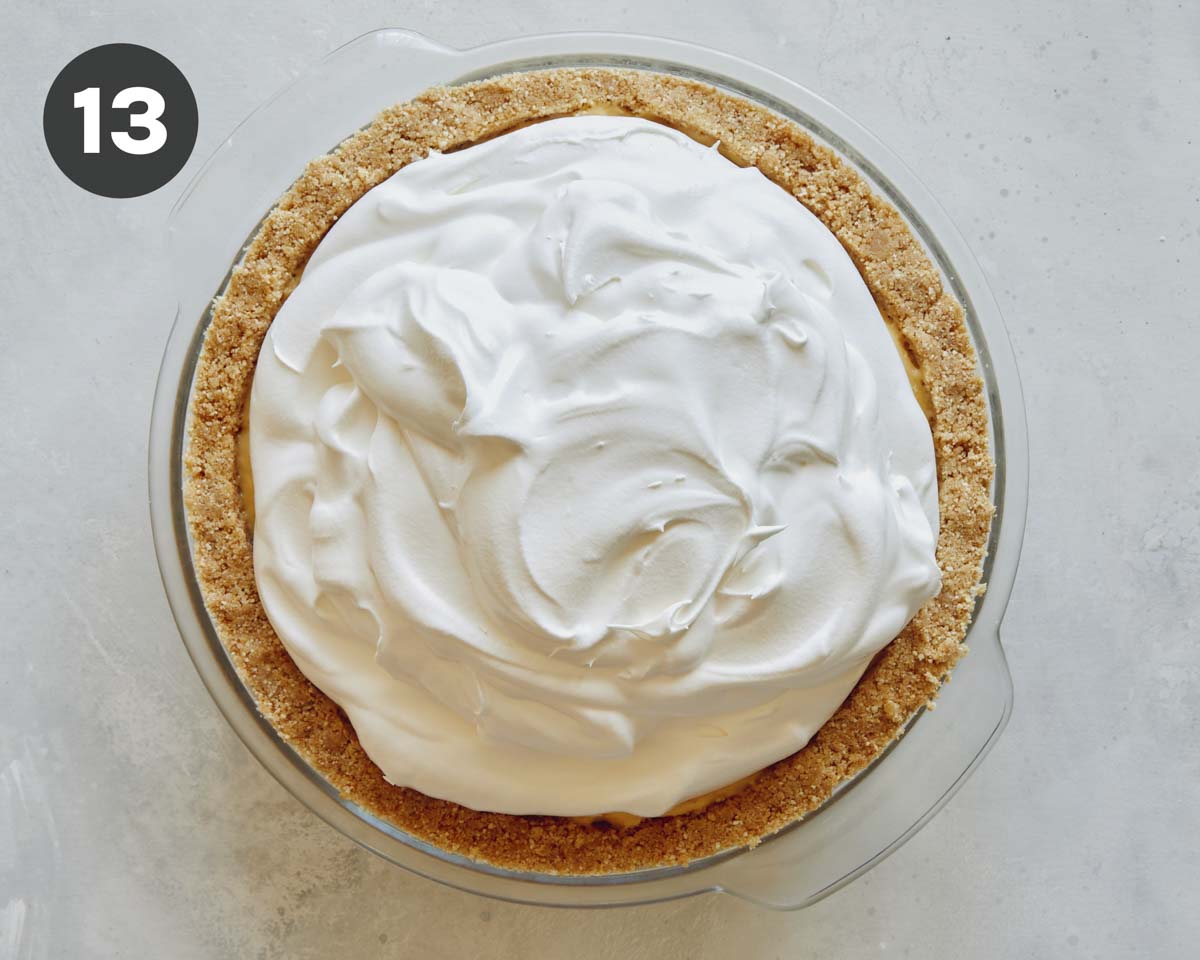
- Pile fresh whipped cream over pie in large dollops.
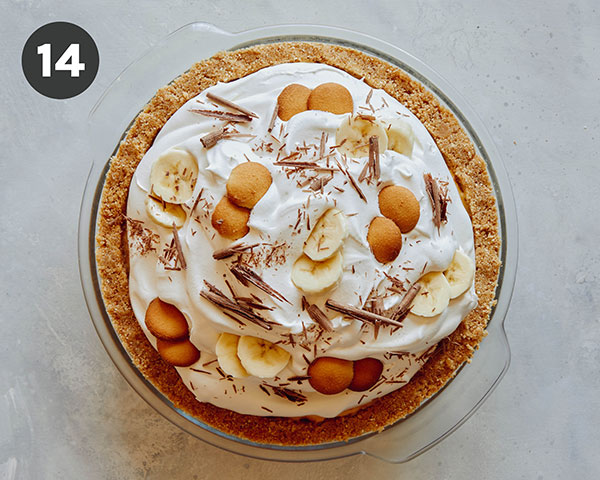
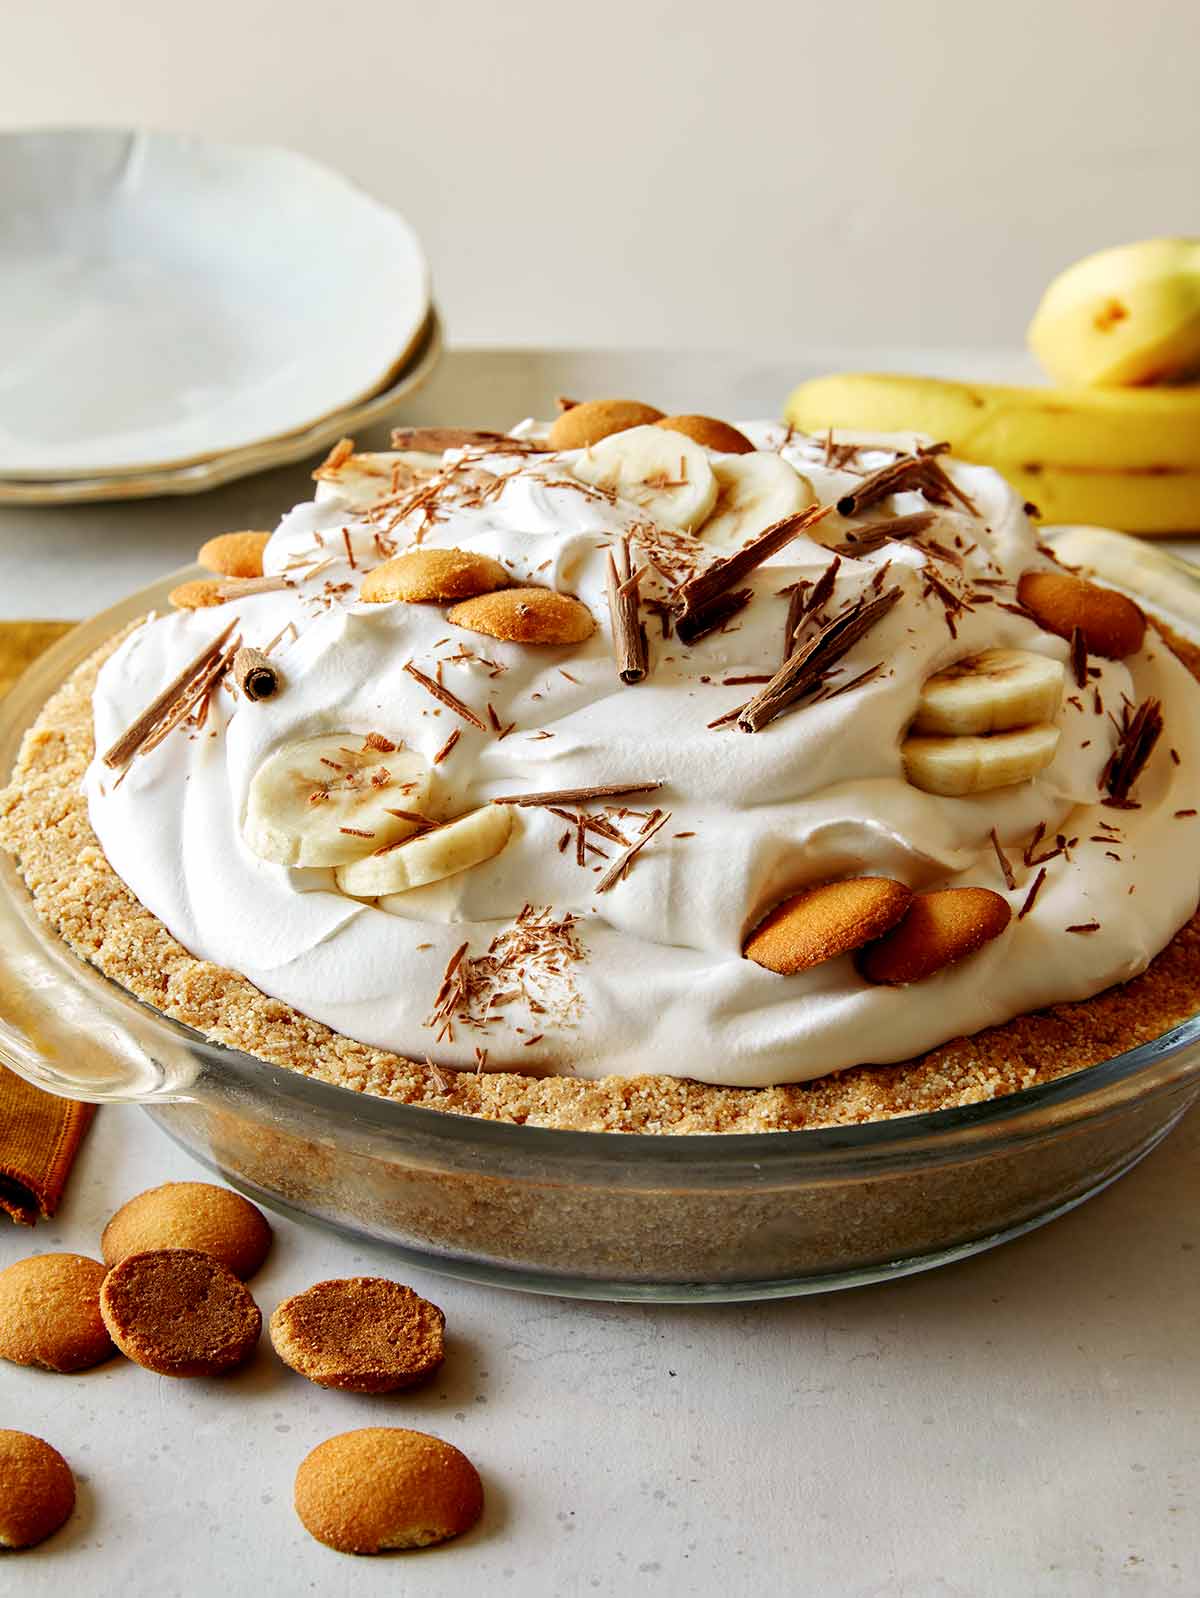
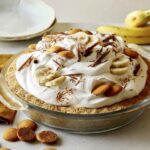
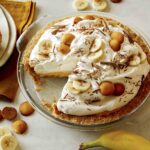
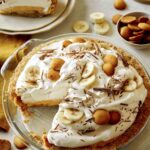
- Finish with sliced bananas, shaved chocolate and mini Nilla wafers (if using). Slice banana cream pie and serve.
Why is My Custard Runny?
The custard for our banana cream pie recipe sets pretty stiff (and should already be quite thick when pulled off the stovetop), making it easily sliceable! If you find your custard is runny the most likely culprit is either over-mixing or not cooking the yolks long enough.
To prevent over-mixing we like using a wooden spoon instead of a whisk. The only time we may use a whisk for the custard is when we temper the egg yolks and when we pour the tempered yolk mixture back into the pot (to help prevent scrambling).
If you’re not over-mixing, but the custard is still thin, your egg yolks are probably undercooked. The proteins in the yolks need enough time to cross link and disrupt the flow of water, or thicken. Just give your custard a few more minutes on the stovetop and it should begin to thicken nicely.
Tips and Tricks for Success
Our banana cream pie recipe is EASY, but there are a few useful tips we wanted to highlight to ensure the most successful pie making experience!
- As we mentioned above it’s important not to over-mix the filling as it cooks and to cook the yolks long enough to prevent the filling from being runny.
- Alternatively, if you find your filling is too thick you can whisk the mixture to loosen it up. You can also add a little more milk, 1 tablespoon at a time (up to 4 tablespoons) to loosen the filling up.
- If you happen to scramble your custard, just push the mixture through a fine mesh sieve to strain out the bits of scrambled eggs and you’re good to go!
More Crust Options
The Nilla wafer crust is our favorite crust for this recipe. If you can’t find Nilla wafers or you just want a different option a couple of our other favorite crusts for this pie are are this graham cracker crust (just double the recipe!) and our cream cheese crust.
Make Ahead and Freezing Instructions
Make Ahead
Our pie can be fully made 2 days in advance. The pie can be stored in the refrigerator until ready to serve. If making pie ahead of time, garnish banana slices should be added just before serving.
Freezing
Banana cream pie freezes very well and can be frozen for up to 2 months. To freeze, place pie in the freezer until frozen. Once frozen, carefully but tightly wrap in plastic wrap, followed by foil and place back in the freezer.
To thaw, unwrap pie from foil and plastic wrap and thaw in the refrigerator for a few hours. Keep garnish banana slices off of the pie until ready to serve.
More Delicious Banana Dessert Recipes You Will Love
Banana Cream Pie Recipe
EQUIPMENT
INGREDIENTS
crust
- 2 2/3 cup finely crushed Nilla Wafer crumbs (11 ounces)
- 3/4 cup unsalted butter, melted and cooled
filling
- 2 cup whole milk
- 2/3 cup sugar
- 4 tablespoons cornstarch, divided
- 1/4 teaspoon salt
- 2 large egg yolks
- 1 tablespoon unsalted butter
- 2 teaspoons vanilla extract or vanilla paste
- 1 1/2 bananas, peeled and sliced into 1/2" rounds
topping
- 2 cups heavy cream
- 1/4 cup sugar
- 1 teaspoon vanilla extract or vanilla paste
- 1/8 teaspoon salt
optional garnishes
- 1/2 banana, peeled and sliced
- 8-10 mini Nilla wafers
- 1/2 ounce shaved dark chocolate
INSTRUCTIONS
crust
- Place ingredients into a mixing bowl and stir together until fully combined.
- Pour crust mixture into a 9 inch pie dish and evenly press mixture into the bottom and sides of the dish.
- Refrigerate for 1 hour, until crust is firm.
filling
- Line bottom of chilled crust with a layer of banana slices and set aside.
- Place milk, sugar, 3 tablespoons cornstarch, and salt into a saucepan and place over medium heat. Whisk mixture until smooth and bring to a simmer, occasionally stirring with a wooden spoon until thick enough to coat the back of the spoon, 5 to 6 minutes.
- In a small bowl, whisk together remaining tablespoon cornstarch and egg yolks until mixture is smooth.
- Remove 1 cup hot milk from the pot and whisk into the yolks (in a mixing bowl) in a very slow and steady drizzle, making sure not to scramble the yolks.
- Lower heat to medium-low and pour tempered yolk mixture back into the pot and stir together until smooth.
- Cook the mixture for 2 to 3 more minutes, before removing from the heat and stirring in the butter and vanilla. Stir until butter melts and is evenly incorporated into the pudding. Mixture should be very thick.
- Place pot of pudding directly into an ice bath (to stop the cooking process), stirring occasionally until slightly cooled, 10 to 25 minutes.
- Pour pudding into prepared crust and spread into an even layer and refrigerate between 2 hour and 6 hours (until filling has set and pie is cold) and up to 24hours.
topping
- In a large mixing bowl combine cream, sugar, vanilla, and salt.
- Beat mixture until stiff peaks just form, being careful not to over whip.
optional garnishes
- Pile whipped cream over pie in large dollops and finish with sliced bananas and shaved chocolate. Slice and serve.
NOTES
- It’s important not to over-mix the filling as it cooks and to cook the yolks long enough to prevent the filling from being runny.
- Alternatively, if you find your filling is too thick you can whisk the mixture to loosen it up. You can also add a little more milk, 1 tablespoon at a time (up to 4 tablespoons) to loosen the filling up.
- If you happen to scramble your custard, just push the mixture through a fine mesh sieve to strain out the bits of scrambled eggs and you’re good to go!


Did you make this recipe? We want to see!
tag @SpoonForkBacon and #SpoonForkBacon on Instagram
The pie is in the fridge as we speak! My family and I are going to dig into that bad boy tonight and I can’t wait. I did get a taste of the cooled filling before it went into the crust and WOW! It’s delicious! Easy to make too!
Yum! This pie was WAAAYYY easier to make than I ever imagined! It’s also VERY tasty! 6 of us polished this entire pie off in a single sitting. Whoops!