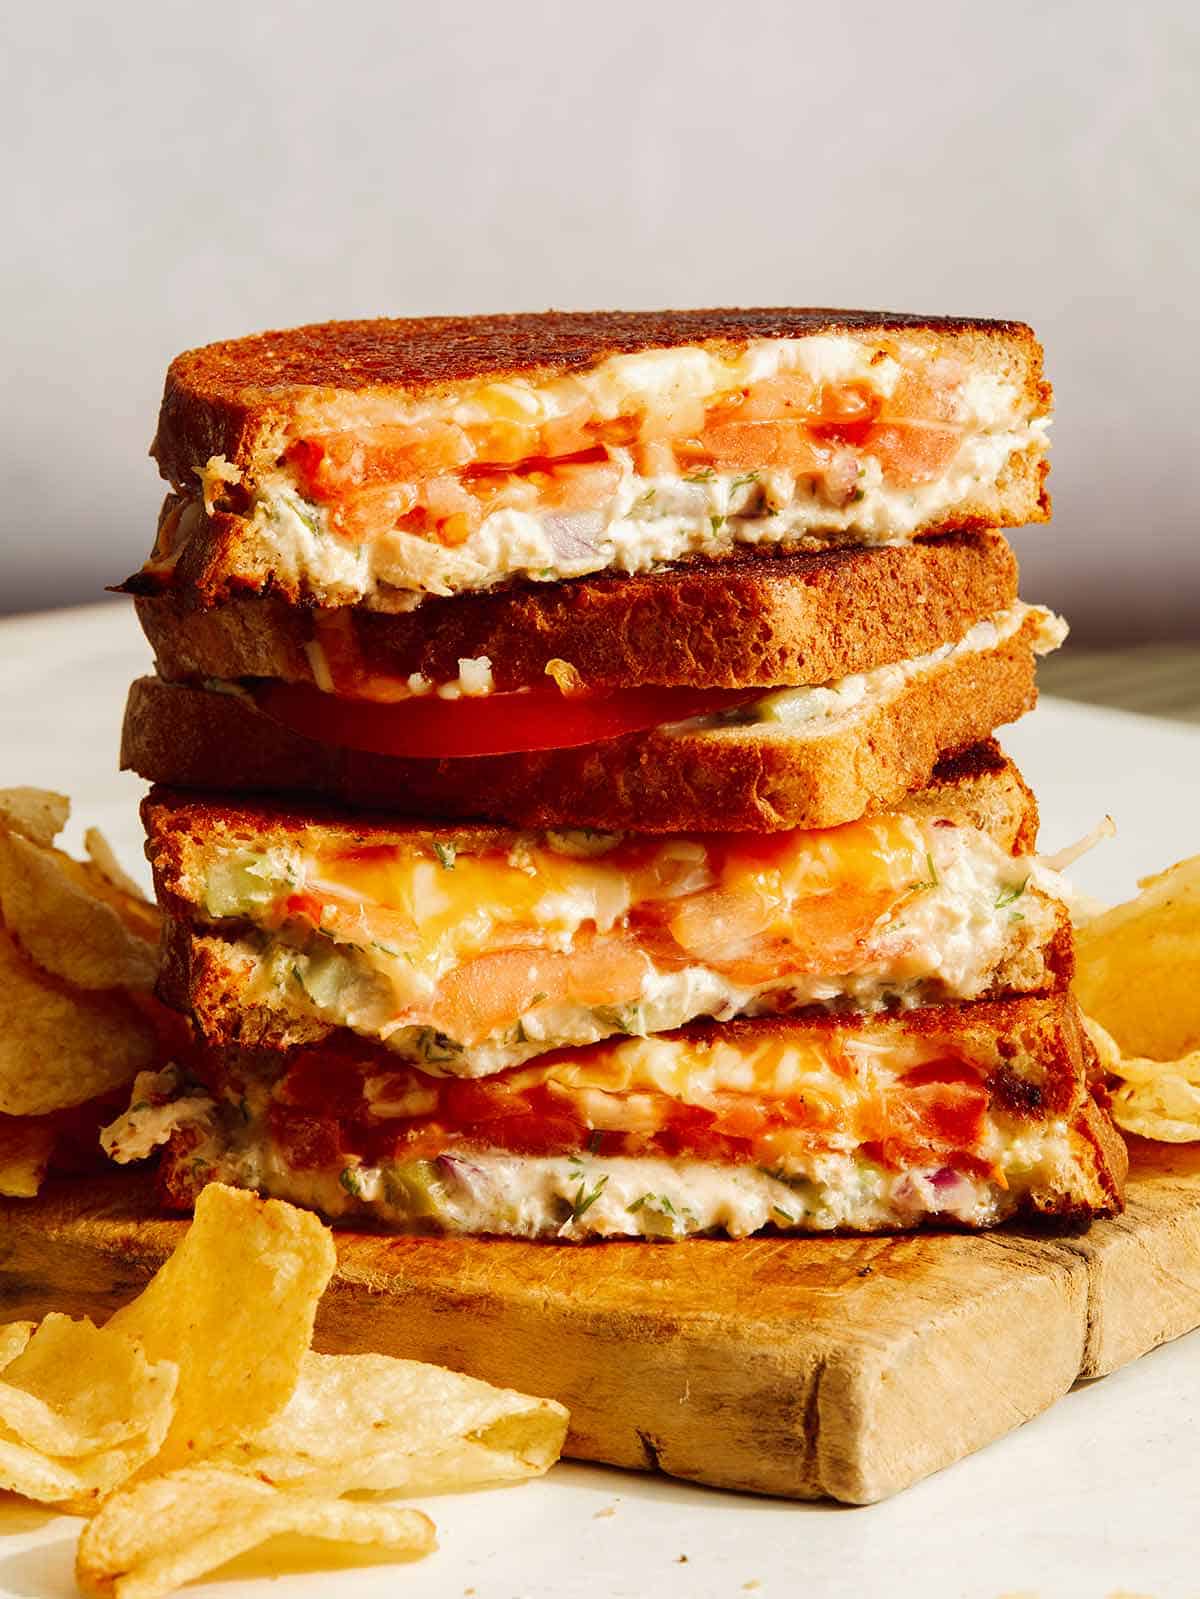
Sandwiches are one of our favorite things to eat and this Tuna Melt Recipe is truly our jam. We love the simplicity, versatility and flavor packed deliciousness that is this sandwich. We love adding a little creaminess, a bit of crunch and some herbaceous goodness, for what we think creates the perfect balance for the best tuna melt ever!
How to Make the BEST Tuna Melt
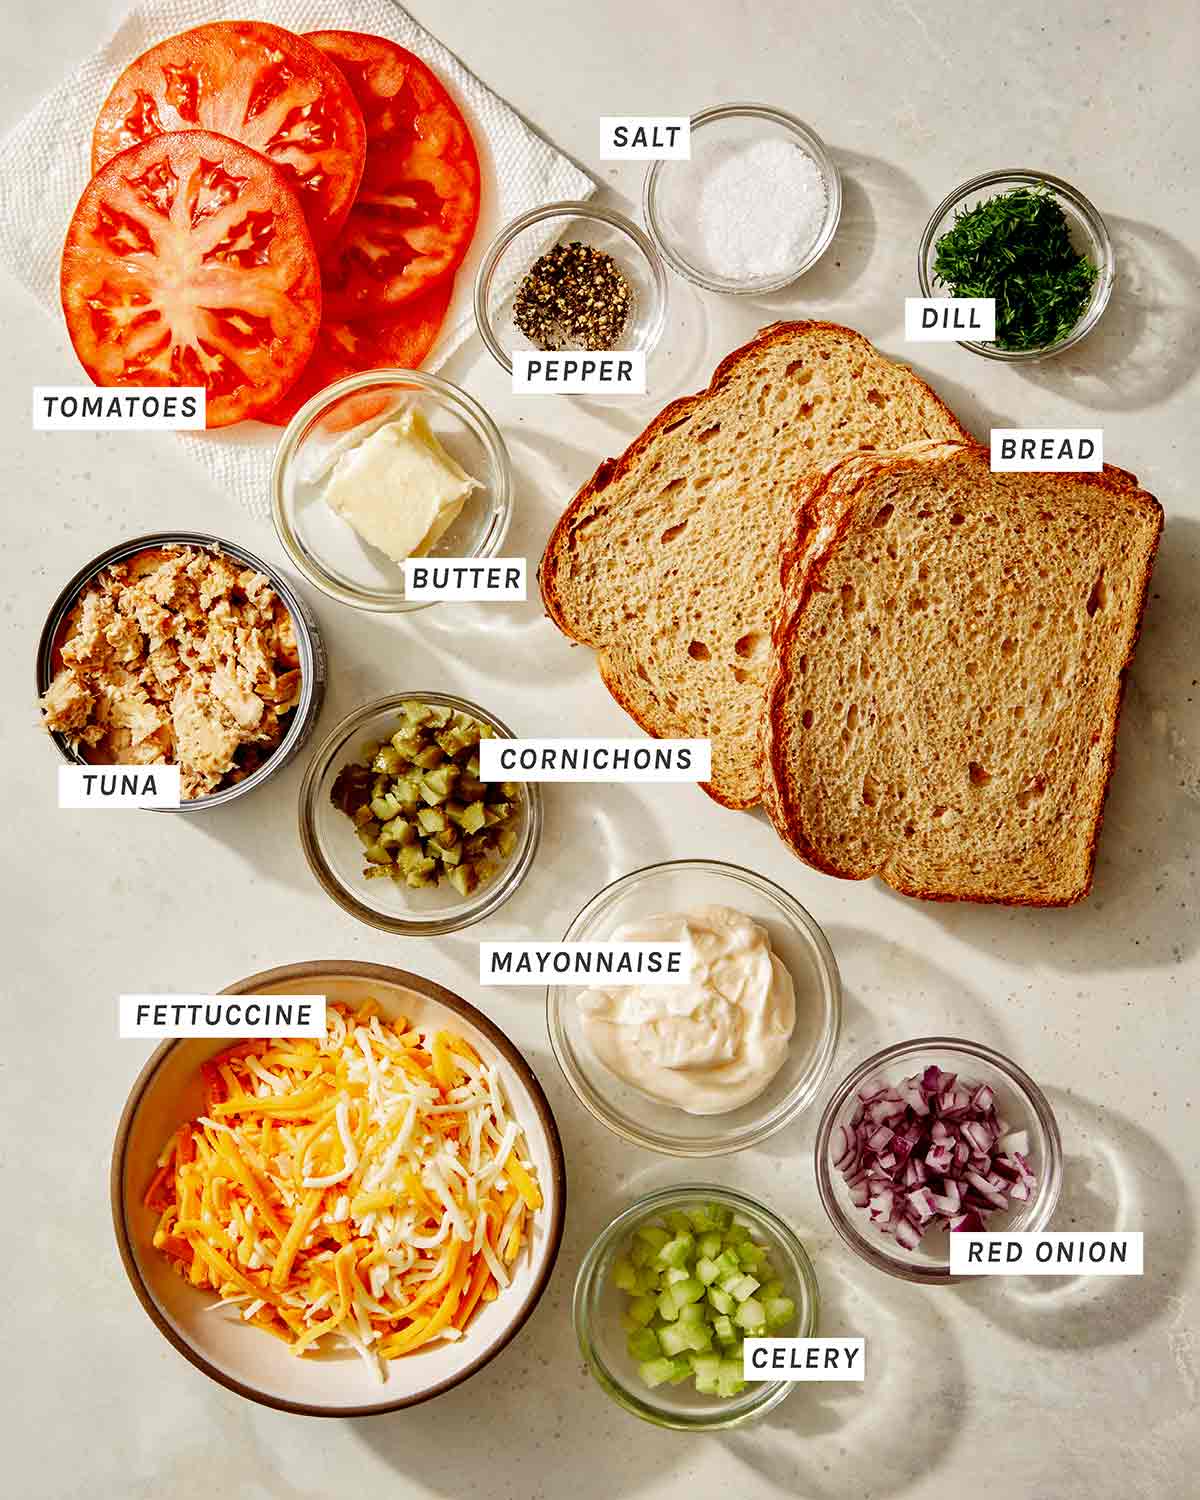
Ingredients
Process
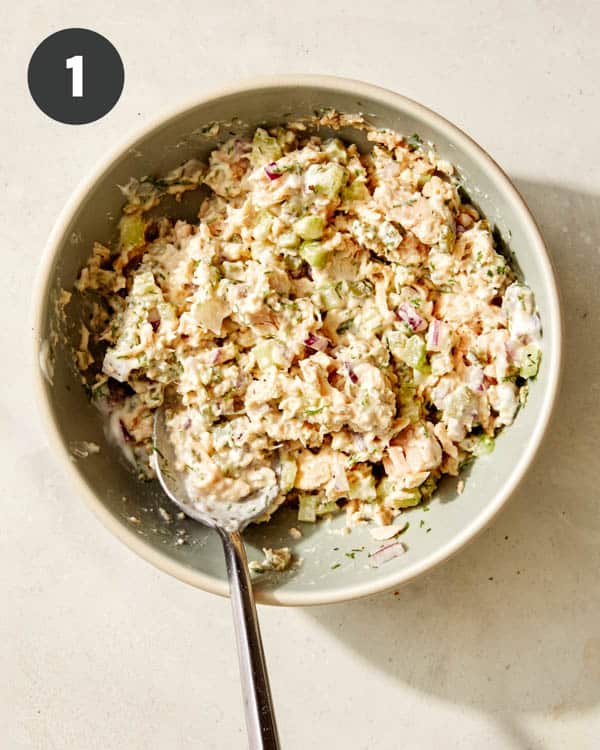
- In a mixing bowl combine tuna, mayonnaise, celery, red onion, dill, and cornichons. Season with salt and pepper and stir together.
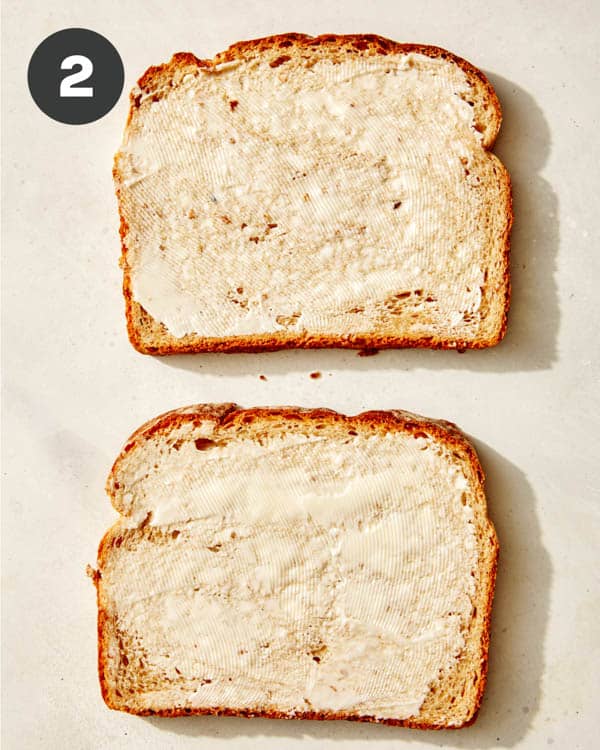
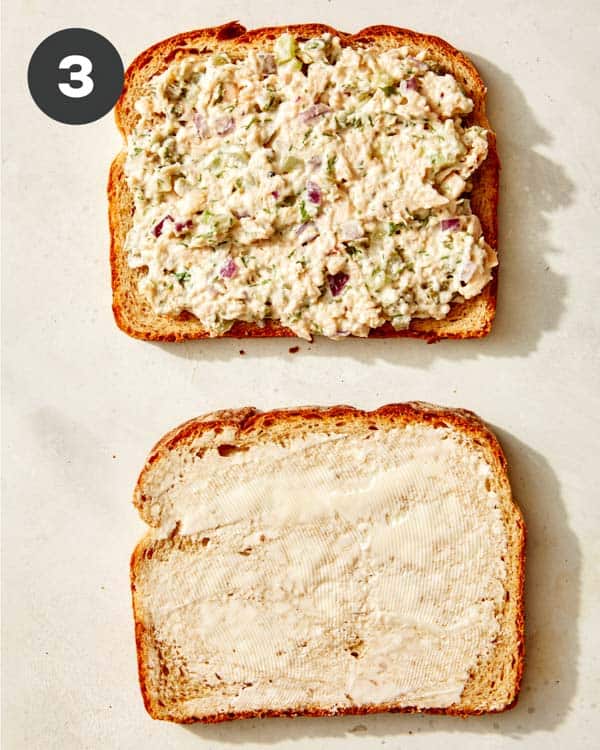
- Spread 1/2 tablespoon butter over each slice of bread and turn two slices butter side down.
- Top each butter side down slice of bread with tuna mixture.
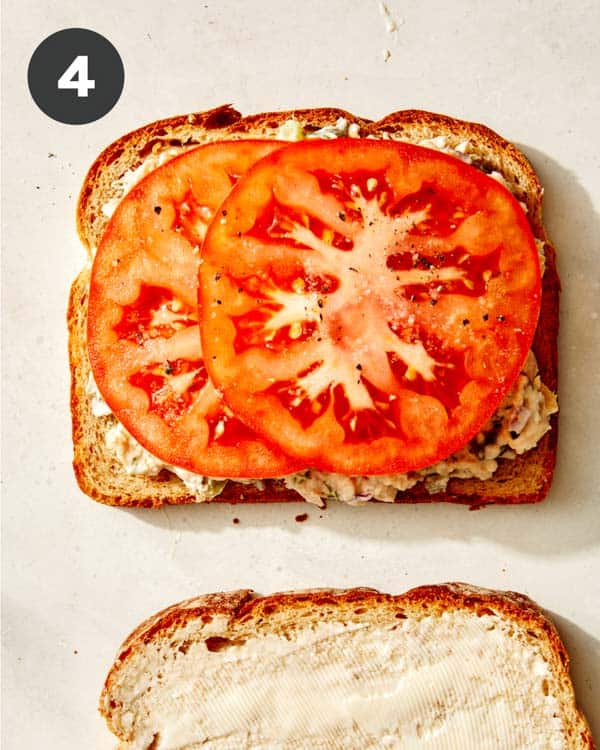
- Top with sliced tomatoes.
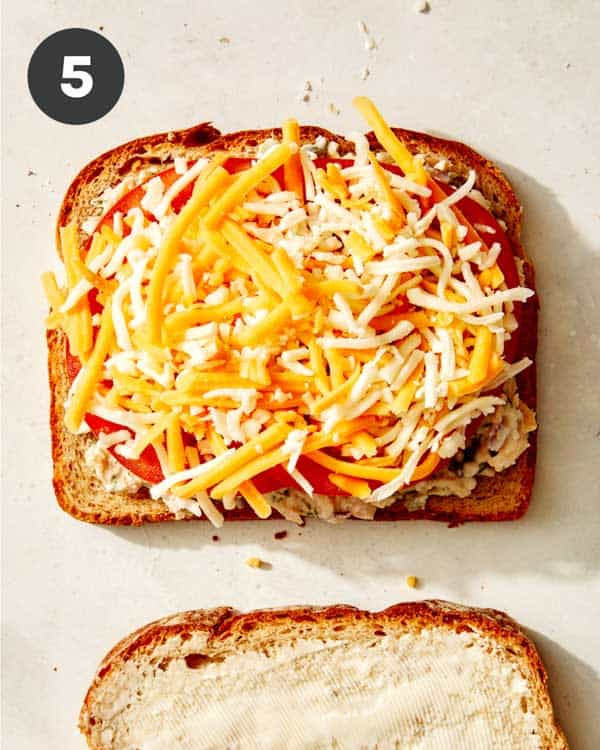
- Top with shredded cheese.
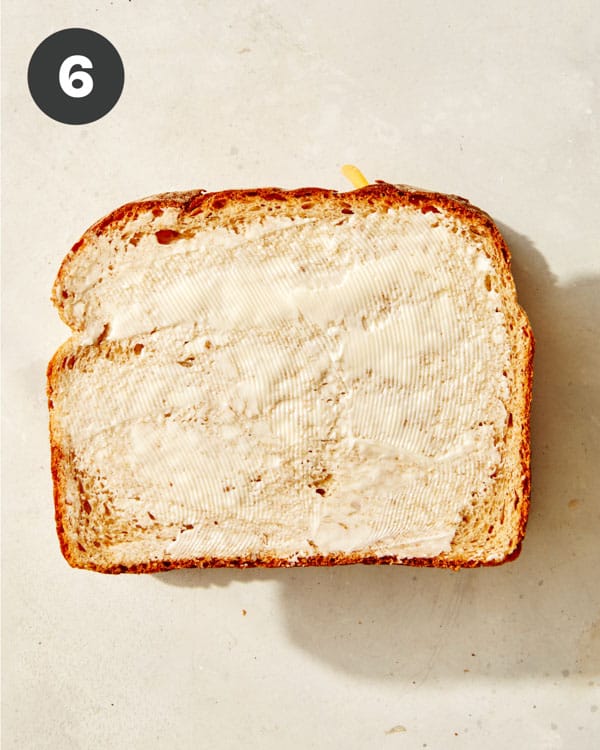
- Finally top with remaining slices of bread.
- Heat a skillet over medium heat and melt butter. Add sandwich and toast for 4 to 5 minutes or until bread is toasted and cheese begins to melt. Flip sandwich, cover with a lid and continue to toast for an additional 2 to 3 minutes or until bread has toasted and cheese has fully melted. Uncover.
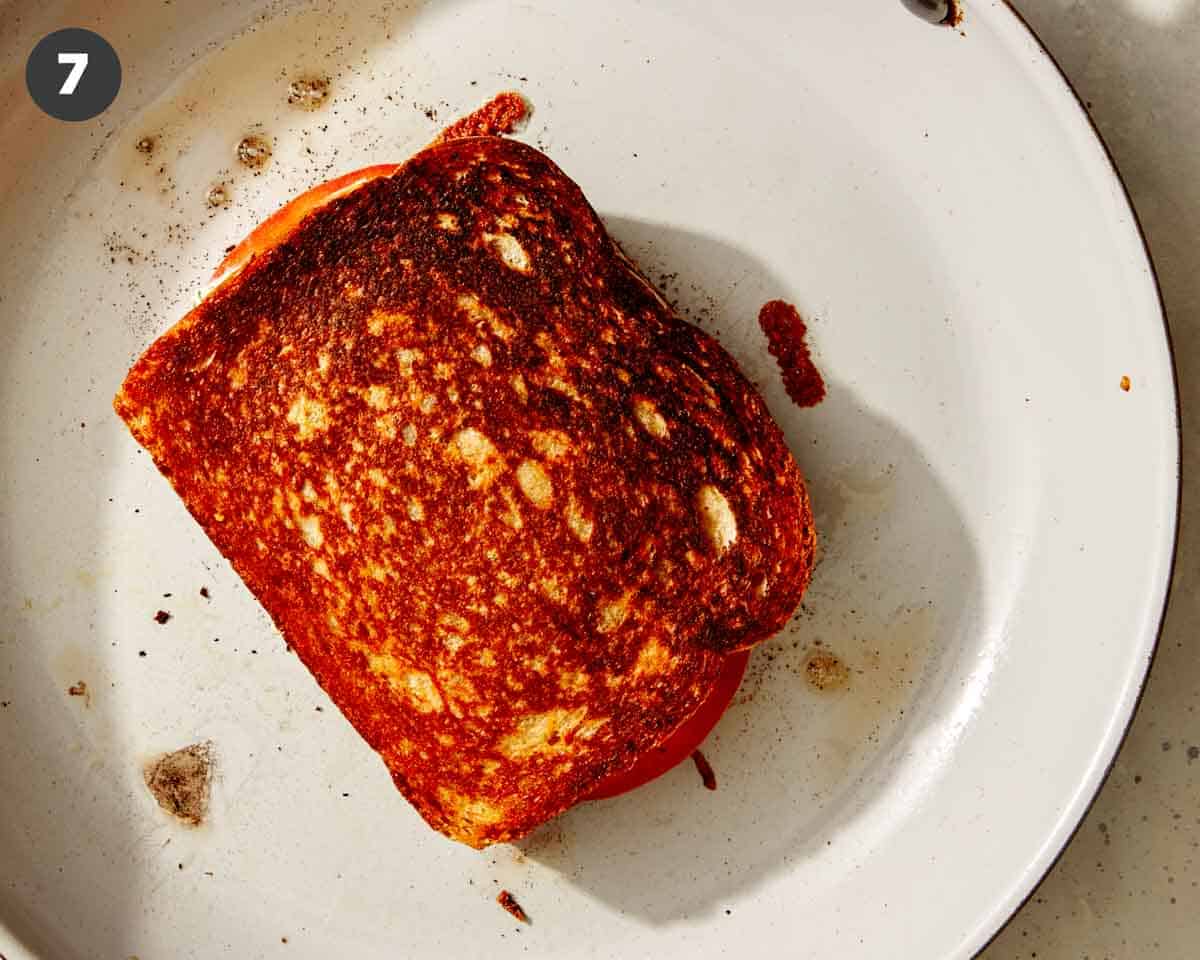
- Remove from skillet, slice in half and serve.
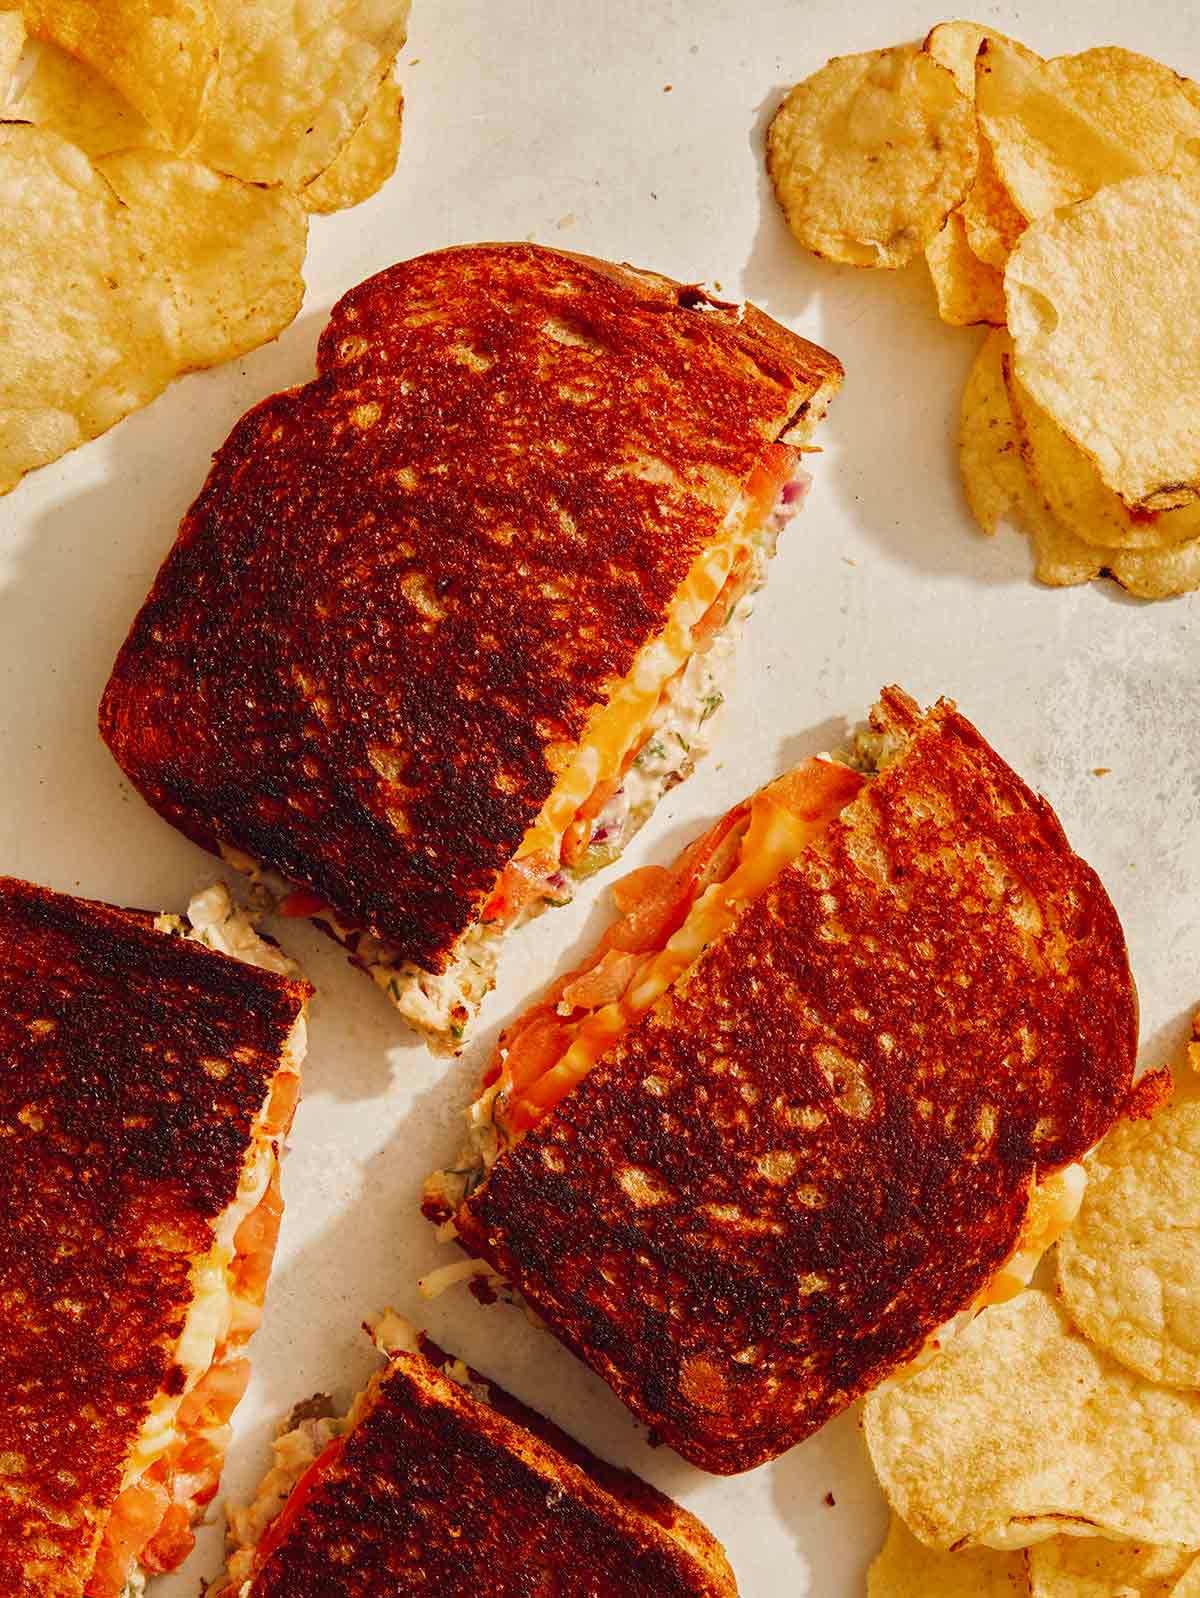
Best Canned Tuna to Use for a Tuna Melt
There are so many different brands of canned tuna out there it’s hard to figure out which is the best option for you. Our personal favorite canned tuna, especially for tuna melts is Safe Catch. We love this brand because it’s 100% wild and sustainably caught, slow-cooked for the best flavor and best of all it’s the only brand that tests every single fish they use for mercury!
If you can’t find this brand or don’t love the price point (we get it!) some of our other favorite brands are:
Tips and Tricks
We know making a tuna melt recipe is sort of a no brainer, but there are a few things we do to guarantee the best results!
- We don’t go overboard with the mayonnaise! We want the melt to be creamy, but if it’s too creamy and ‘wet’ it won’t hold up nicely while being toasted up!
- We add onions, celery and cornichons for taste AND texture! We obviously want the melt to taste good, but we’re also huge on texture, and the combination of bits added to our filling really make this melt shine!
- Covering the pan once the melt is flipped. This helps the cheese to melt quicker, without burning the melt or making it soggy and you definitely want the cheese to get nice and melty for it to be a proper tuna melt!
Variations
- Replace the cornichons with diced pickles or even some pickle relish
- Mix up the herbs by adding some thinly sliced chives, minced thyme, or (our personal favorite) minced tarragon
- Add a spoonful of chili paste to the filling, a few dashes of hot sauce, or some minced pickled jalapenos for a little kick!
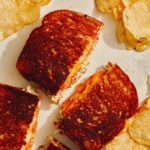
Our Parmesan Crusted Spicy Tuna Melt Variation (as seen on IG/FB/TikTok)
We took our tuna melt a recipe spiced it up a bit. We simply added 1 tablespoon of calabrian chili pepper paste to the filling for some heat. Then we enhanced the bread by turning it into a parmesan crusted garlic bread! Instructions for that below!
- Combine 3 tablespoons softened, unsalted butter, 2 teaspoons thinly sliced chives, 1 1/2 teaspoons garlic powder, 1/2 teaspoon onion powder, and 1/4 teaspoon salt in a small mixing bowl and whisk together.
- Spread 1 1/2 tablespoons butter evenly over each slice of bread.
- Spread Parmesan onto a plate in an even layer and press one of the butter smeared bread slices (butter side down) into the parmesan. Gently shake to remove excess parm. Repeat with remaining bread slice.
- Place a pan over medium-low heat. Once hot add one slice of bread (parm side down).
- Top with tuna mixture, sliced tomato and shredded cheese and gently press the other slice of bread (butter/parm out) over the shredded cheese.
- Cook for 3 to 4 minutes or until toasted on the bottom and the cheese begins to melt.
- Flip the melt, cover with a lid and continue to cook for an additional 2 to 3 minutes or until cheese has melted and bottom is toasted.
- Remove from heat, slice and serve.
Prep Ahead Instructions
The tuna filling can be made up to 2 day ahead of time. Once the filling is made, transfer to an airtight container and refrigerate until ready to use.
More Delicious Sandwich Recipes You Will Love
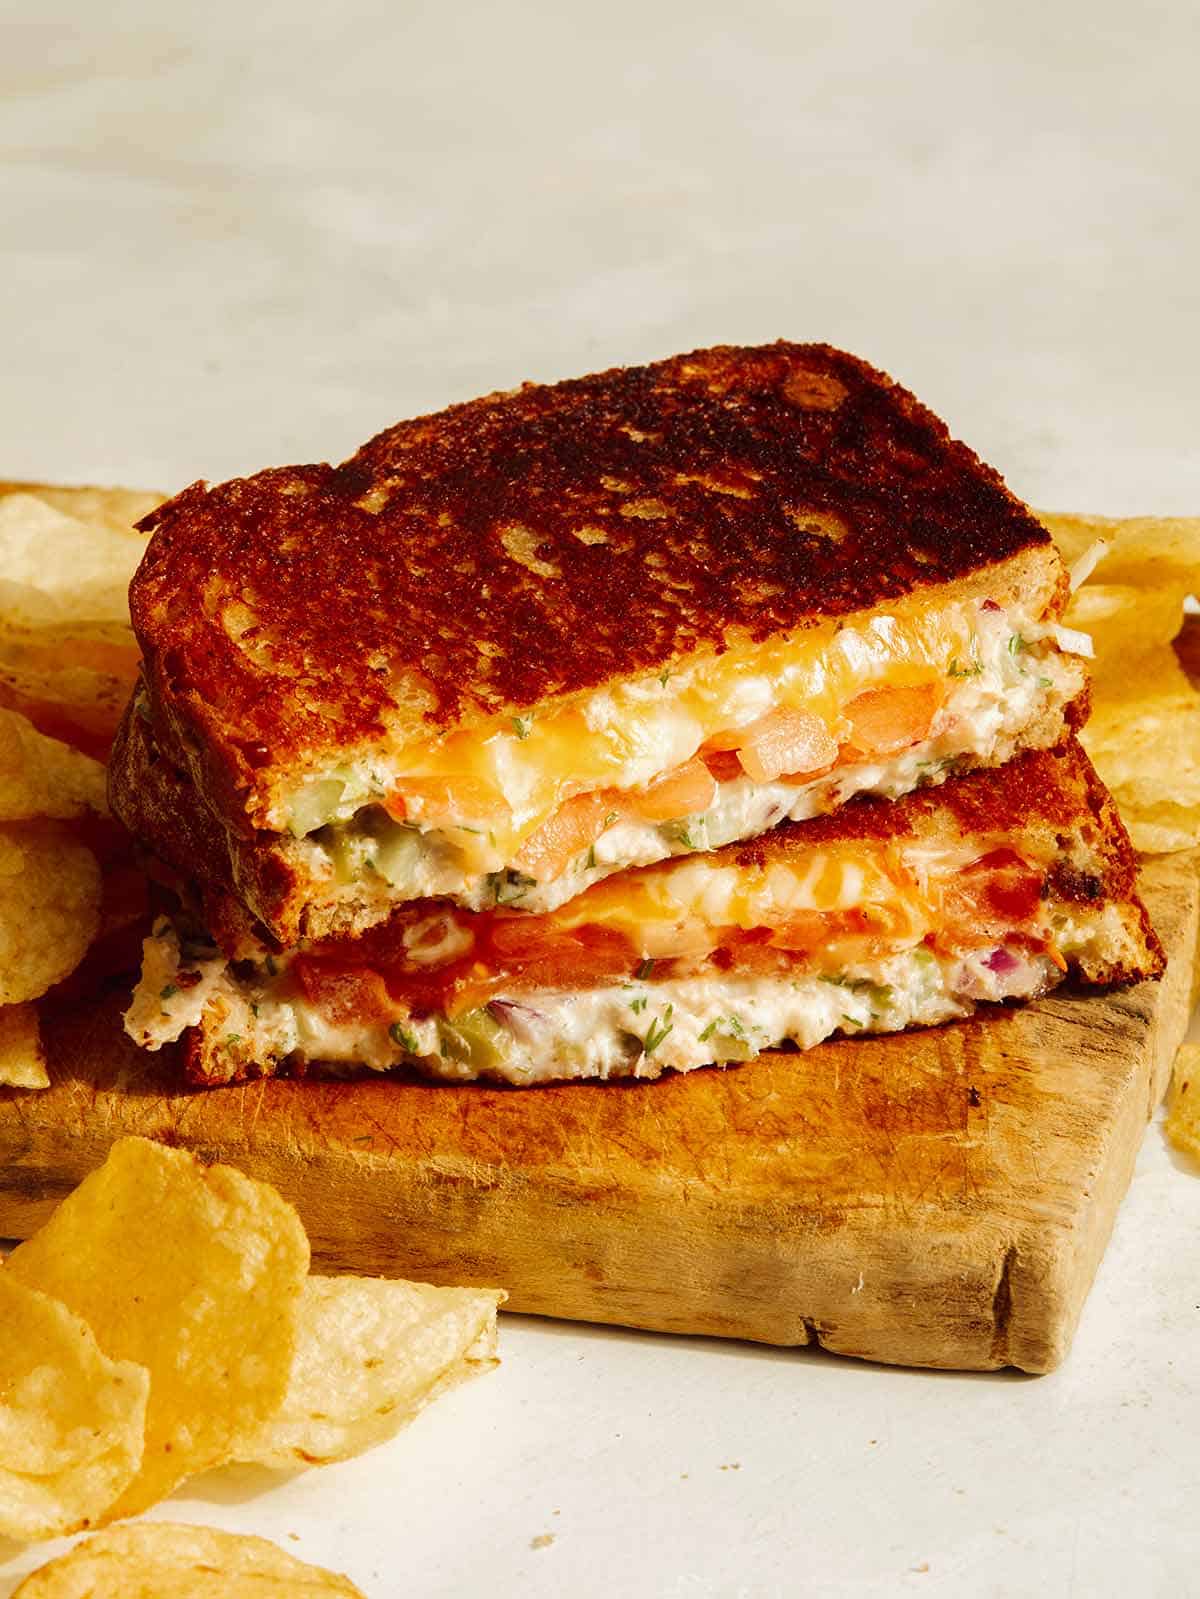
Tuna Melt Recipe
INGREDIENTS
tuna salad
- 5 ounces canned tuna drained
- 3 1/2 tablespoons mayonnaise
- 3 tablespoons diced celery
- 2 tablespoons diced red onion
- 1 1/2 tablespoons minced dill
- 4 cornichons finely diced
- salt and pepper to taste
sandwich assembly
- 4 slices bread of choice
- 2 tablespoons unsalted butter
- 1/2 beefsteak tomato (or 1 vine ripe tomato) sliced
- 2 ounces shredded cheddar
- 2 ounces shredded mozzarella
- salt and pepper to taste
INSTRUCTIONS
- In a mixing bowl combine tuna, mayonnaise, celery, red onion, dill, and cornichons. Season with salt and pepper and stir together.
- Spread 1/2 tablespoon butter over each slice of bread and turn two slices butter side down.
- Top each butter side down slice of bread with tuna mixture.
- Top with sliced tomatoes, shredded cheese and remaining slices of bread.
- Heat a skillet over medium heat and melt butter.
- Add sandwich and toast for 4 to 5 minutes or until bread is toasted and cheese begins to melt.
- Flip sandwich, cover with a lid and continue to toast for an additional 2 to 3 minutes or until bread has toasted and cheese has fully melted.
- Uncover, remove from skillet, slice in half and serve.
NOTES
- We don’t go overboard with the mayonnaise! We want the melt to be creamy, but if it’s too creamy and ‘wet’ it won’t hold up nicely while being toasted up!
- We add onions, celery and cornichons for taste AND texture! We obviously want the melt to taste good, but we’re also huge on texture, and the combination of bits added to our filling really make this melt shine!
- Covering the pan once the melt is flipped. This helps the cheese to melt quicker, without burning the melt or making it soggy and you definitely want the cheese to get nice and melty for it to be a proper tuna melt!




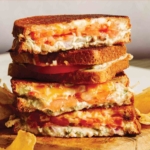
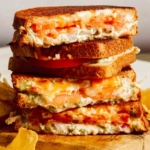
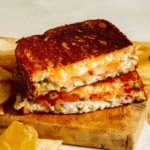
Did you make this recipe? We want to see!
tag @SpoonForkBacon and #SpoonForkBacon on Instagram
A fantastic recipe that the whole family really enjoyed! Thank you for this tip and keep it up!