• Skip to primary navigation
  • Skip to main content
  • Skip to primary sidebar
  • Skip to footer
Spoon Fork BaconSpoon Fork Bacon
  • Navigation Menu: Social Icons

    • Facebook
    • Instagram
    • Pinterest
    • YouTube
    • Twitter
    • TikTok
  • What’s for Dinner?
  • Recipes By Category
  • Most Recent
  • Contact
  • Shop
menu icon
go to homepage
subscribe
search icon
Homepage link
  • Recipes By Category
  • Most Recent
  • What’s for Dinner?
  • Shop
  • Contact
    • Facebook
    • Instagram
    • Pinterest
    • YouTube
    • Twitter
    • TikTok
  • ×

    Home > Blog > DIY > DIY Wood Bead Christmas Garland

    DIY Wood Bead Christmas Garland

    by Teri Lyn Fisher · Published: Dec 16, 2015 · Modified: Dec 6, 2020

    Jump to Recipe
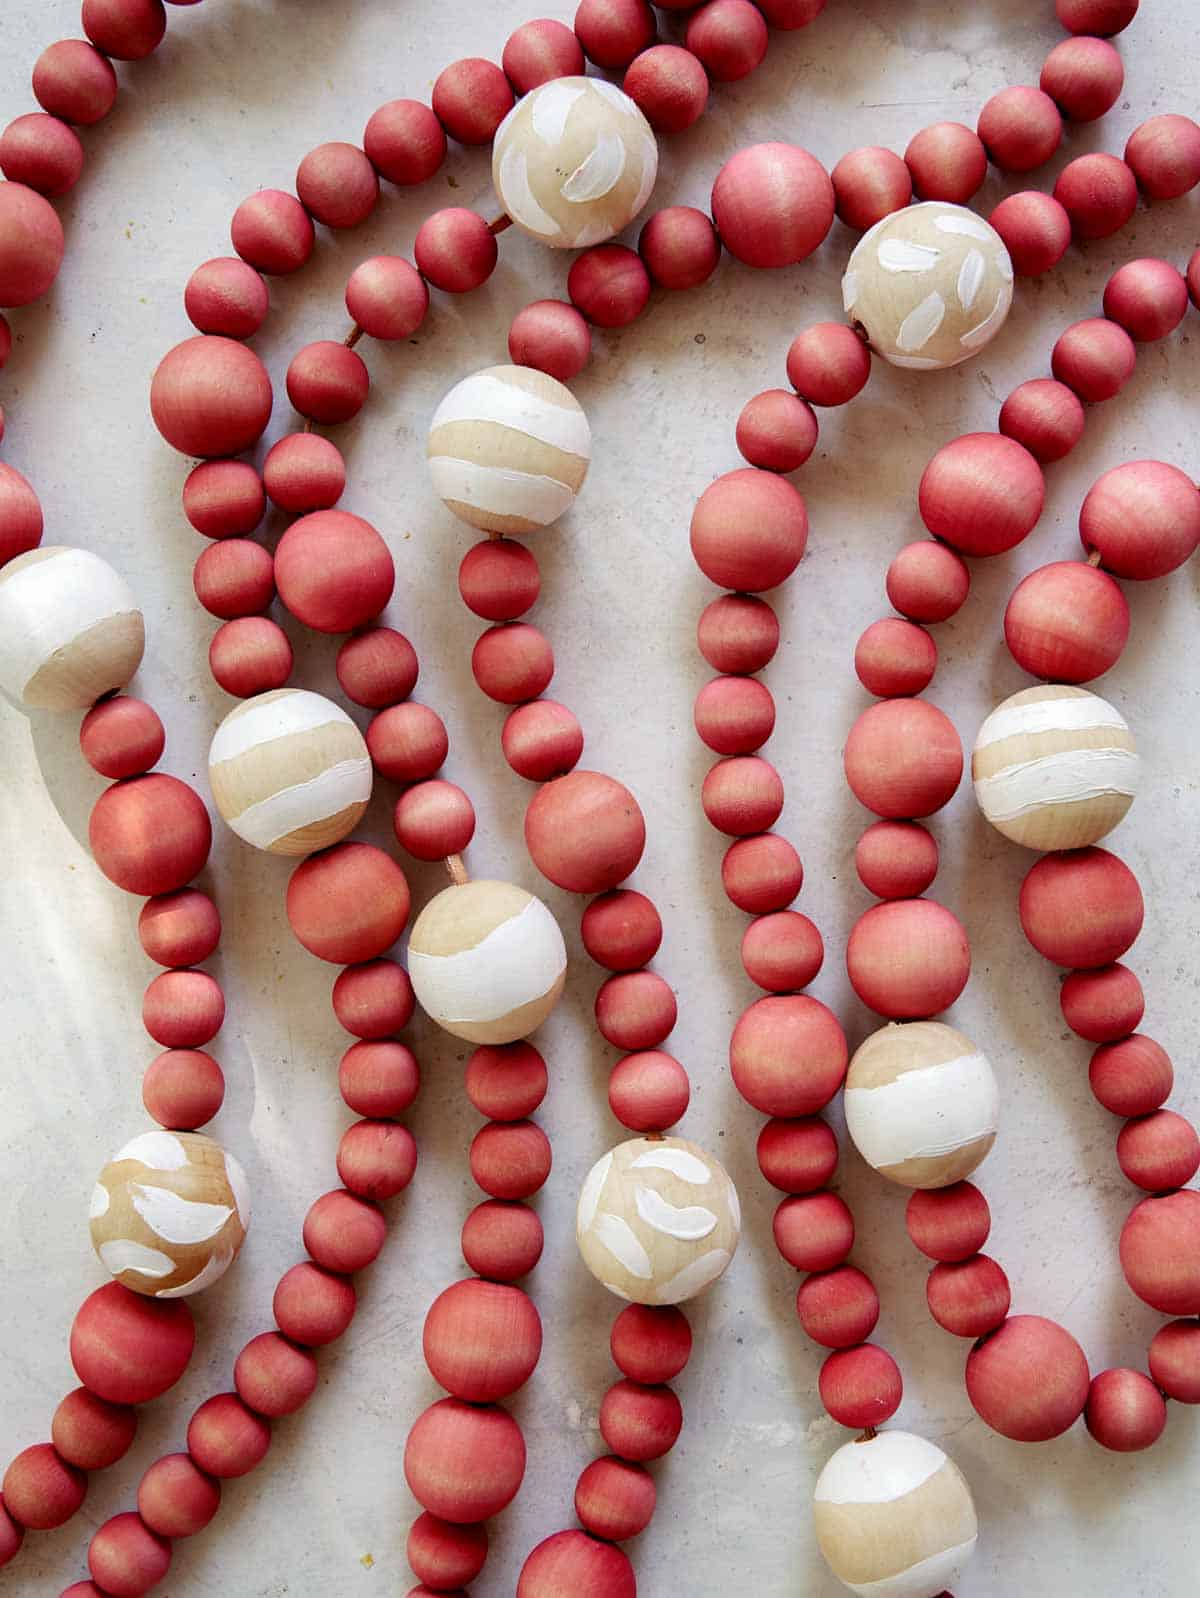
    DIY Christmas garland made of wood beans laid out on a surface.

    Hi! We are back with another DIY for this Holiday season. This time we have a really simple DIY Wood Bead Christmas Garland. I have just had this idea in my head for most of the year, and really wanted to just do it because I really wanted a garland for my mantle. I really wanted to make a simple garland, but not be too colorful, just simple looking and natural. I decided to dye wood beads, and then also mix in some large painted wood beads. This is really a simple and stunning DIY, and I hope you might consider giving this one a go.

    Supplies

    • Wood Beads – I used three sizes. Smallest are 3/4″ (20mm), the medium size is 1 1/8″ (30mm), the largest are 1.5″ (40mm).
    • wood skewers
    • cups to prop up for drying
    • white acrylic paint
    • paint brushes
    • thread or string for dying
    • RIT red dye
    • glass bowls
    • rubber gloves
    • paper towels
    • leather strings

    Process

    1. For painted beads: Gather the beads you want to paint. Paint them with the designs you prefer then thread onto skewers, and suspend in the air by balancing the skewers on the top of a cup to dry.
    2. Dye beads with rit dye. This is easier if they are pre – strung. Mix dye in a bowl with hot water and let soak for 1 minute (or longer depending on color intensity preference). Rinse with cold water and hand to dry.
    3. String garland onto leather string and tie it off on the end.
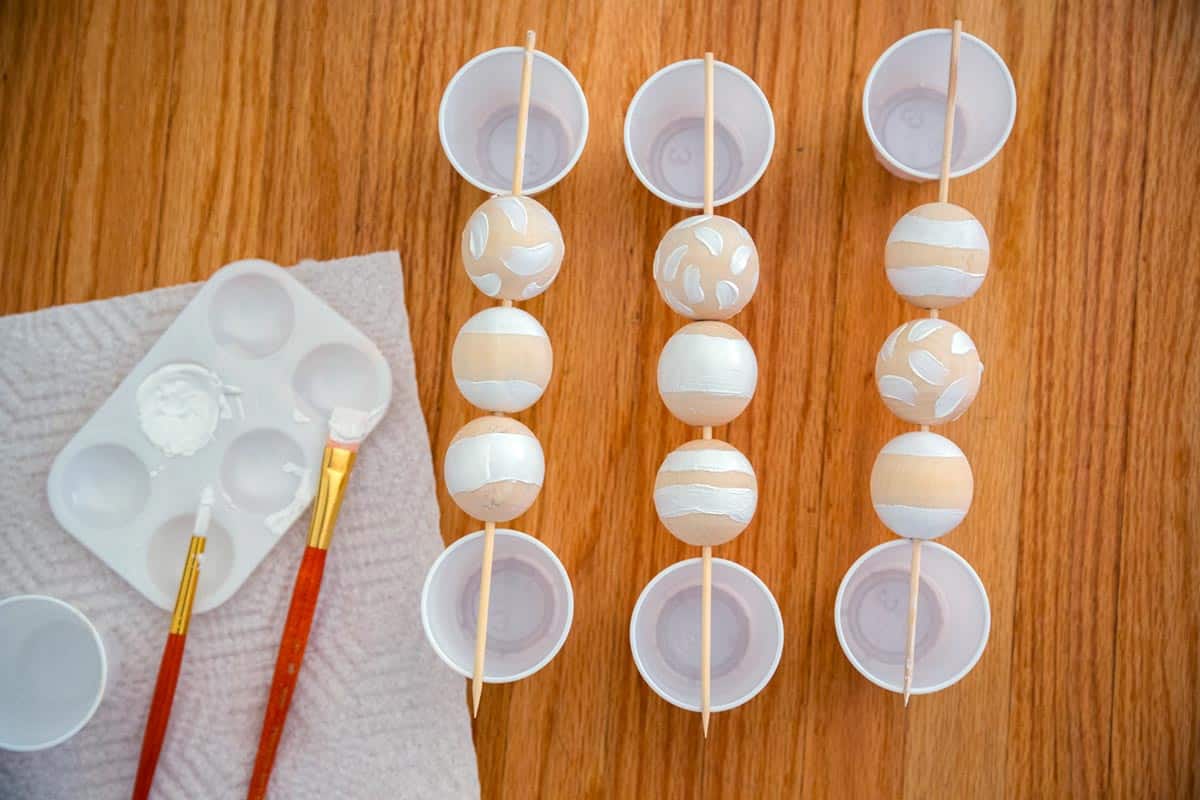
    Beads painted then suspended with skewers and cups.
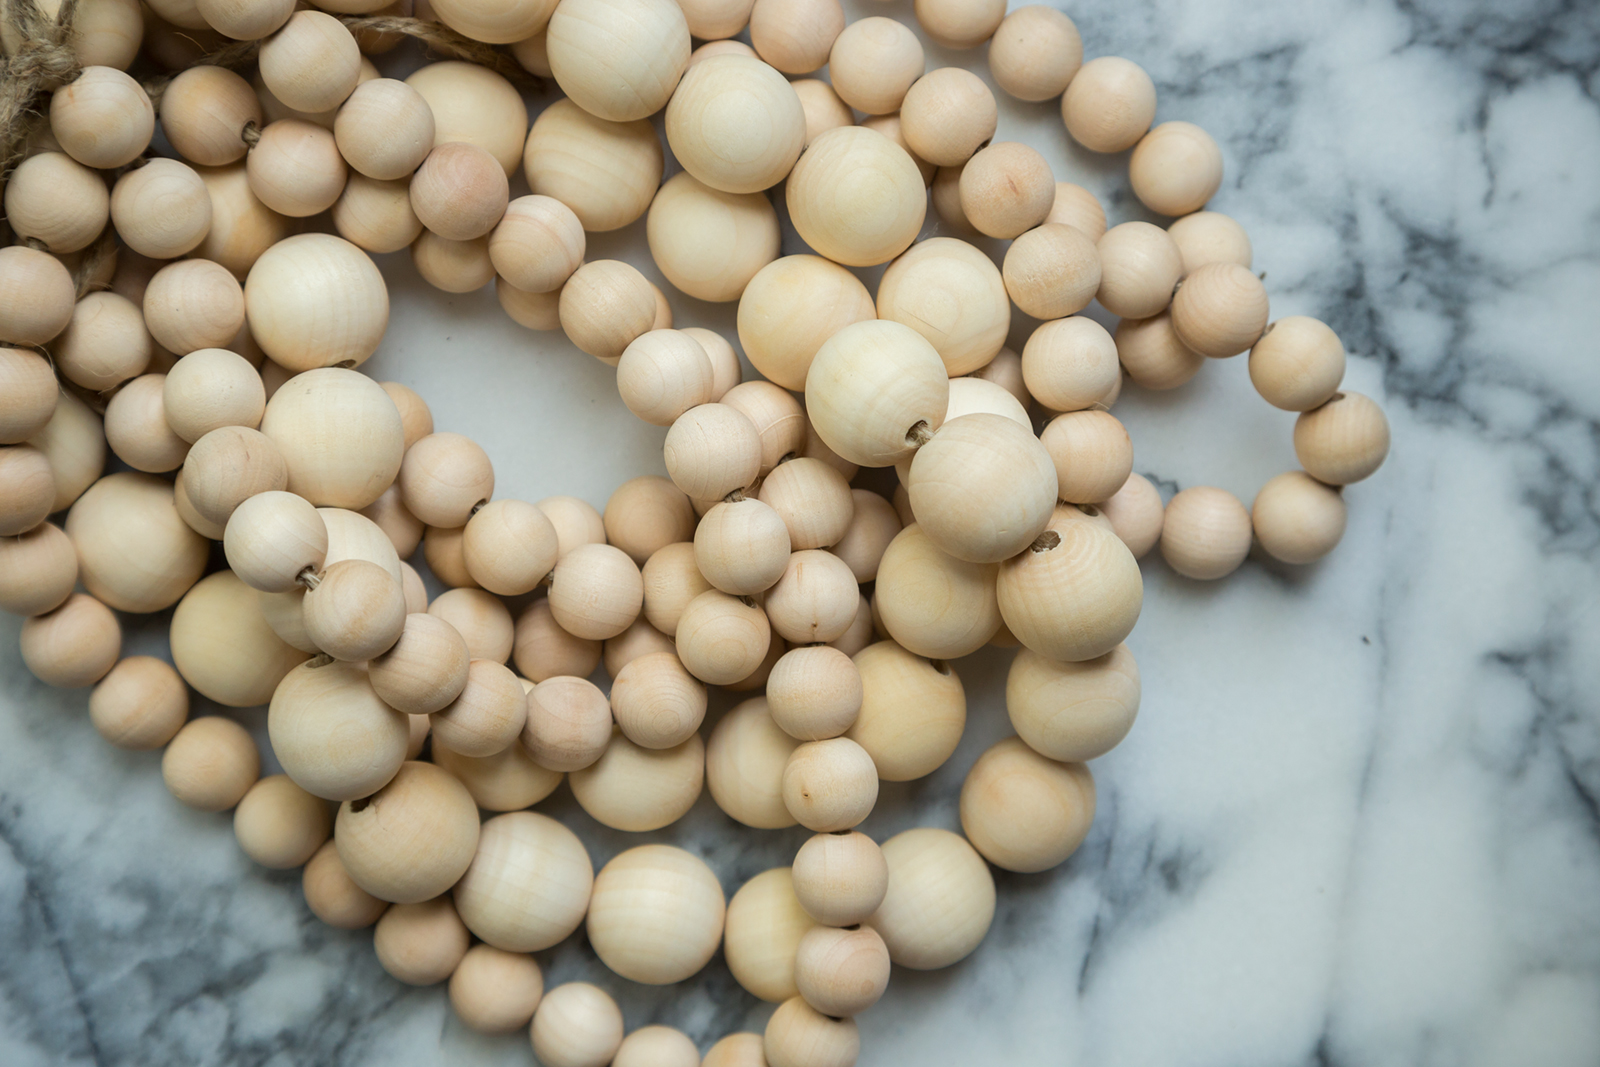
    Strings of natural wood beads in preparation to dye.
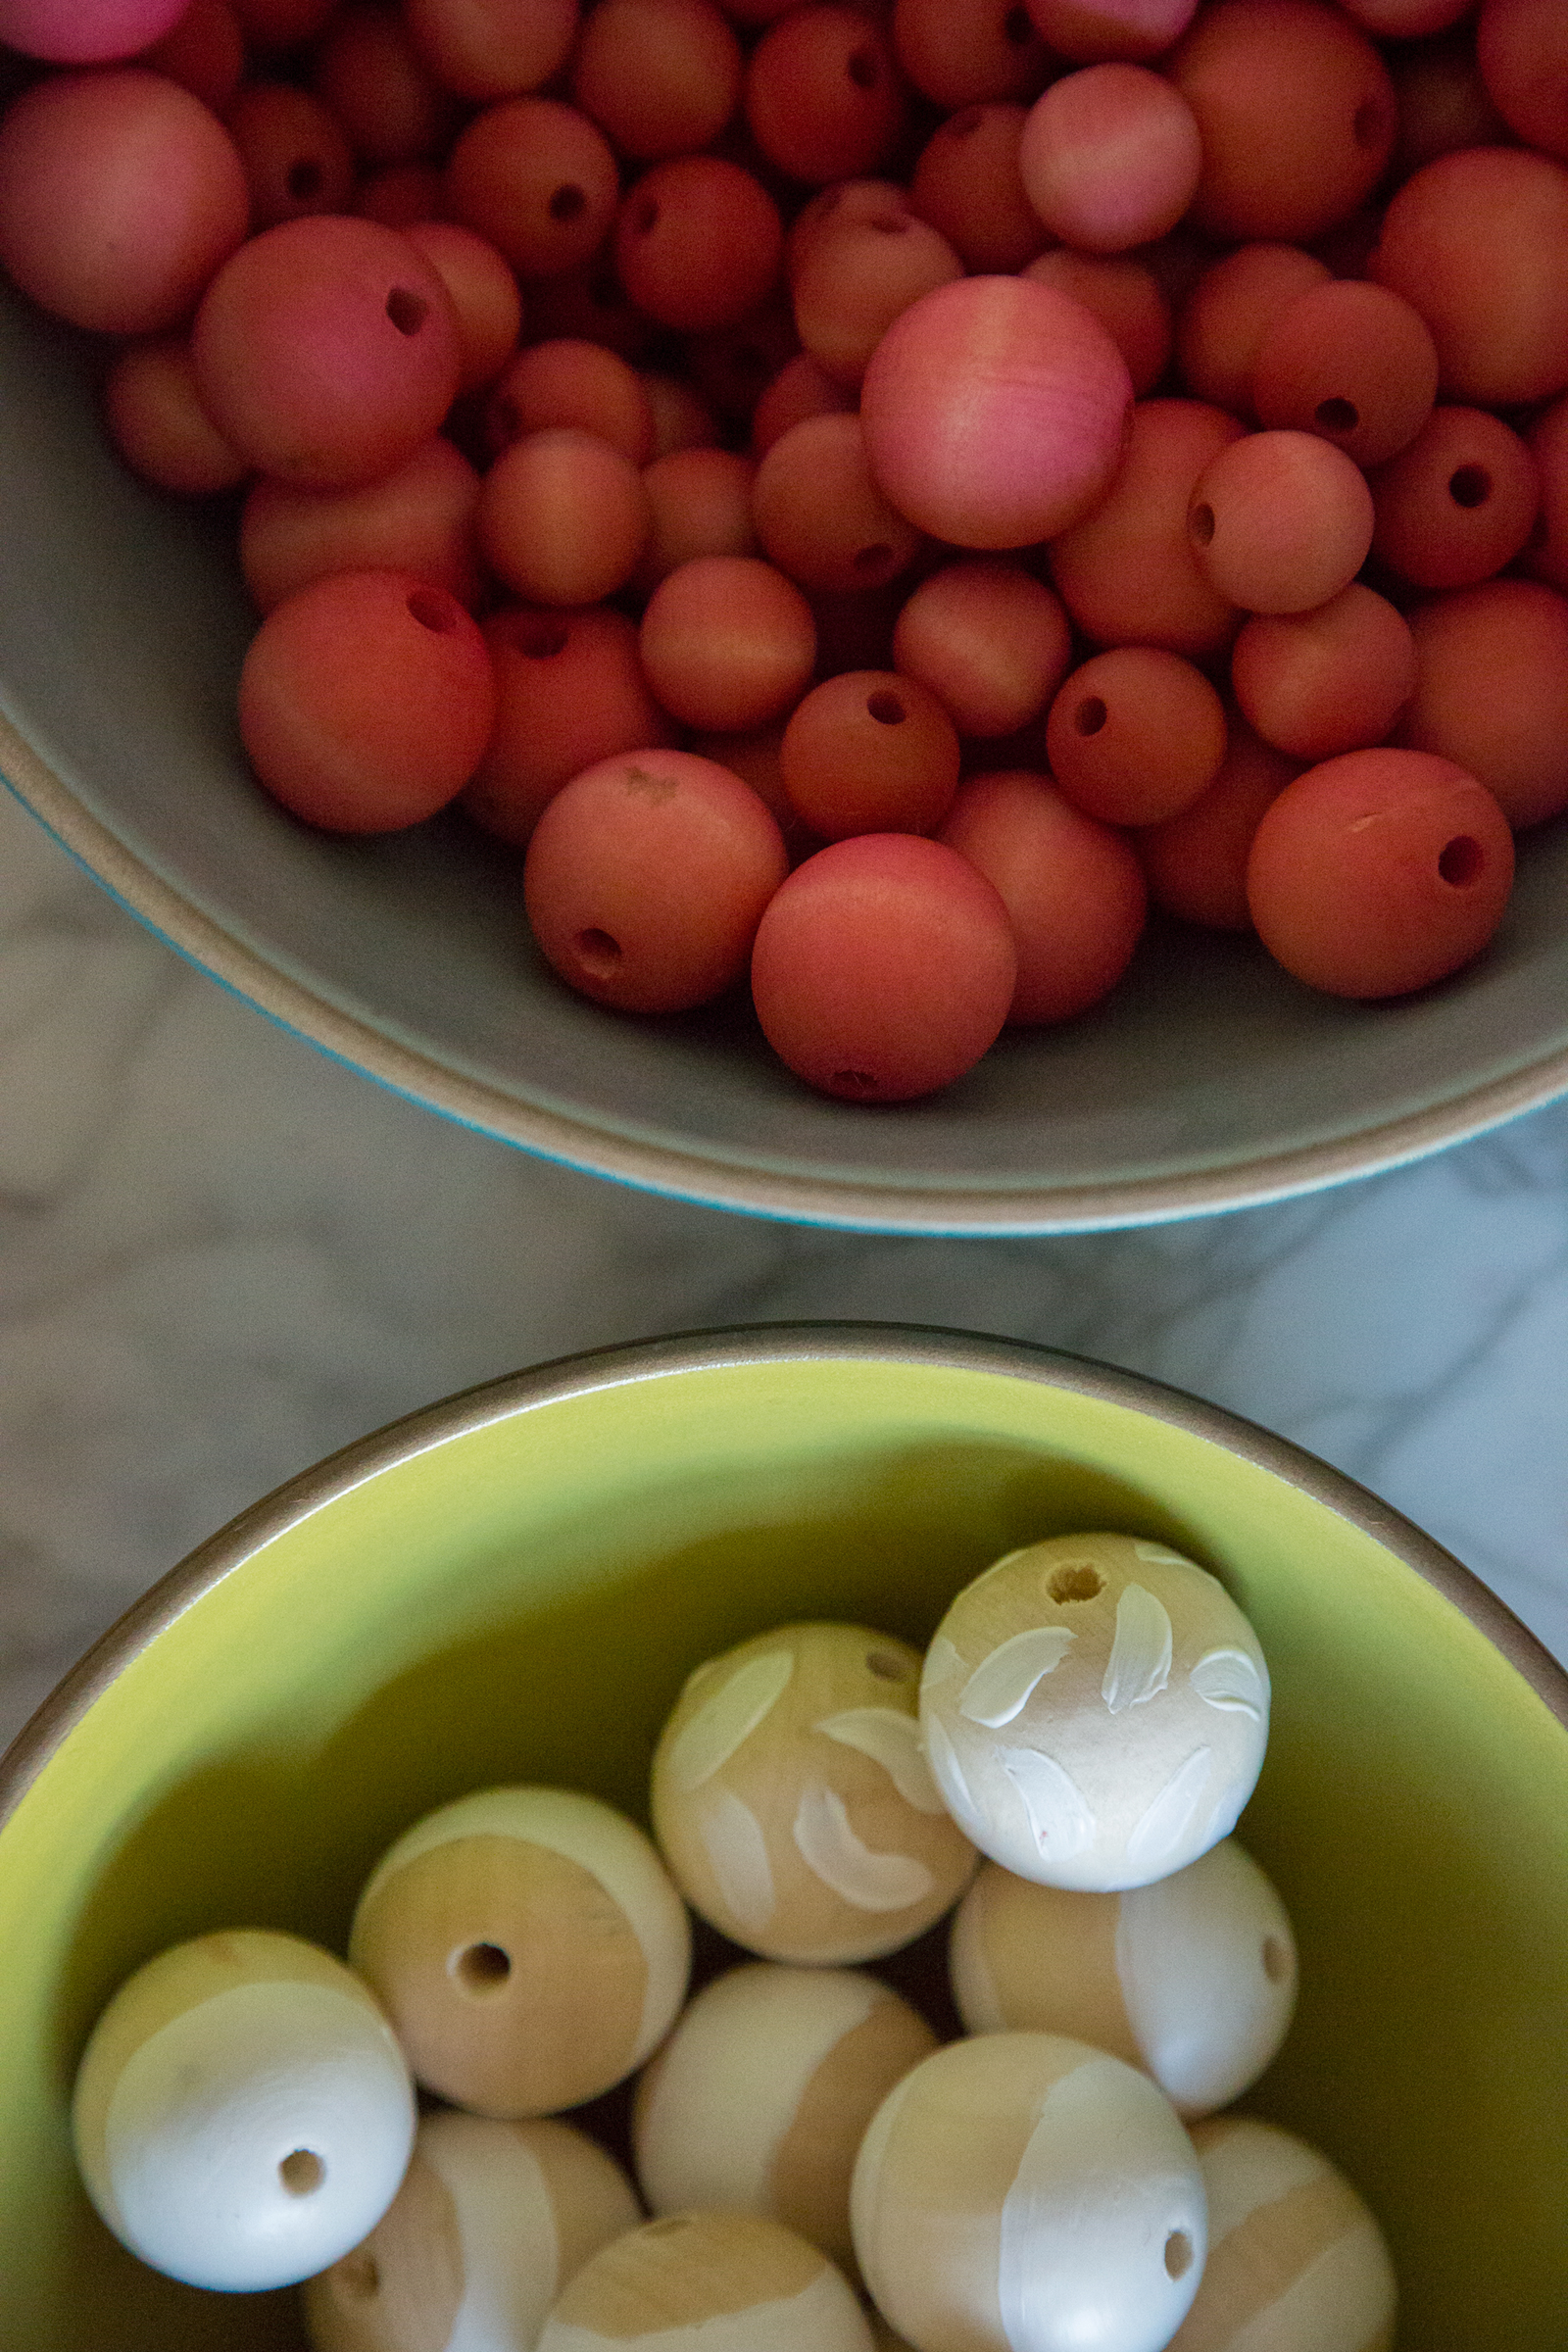
    Two bowls of woods beads to make a garland.
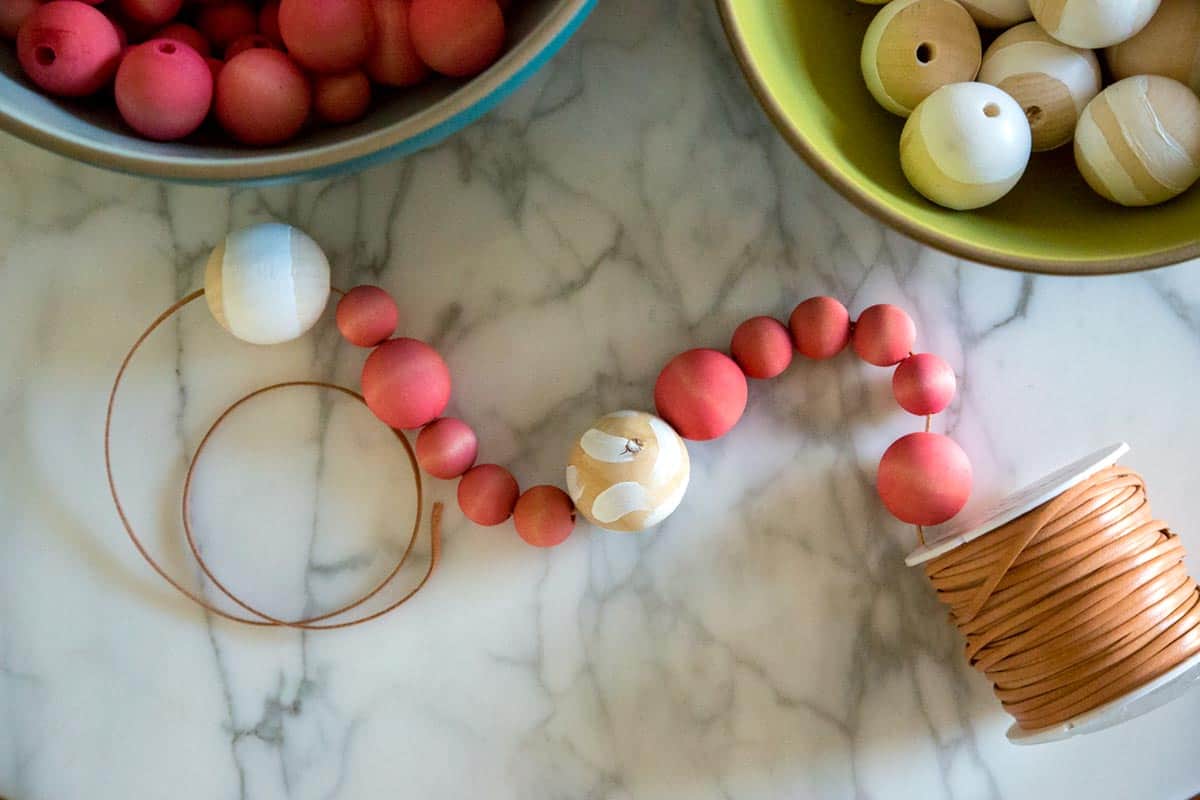
    Wood beads being strung onto a leather cord.
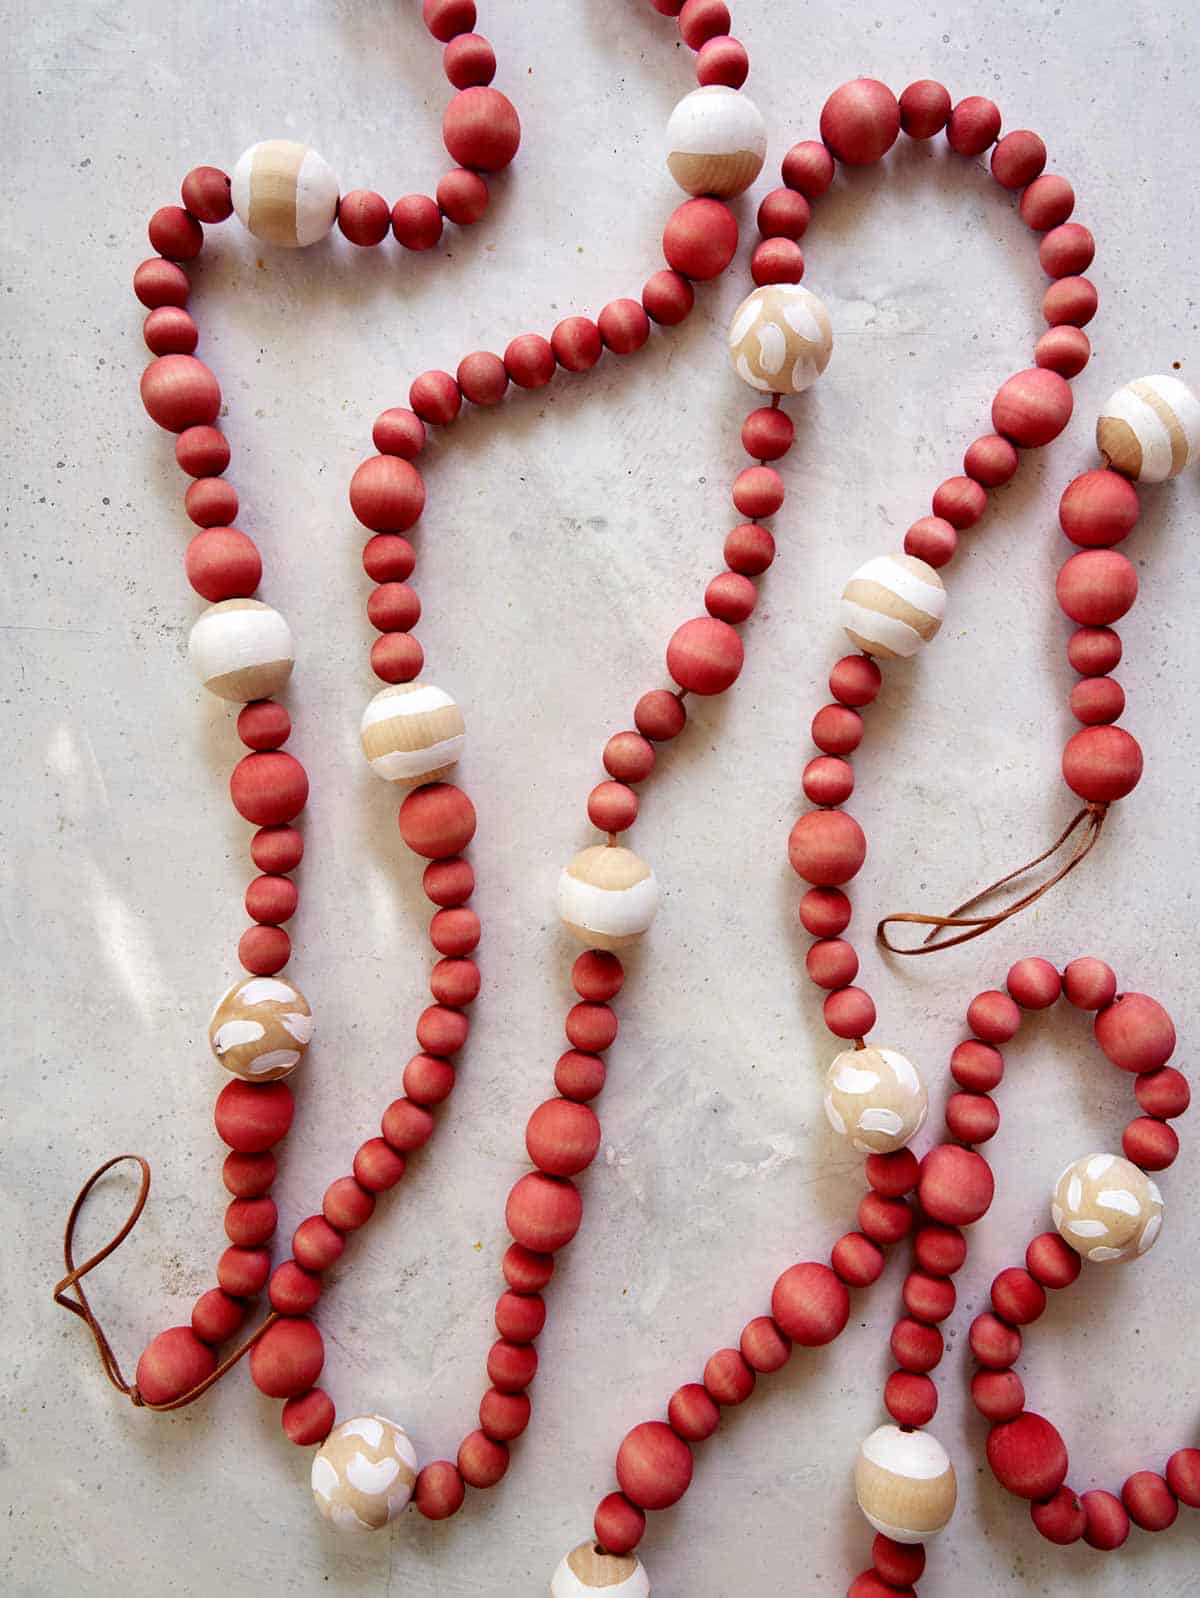
    A wood bead garland laid out on a  counter.

    Hungry for more?

    Subscribe to never miss a recipe.

    EmailPinTweetShareYummly
    DIY Christmas garland made of wood beans laid out on a surface.

    DIY Wood Bead Christmas Garland

    No ratings yet
    PRINT RECIPE Pin Recipe
    RECIPE BY Teri & Jenny

      EQUIPMENT  

    • Scissors
    • glass bowls
    • metal spoon

      INGREDIENTS  

    • wood beads in three sizes: 3/4" (20mm), the medium size is 1 1/8" (30mm), the largest are 1.5" (40mm)
    • wood skewers
    • cups or other objects to use as s drying aid (see direction no. 1)
    • white acrylic paint or color of your choice
    • thread to string the beads for dying
    • RIT red dye or color of choice
    • rubber gloves
    • leather string
    • paper towels handy for the dyeing part

      INSTRUCTIONS  

    For Painted Beads:

    • Choose the beads you want to paint. I choose to only plaint the really large ones. Use your white acrylic paint and paint your simple designs onto the beads. Thread the beads onto skewers and suspend them on cups or other objects to dry easily.

    To Dye Beads Red:

    • String all your wood beads onto a string. It really can be any kind of string, in my situation I used twine. This baked the dying portion easy because all the beads in one bath get dipped more consistently.
    • Get ready to dye: Line your work surface with plastic or several sheets of newspaper or paper towels, have a few paper towels laid out nearby to wipe up any spills and/or blot your gloved hands before you touch things. Put on your gloves. To mix, I used 2 overflowing tbsp of dye to about 3 cups of HOT water. You can either microwave, covered with plastic wrap, for a couple minutes (check after 1 min) or use a tea kettle and measure out with a glass measuring cup. Stir thoroughly with a metal spoon.
    • Take the beaded string and submerge it in the dye, hold under and agitate gently. Take it out and let the excess dye drip back into the bowl.
    • Rinse the beaded string thoroughly in a sink under cold running water.
    • Hang to dry for a couple of hours. You don’t want to beads to be wet or they will rub off coloring onto the leather.

    Make Garland

    • String your painted beads and dyed beads in a random order onto your leather string. Once you have string everything, watch this very helpful tutorial very carefully and learn how to tie a perfect loop knot.
    • Hang and enjoy your super cute Christmas garland. YAY!

      NOTES  

    For dyeing: 
    I recommend you dye a test bead first to see if your mixture is how you want it. If it’s too dark, add more water. If it’s too light, add more dye. The wood will appear slightly lighter when dry. Generally, the longer you leave it in, the more saturated it will be.
    KEYWORD: christmas, christmas decor, decor, DIY, garland


    You Might Also Love...

    • A variety of boxes wrapped in DIY pasta gift wrap.DIY Pasta Gift Wrapping
    • Several bowls of different salt mixes with wooden spoons.Gifting Sugar and Salts
    • Mini Wreath Place cards DIY on a plate for a special occasion.Mini Wreath Place Cards – DIY

    December 16, 2015 / Leave a Comment

    About Teri Lyn Fisher

    Teri Lyn Fisher is half of Spoon Fork Bacon. She is also a food and cosmetics photographer. She is a big fan of hot dogs. #sfbTERI

    Previous Post: < Previous Post Salted Cashew Brittle
    Next Post: DIY Pasta Gift Wrapping Next Post >

    Reader Interactions

    December 16, 2015 / Leave a Comment

    Leave a Reply Cancel reply

    Your email address will not be published. Required fields are marked *

    Recipe Rating


    Primary Sidebar

    HI! WE ARE GLAD YOU'RE HERE!

    Teri and Jenny of Spoon Fork Bacon

    We hope you find something you love in
    our little corner of the internet.
    XOXOXO, Teri + Jenny

    ABOUT US

    As Featured On

    A complication of logos showcasing where Spoon Fork Bacon has been featured. Including delish, today show, cosmopolitan, good morning america, domino, good housekeeping, william sonoma, and country living.

    Asian Inspired

    BBQ

    PORK

    DESSERT

    For Dinner Tonight

    • Cashew chicken recipe in a skillet with rice on the side. Cashew Chicken
    • Air fryer salmon on a platter with lemon. Air Fryer Salmon
    • A collage of our best healthy dinner ideas. The BEST Healthy Dinner Ideas
    • Air fryer chicken tenders with a variety of sauces. Air Fryer Chicken Tenders
    • Easy Roast beef recipe, a Christmas Dinner Idea. Easy Roast Beef
    • Creamy gochujang noodles in a bowl. Gochujang Noodles

    Popular Now

    • Chicken and gnocchi soup in a bowl with bread on the side. Chicken Gnocchi Soup
    • Air fryer chicken tenders with a variety of sauces. Air Fryer Chicken Tenders
    • Cashew chicken recipe in a skillet with rice on the side. Cashew Chicken
    • Easy crunchy homemade granola recipe on a baking sheet with a spoon. Homemade Granola
    • Air fryer buffalo wings on a platter being served. Air Fryer Buffalo Wings
    • A collage of our best healthy dinner ideas. The BEST Healthy Dinner Ideas

    Footer

    As Featured On
    As featured on graphic.

    GET NEW RECIPES DELIVERED TO YOUR INBOX!

    Thank you!

    You have successfully joined our subscriber list.

    Footer

    • Facebook
    • Instagram
    • Pinterest
    • RSS Feed
    • Twitter
    • TikTok

    All content including images © 2011-2022 Teri Lyn Fisher & Jenny Park. Stealing is bad karma.

    Spoon Fork Bacon contains paid advertising banners and occasionally affiliate links, and sponsored posts.
    As an Amazon Associate I earn from qualifying purchases.

    Sponsored posts are indicated at the start of such posts. All of our opinions are always our own.
    Thank you for supporting our sponsors. It helps us pay to run this site and bring you unique and original recipes.

    Privacy Policy | Accessibility Statement

    Share this ArticleLike this article? Email it to a friend!

    Email sent!