


Hi Guys! Today we have a fun recipe for you all…DIY pasta WITH four flavor variations and drying instructions! I really like making my own pasta (part of the DIY food obsession I have that I mentioned earlier this week), but it’s definitely a labor of love. These days I’m lucky enough to have a stand mixer to mix and bring my dough together, plus fancy pasta attachments to easily roll and cut my dough without having to demonstrate my pathetic arm strength, but these things are totally not necessary to make wonderful pasta at home!
We use a blend of all purpose and semolina flours because I like the firm texture the semolina adds to the dough and overall final product and all purpose flour is usually something everyone has on hand. You can get all authentic and serious if you want and pick up or order (via the internets) some “00 flour” (doppio zero flour) which is an Italian flour that is is great for pasta and pizza doughs because of its fine texture, which when used results in a silky, supple dough. I have used it a couple times (specifically ones with lower protein %, because I blend my flour with semolina) and did quite enjoy it, but again I don’t think it’s necessary to go out of your way to find and buy “00 flour” (which can be rather expensive) if you just want to make a quick dough. There are many purists out there who would disagree with me so it’s really up to you!
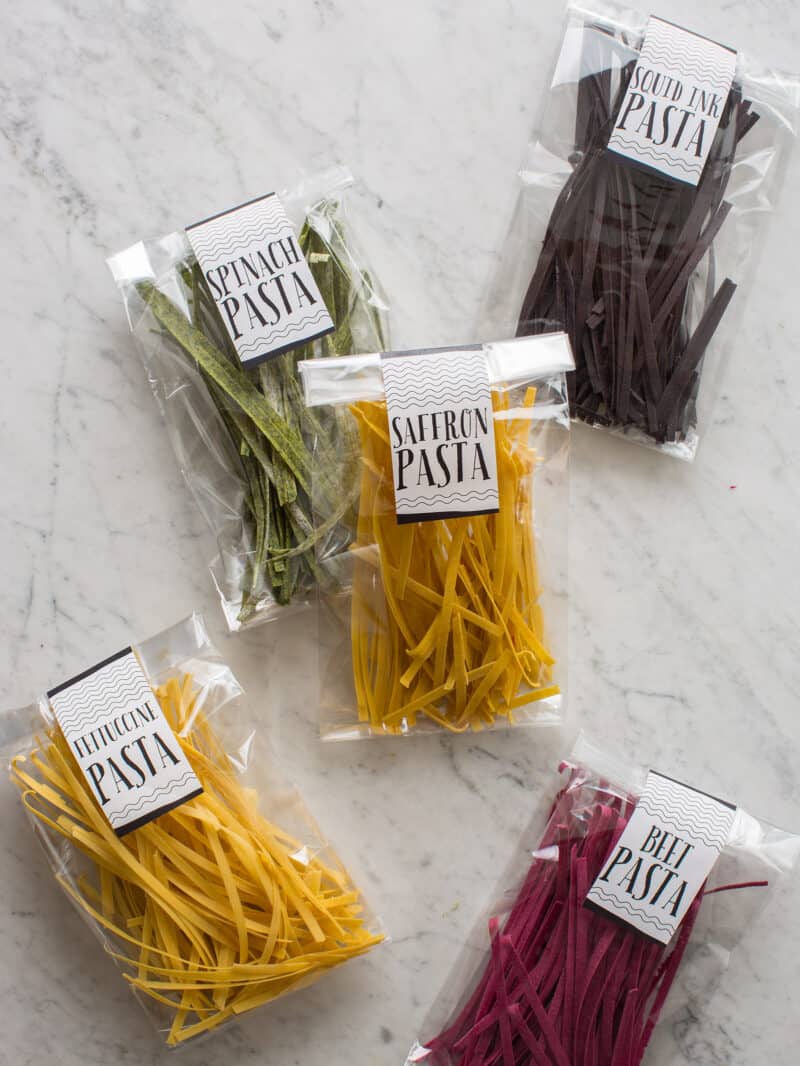
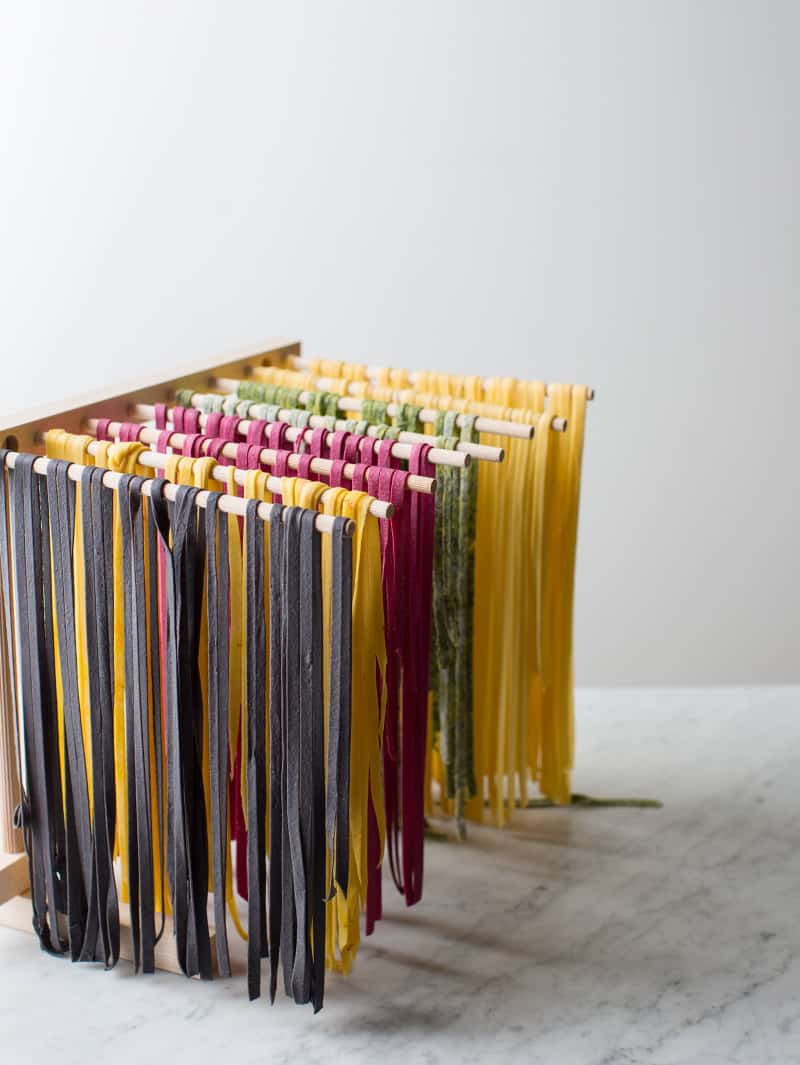
We included basic drying instructions because I began to notice that almost every time I would make my own pasta, I was unable to use the entire ball of dough quick enough, before it would go bad. I like using the hang dry method over the nesting method because I like the thorough and even drying you achieve where as with the nesting method it’s easier to develop mold due to improper “coiling” and unseen wet spots. If you don’t have a pasta drying rack, you can always use wire hangers, which is what I did for a couple years before finally investing $20 into a wooden drying rack.
Now go make some scratch pasta! Okay? Maybe?! Enjoy! xx, Jenny
More pasta posts you might like:
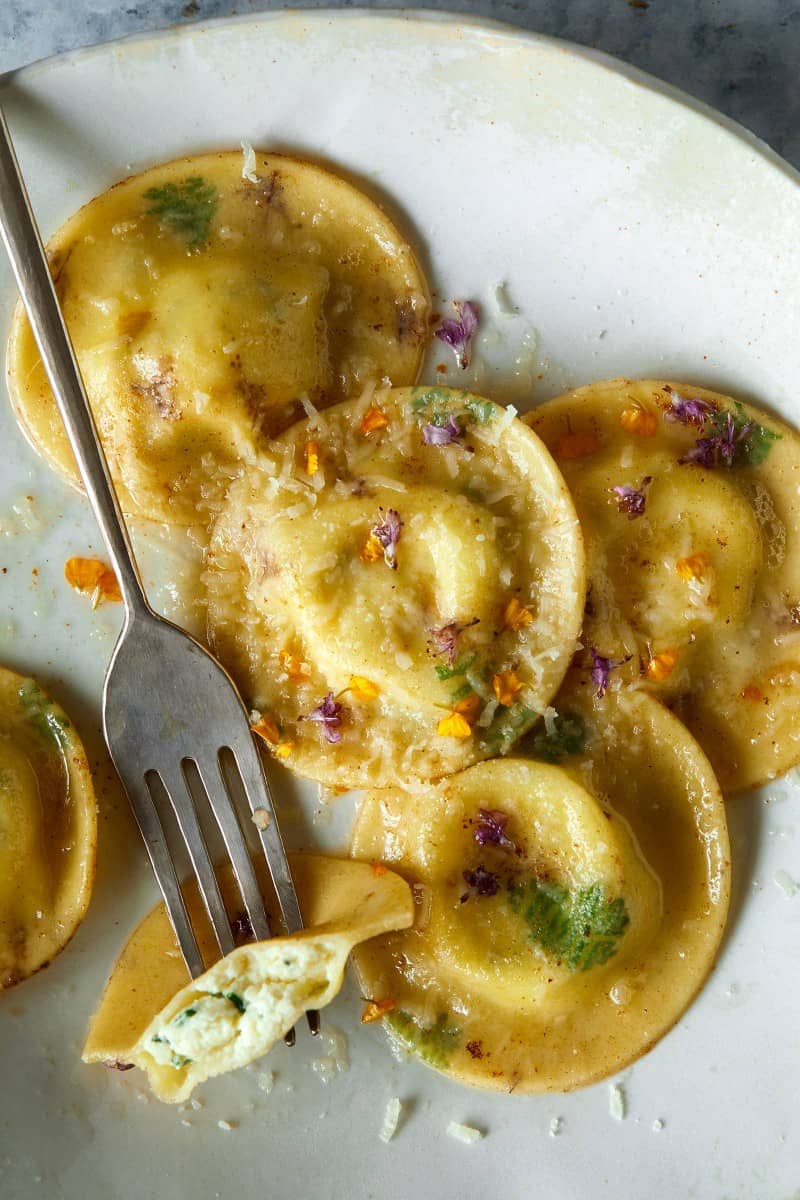

Homemade Pasta Dough (with variations)
INGREDIENTS
basic pasta dough
- 2 eggs
- 1 cup all purpose flour
- ¾ cup semolina flour
- 1 ½ tablespoons extra virgin olive oil
- 1-2 tablespoons water if needed
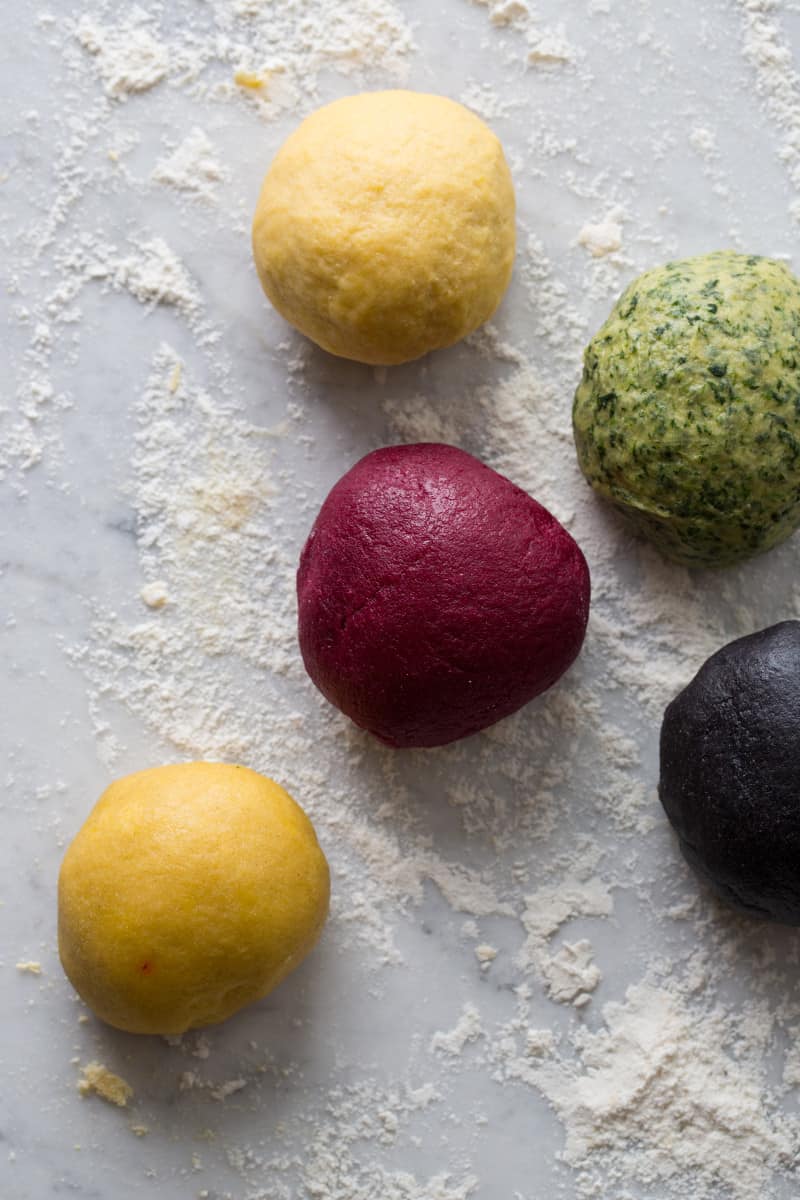
for spinach
- ½ cup thawed frozen spinach, minced and squeezed dry
for saffron
- 5 threads saffron soaked in 2 tablespoons warm water for about 30 minutes
for squid ink
- 1 packet or 2 ½ tablespoons squid ink
for beet
- 1 small roasted red beet, pureed until smooth
INSTRUCTIONS
- For dough: In a mixing bowl combine flours and whisk together. On a clean work surface or in a bowl place 1 ½ cups of flour mixture in a mound. Make a well in the center of flour and crack eggs into well, followed by oil.
- Using a fork gently whisk eggs and oil together while slowly incorporating flour. Once flour and eggs are combined, add more flour little by little to form a ball that is no longer sticky to touch.
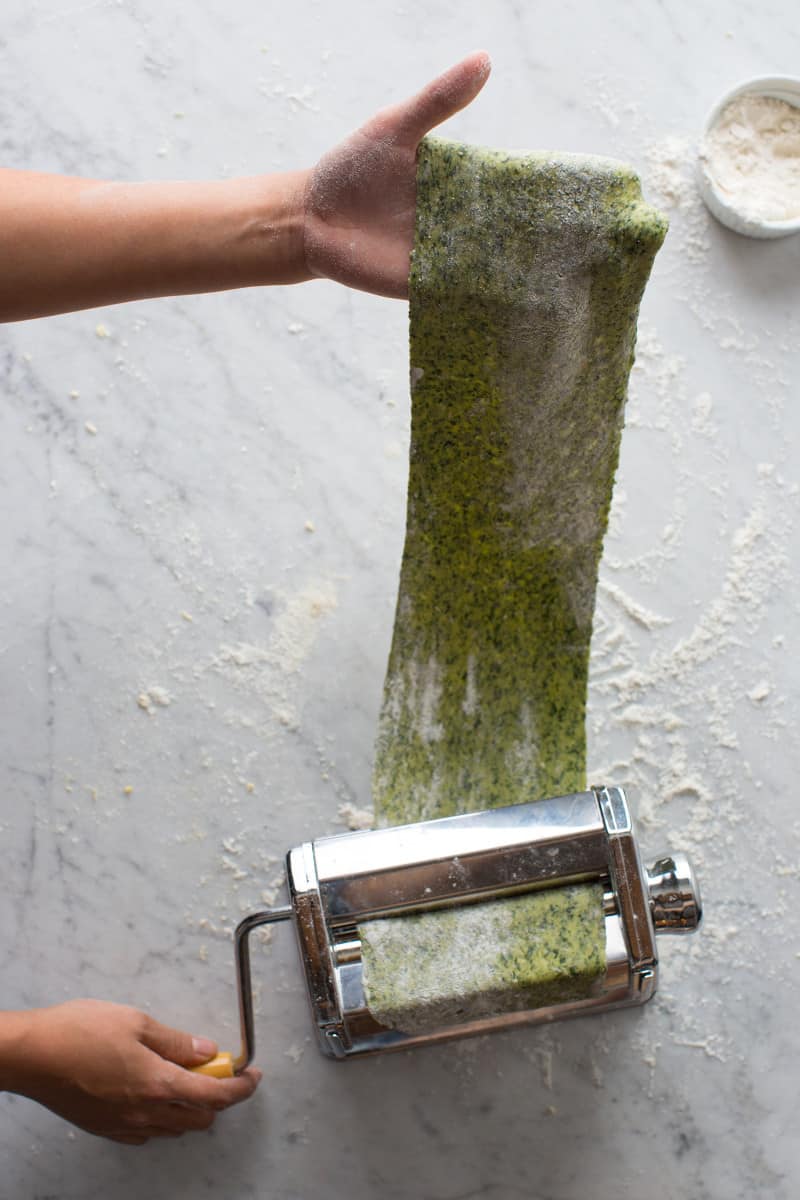
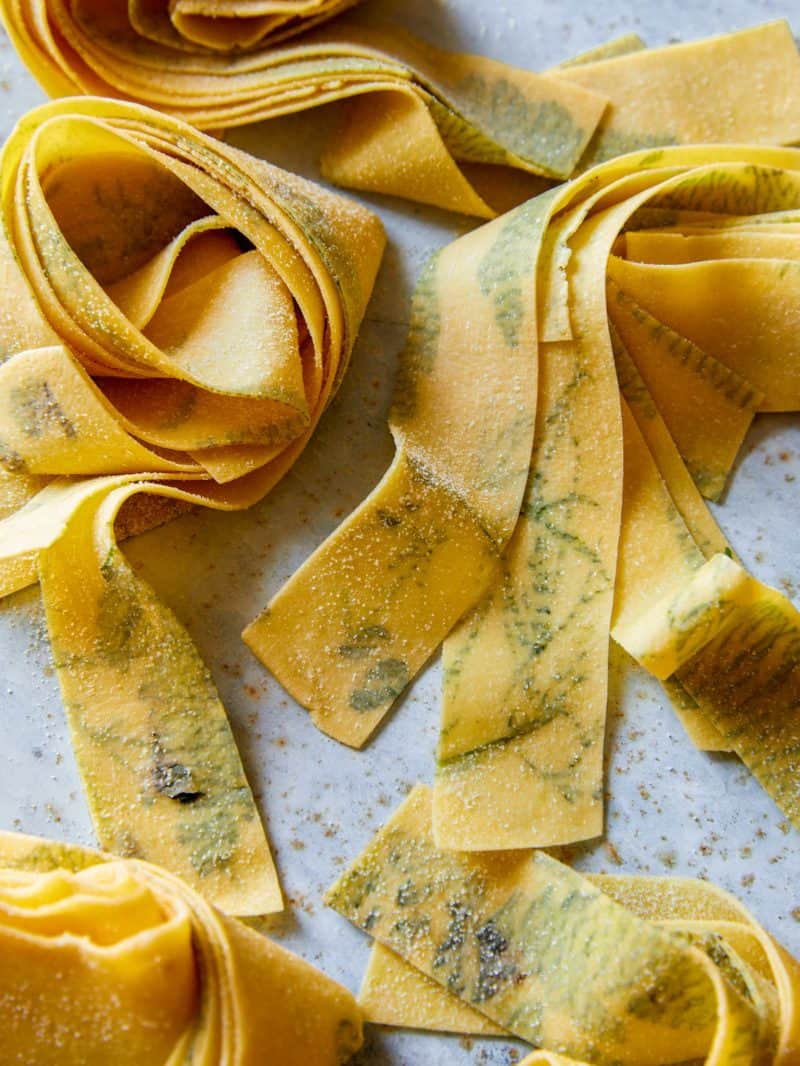
- If dough is dry add water, 1 teaspoon at a time. Knead dough for 8-10 minutes (dough should feel very tight and should bounce back when gently pressed), wrap in plastic and let sit for about 20 minutes before using. Follow pasta machine instructions for rolling out the dough and cutting into desired pasta type (or roll pasta dough by hand with a rolling pin until very thin and cut into desired pasta type, using a clean ruler for even noodles).
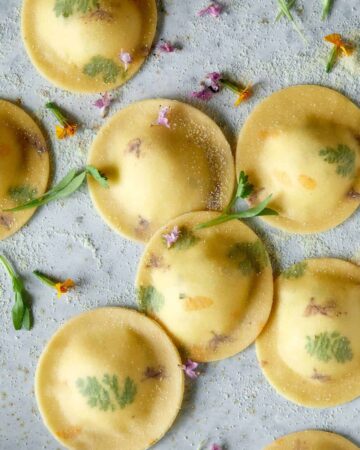
- To color dough: Add “flavors” to eggs beat together before adding mixture to well of flour mixture. Continue following basic pasta dough instructions.
- To dry: Line freshly cut pasta dough onto a pasta dry rack (or onto clean wire hangers), in a single layer and allow pasta to dry in a cool, dry place for 24 hours. Carefully remove pasta from drying rack and store in an airtight container or jar until ready to use. Dry pasta will hold for up to 1 month if stored in a cool, dry place.
Did you make this recipe? We want to see!
tag @SpoonForkBacon and #SpoonForkBacon on Instagram
Hi, I’m just wondering how to egg in the pasta doesn’t spoil when it’s stored for up to one month? I’m just wondering if I should do a Pasta Bianca recipe for gifts….?
I’d love to make this recipe into bow tie shapes instead of strands! Going to try and do that tonight with extra to dry out! Love your detailed post. Have you tried using a food dehydrator to dry pasta? I’d love to know if it’s worth it
I’ve made pasta with my daughters several years ago, What a great idea of adding veggies and herbs. When the come home on break from college this will be a great activity. Thamk you so much!
Looking forward to trying the different variations! Curious if any of them will stain the kitchen aid equipment (mixer, roller or cutter)?
Hi Stephanie! I’ve never had any issues with staining equipment. I just highly recommend wiping/washing all equipment down shortly after using it.
I thought this recipe was designed for the KA mixer.
You can make this recipe by hand, with a manual pasta maker or a stand mixer with the pasta attachment
We made the basic recipe yesterday and were blown away by the flavour. This was the first time using our new pasta roller/cutter on our Kitchenaid mixer. It turned out incredibly well and will be our go to recipe from now on.
So glad to hear that!
Easy and tasty Recipe. I tried my self and everybody liked the taste. Thanks for sharing.
love pasta and love this recipe. I have tried it the previous weekend. Thanks for sharing. Please share Brocali related recipes as well.
Absolutely beautiful!
Hey Jenny, such a thorough and amazingly beautiful post. Thank you for sharing your creativity with us.
You are a Master :) It’s absolutely beautiful!
Question – When I make pasta with fresh beet the color all leaves the pasta when I cook it? What am I doing wrong?
Nancy, did you boil and puree the beets before adding them to your dough? That ought to do the trick (to retain a beautiful color in your cooked pasta). Good luck :)
Thank you for doing this.
I loved this recipe and as a first time pasta maker, I appreciate the clear and simple instructions. It’s one of the few that I’ve seen that doesn’t call for water in the dough. I felt the addition of a little oil made the dough more supple and much easier (read: less sticky) to work with. I’d avoided it all these years due to the quirky handling of pastry dough!
I only had bread flour on hand so I used it and also rolled the dough with a regular rolling pin as I don’t have a pasta machine. I sectioned the dough first and rolled it as thin as I could, lifting the pin just before the very edge of the dough; almost to the windowpane stage, as in bread testing. I was so impressed that it wasn’t nearly as fragile to handle as it looked. The cooked noodles were just silky and delicious and, finally, as thin as I would like to always enjoy my noodles. Thanks for this!
:) So glad you love this one as much as we do!
Wow, such a thorough and amazingly beautiful post. Thank you for sharing your creativity with us. I will definitely be making a triple batch and giving these away for Mother’s Day this year. ????????
Yay! :)
Since I recently started making pasta I wanted to try new recipes. This one turned out perfect!!!! I will certainly keep this on the top of my list.
I’d like rainbow pasta for breakfast, lunch and dinner please! LOVE this.
Thank you
Great post! Would 00 flour work as well?
Yes! Definitely!
I dehydrate many veggies and would like to try grinding some asparagus to powder & adding that to my pasta dough. Can you tell me if this flavor combo sounds strange? How much powder would I need to add to flavor the pasta?
Hi! That doesn’t sound strange at all! Although adding powders and vegetable juices to the pasta is really meant to color the pasta over adding flavor to the pasta, with the exception of squid ink pasta which does impart a mild briny flavor. :)