
Whenever I get a craving for a taste of nostalgia and my childhood, I turn to this Kimchi Fried Rice Recipe (or Kimchi Bokkeumbap). It was a staple growing up in my home and one of my favorite comfort foods. If you grew up in a Korean household, chances are you also grew up eating your family’s version of Kimchi Fried Rice!
It’s such a simple dish to prepare with only a few ingredients needed. Our recipe is based off my mom’s version (which I think is the best fried rice!), with the exception of the marinated pork belly. That’s something new I threw in there and I love it! It adds a nice, rich (and slightly fatty, in a good way) flavor to the spicy rice dish!
What is Kimchi?
Kimchi is a salted and fermented vegetable side dish. It’s an everyday staple in Korean cuisine. Napa cabbage and Korean radish are the most common and widely known vegetables used to make kimchi, but there are hundreds of different types of kimchi, made from a variety of vegetables.
Some examples are cucumbers, burdock, perilla leaves, lotus root, eggplant, green onions. There are dozens of different types and styles of kimchi made from Napa cabbage and Korean radishes alone. It is truly an extremely diverse dish.
In most Korean households, it’s a dish that is eaten with practically every meal. I find I can eat kimchi with almost anything, not just Korean dishes. Pizza? yes! Fish? Yes! Tacos? Yes!….literally anything. I think the spicy, sour fermented flavor is just the best!

How to Make Our Kimchi Fried Rice Recipe
Important Ingredients to Note
- kimchi – This is the key ingredient in this dish! These days napa cabbage kimchi can be found in some local grocery stores, but if you have a Korean market near you I recommend checking it out. You’ll find a larger selection and often times better quality kimchi.
- gochujang – This is Korean fermented hot chili paste made from Korean hot peppers. It can be found at all Korean grocery stores or the international aisle of most grocery stores these days.
- pork belly – It’s different from bacon as it’s not cured or smoked. You can find pork belly at the butcher counter of most grocery stores. If you’re unable to find pork belly, I recommend using boneless pork shoulder instead of bacon.
- low sodium soy sauce – The reason this recipe calls for a low sodium version soy sauce is because kimchi itself is salty. The soy sauce adds a nice subtle flavor to the overall recipe, but to prevent the dish from becoming too salty I recommend using low sodium soy sauce.
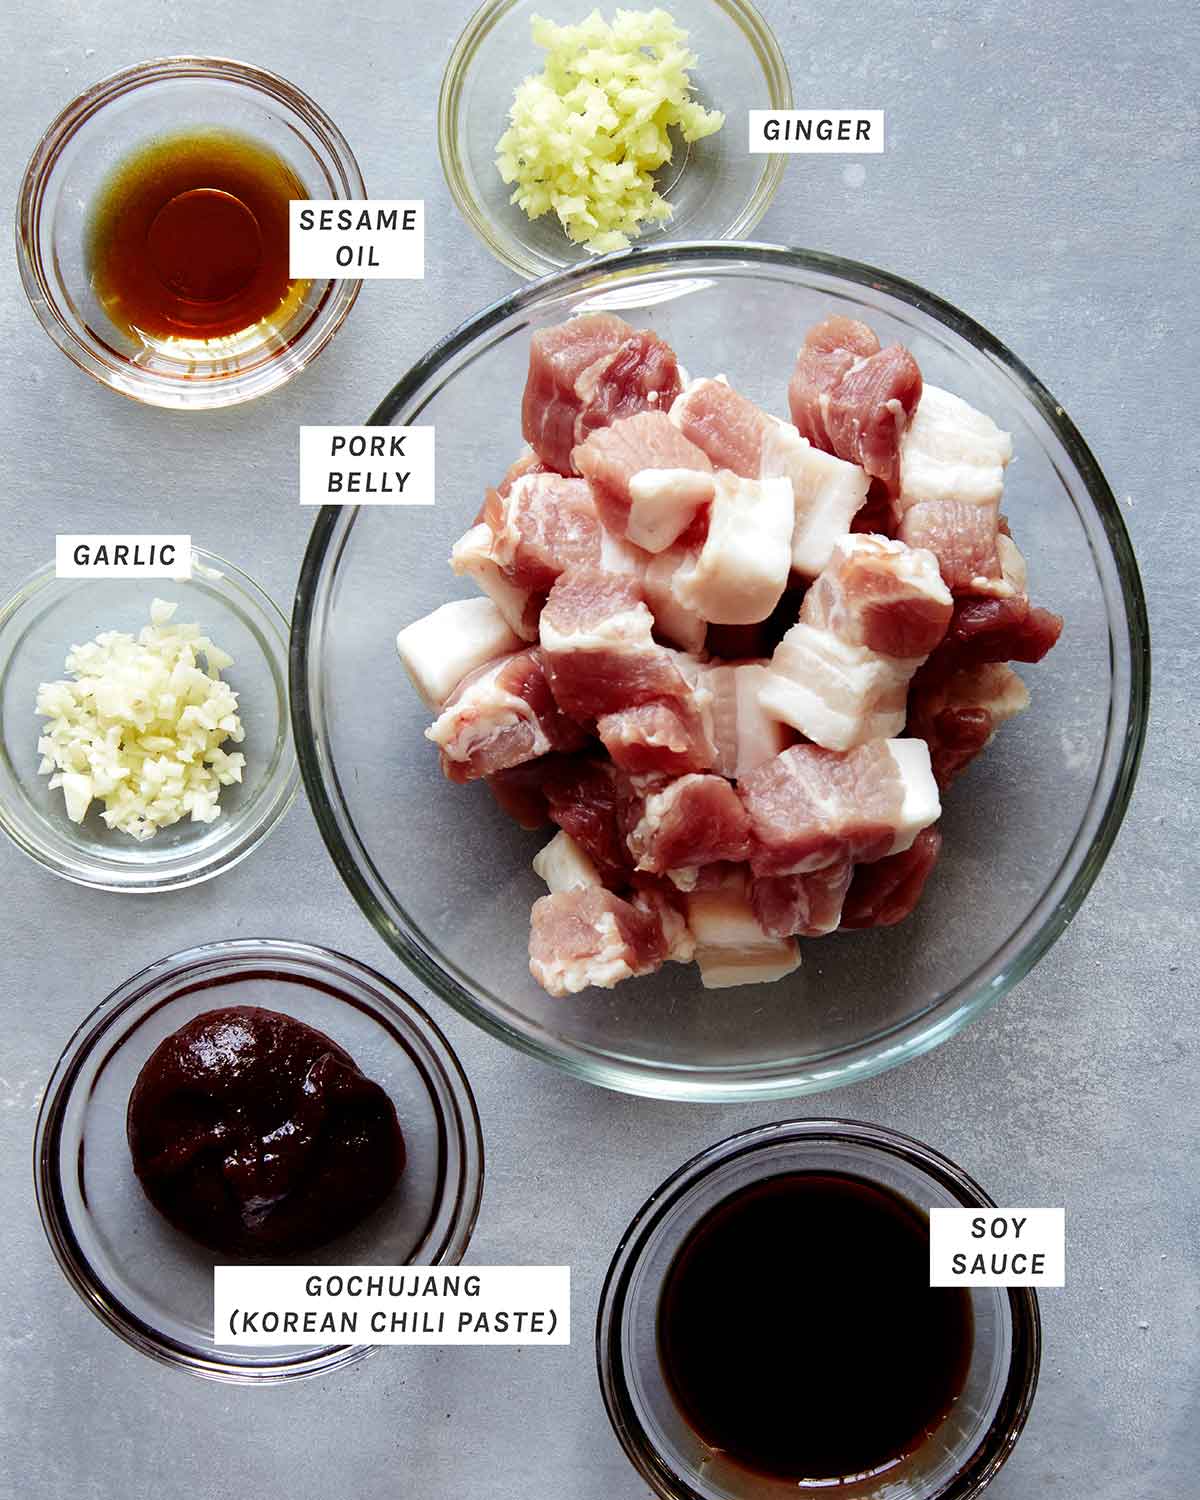
Spicy Pork Ingredients
Spicy Pork Process
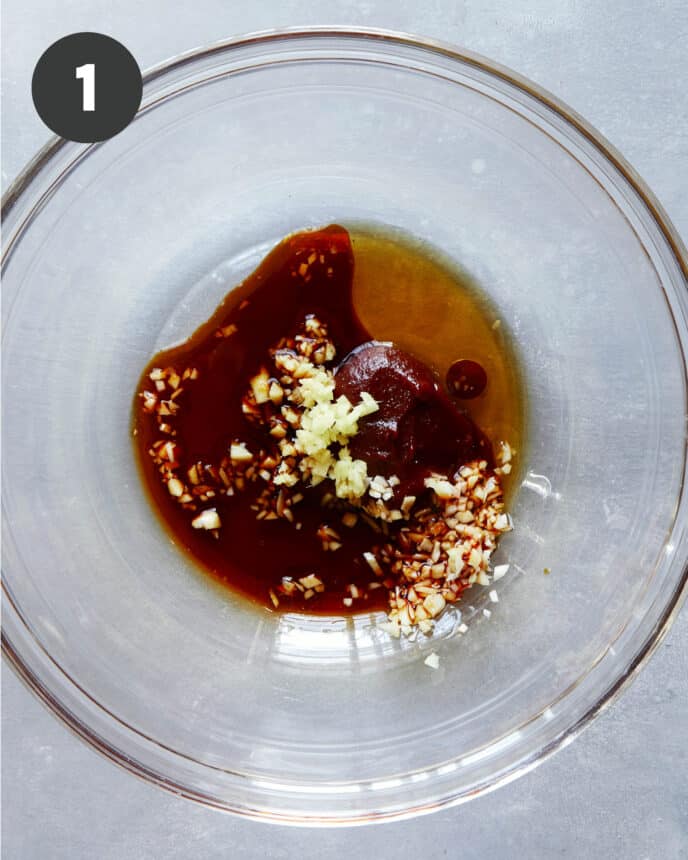
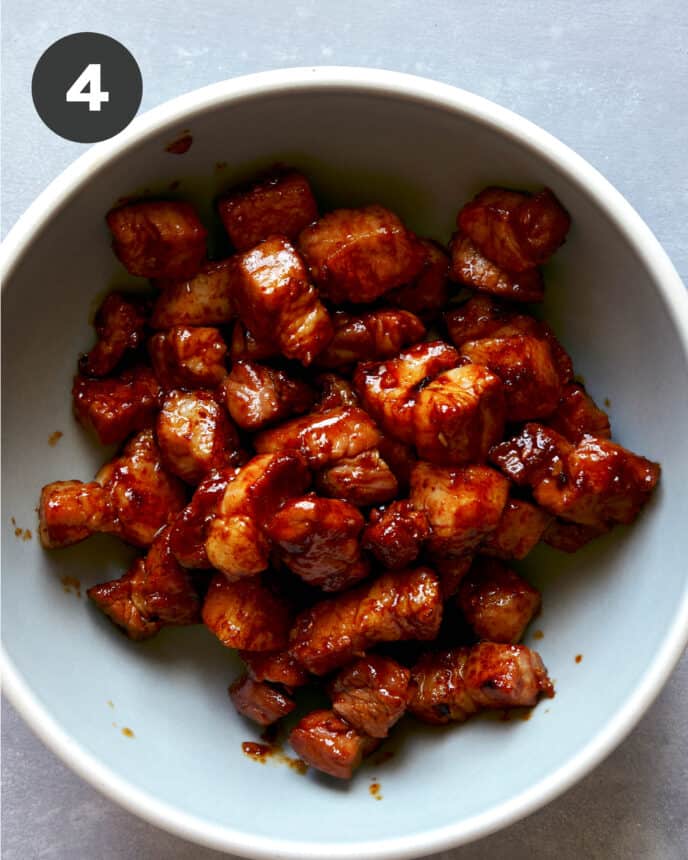
- Place all pork marinade ingredients into a mixing bowl. Whisk marinade ingredients together and add pork.
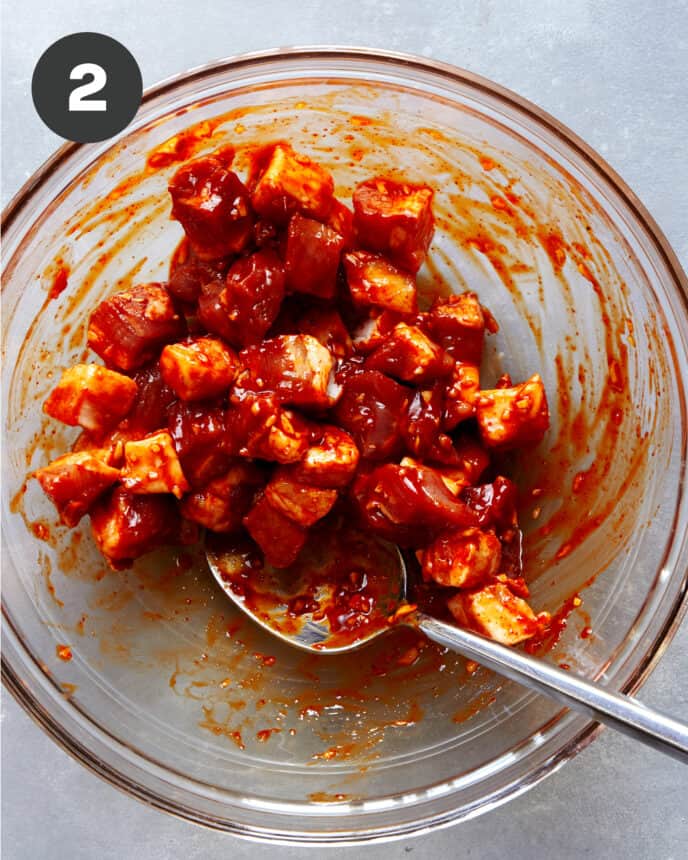
- Mix together until all pork pieces are fully and evenly coated. Set aside and allow pork to marinate for 30 minutes.
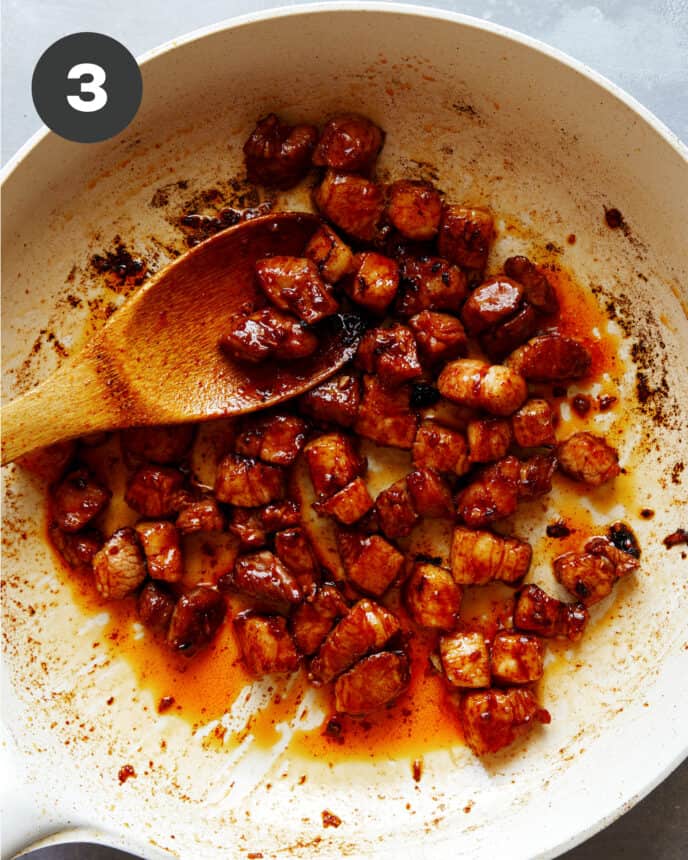
- Pour 1 tablespoon vegetable oil into a wok or large skillet over high heat. Add pork and sauté for 4 to 5 minutes or until browned and just cooked through.
- Remove from skillet and set aside.
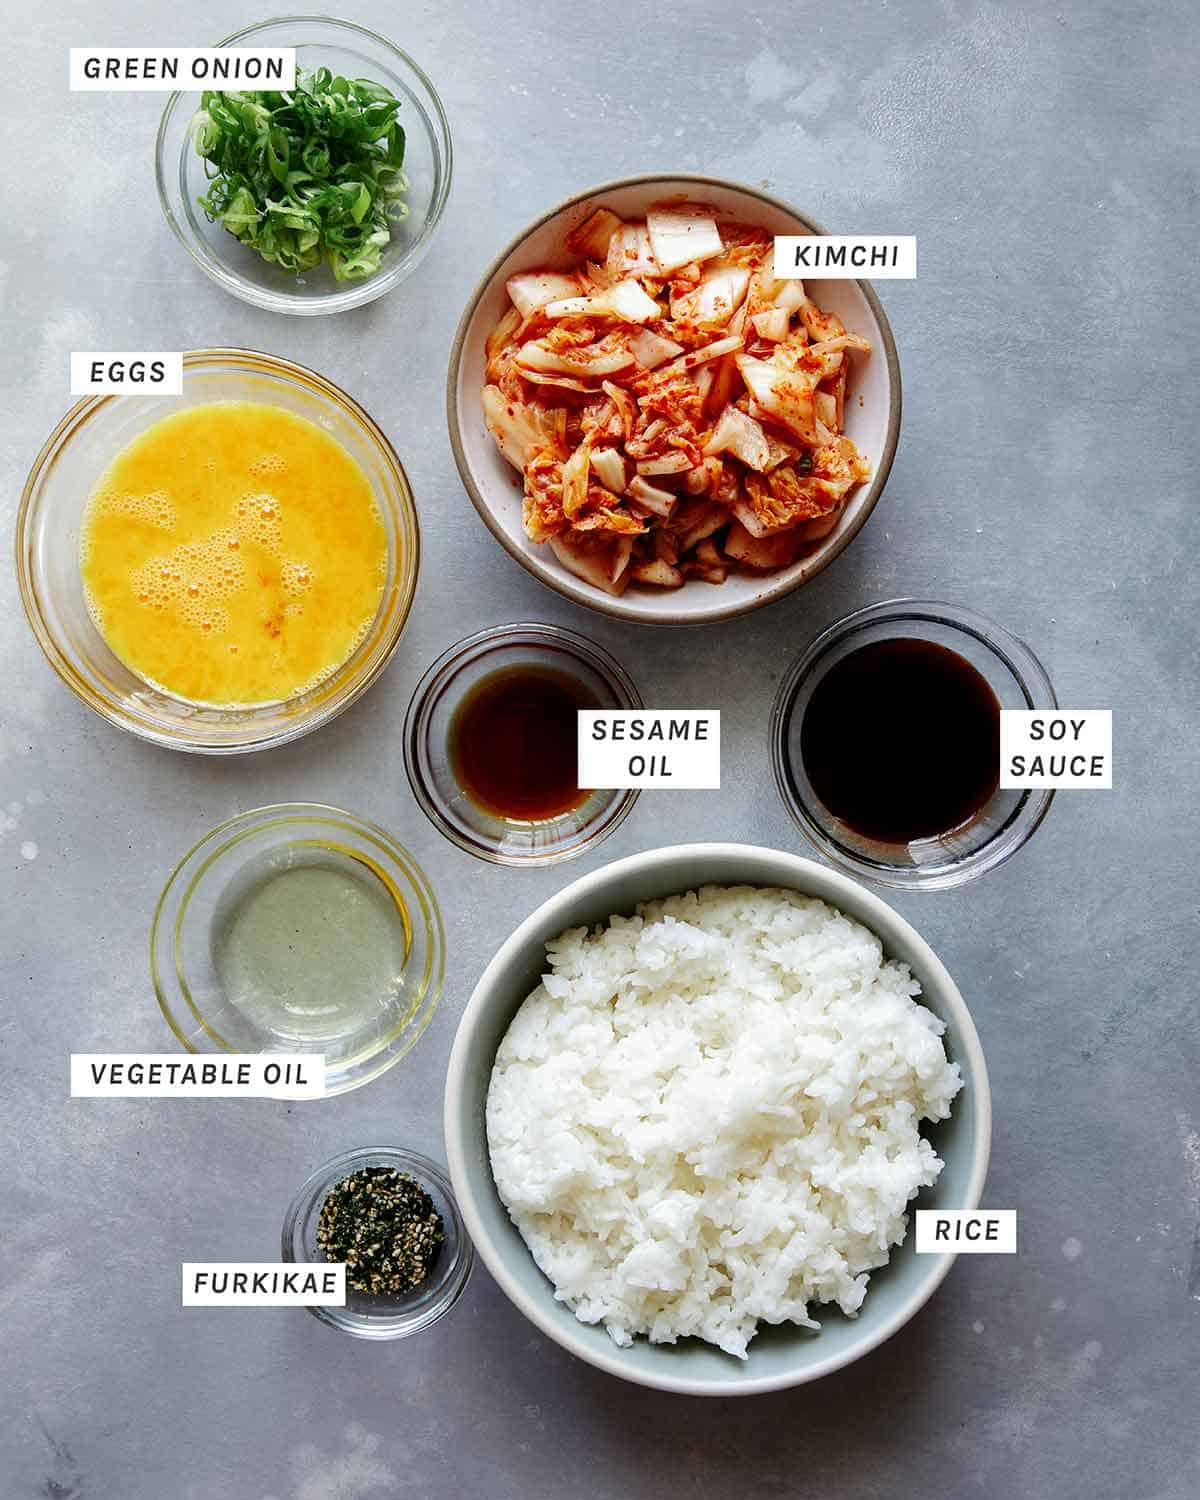
Fried Rice Ingredients
Fried Rice Process
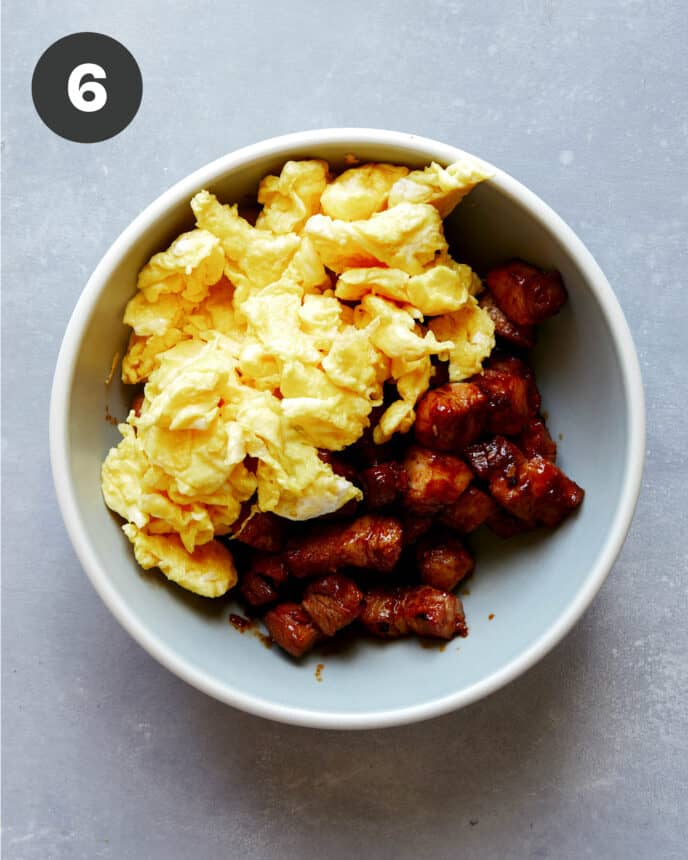
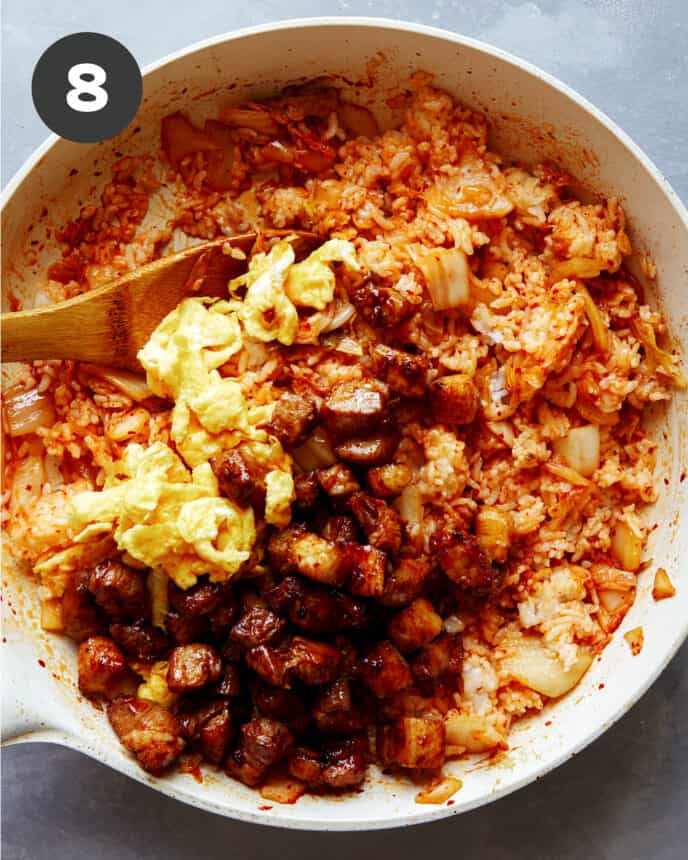
- Clean pan out, then pour remaining vegetable oil into skillet followed by beaten eggs. As eggs cook, gently but quickly stir and break apart into large pieces.
- Remove from heat and add eggs to cooked pork belly.

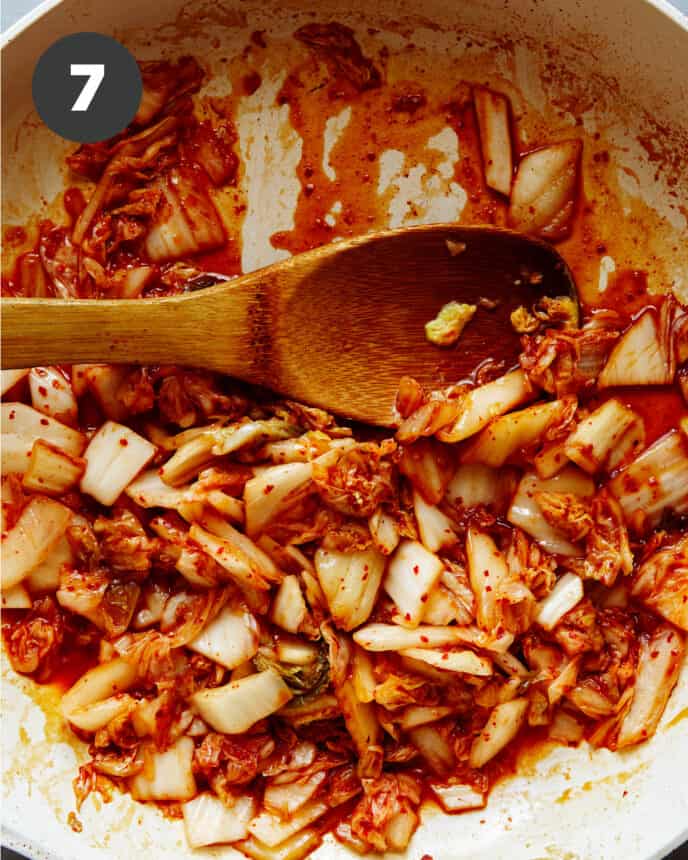
- Pour sesame oil into skillet. Stir in kimchi and soy sauce and sauté until kimchi begins to caramelize, 3 to 4 minutes.
- Add rice and stir together until rice is well coated and evenly colored. Add pork belly and eggs back to the skillet and toss together until evenly distributed through rice mixture.
- Continue to cook until rice begins to char around edges, about 4 to 5 minutes, making sure not to stir the rice so you get crispy bits on the bottom.
- Stir in 2 scallions and sesame seeds and remove kimchi fried rice from heat.


Optional Fried Egg Process
- Place a nonstick skillet over medium-high heat. Once skillet is hot add oil and swirl to coat.Crack egg into a small bowl or ramekin and pour into skillet. Fry egg for about 3 minutes or until the white has set with crisp edges and yolk is still runny. Season with salt and pepper and slide over fried rice.
- Garnish with remaining scallion and furikake (if using), and serve.


Best Kimchi to Use For Kimchi Fried Rice
For this recipe I used the most common Napa cabbage variety of kimchi. It caramelizes very well when sautéed, always has plenty of juice in the jar (which is also essential to use in this dish) making it perfect for this fried rice.
You can find napa cabbage kimchi at all Korean grocery stores, some international grocery stores as well as some local grocery stores. The kimchi itself has so much flavor to it that you don’t need much else to bring this dish together.
The key for the best kimchi fried rice is to use “old kimchi” and not “young kimchi”. This means kimchi that has not been freshly made. You want kimchi that has had a while (at least several weeks, although the older the better) to ferment. You get the best sour flavor, more juice, and a softer texture of kimchi.
Why We like Pork Belly with Our Kimchi Fried Rice Recipe
The addition of spicy marinated pork belly adds a nice, rich component to the overall dish. You can omit the pork belly (and egg) if you prefer a vegetarian style kimchi fried rice.
Pork belly is different from bacon and it’s important not to interchange the two in this recipe. Pork belly is bacon before it’s cured and smoked, therefore the flavor is much more simple. Boneless pork shoulder is a better substitute than bacon in this case.
You can still use bacon, but I would omit the marinade ingredients and marinating all together. Dice spam is also something you can use instead of pork belly/shoulder or bacon. If you use spam, also omit the marinade ingredients and process.

Tips and Trick for Success
- If you’re unable to find “old kimchi”, no problem! You can easily speed up the aging process of kimchi by leaving the jar out at room temperature for a day or 2. If you do this, you need to make sure the jar isn’t completely full. The kimchi will release more liquid as it ferments and if there isn’t sufficient space in the jar, the pressure from the fermenting process will make the jar explode. Also make sure the lid isn’t fastened too tightly for the same reason.
- If you want a bigger kick in the fried rice, you can add some gochugaru, which is Korean chile powder. You can start with about 1/2-1 teaspoon of the powder and go from there based on your heat preference! I don’t really recommend adding more kimchi juice if it’s increased heat you’re looking for, to avoid added moisture.
- Use leftover rice for our kimchi fried rice, if you have it! The day-old rice not only firms up in the fridge, but the grains separate easier when cooked. This will ensure your stir fry will have a nice texture and won’t be mushy.
- Use boneless pork shoulder if you’re unable to find plain pork belly (as mentioned above). The flavor and texture is more similar to pork belly than bacon (since it’s not cured or smoked like bacon).

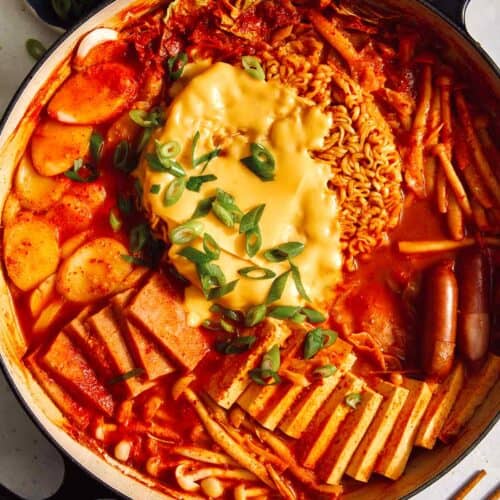
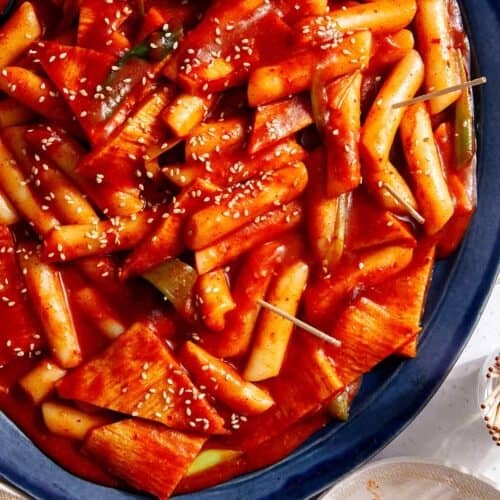
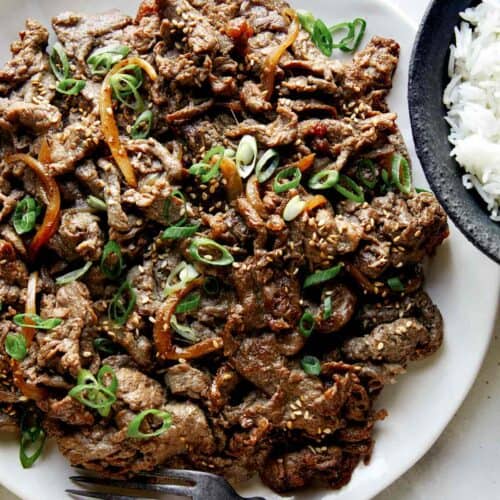
More Delicious Korean Recipes You Will Love


Kimchi Fried Rice
INGREDIENTS
marinated pork belly
- 1 tbsp gochujang (Korean Chili Paste)
- 1 tbsp soy sauce (low sodium)
- 1 tsp sesame oil
- 1 tsp ginger minced
- 1 garlic clove
- 8 oz diced pork belly
Kimchi Fried Rice
- 1 1/2 tablespoon vegetable oil, divided
- 1 tablespoon sesame oil
- 2 eggs lightly beaten
- 1 1/2 cups chopped kimchi plus juices
- 2 tablespoons soy sauce low sodium
- 3 green onions thinly sliced and divided
- 2½ cups steamed short-grain rice
- 2 teaspoon toasted sesame seeds
- 1 teaspoon furikake optional
Optional Fried Egg
- 1 tablespoon vegetable oil
- 1 large egg
INSTRUCTIONS
Spicy Pork
- Place all pork marinade ingredients into a mixing bowl. Whisk marinade ingredients together and add pork.
- Mix together until all pork pieces are fully and evenly coated. Set aside and allow pork to marinate for 30 minutes.
- Pour 1 tablespoon vegetable oil into a wok or large skillet over high heat. Add pork and sauté for 4 to 5 minutes or until browned and just cooked through.
- Remove from skillet and set aside.
Fried Rice
- Clean pan out, then pour remaining vegetable oil into skillet followed by beaten eggs. As eggs cook, gently but quickly stir and break apart into large pieces.
- Remove from heat and add to cooked pork belly.
- Pour sesame oil into skillet. Add kimchi and soy sauce and saute until kimchi begins to caramelize, 3 to 4 minutes.
- Add rice and stir together until rice is well coated. Add pork belly and eggs back to the skillet and toss together until evenly distributed through rice mixture.
- Continue to cook until rice begins to char around edges, about 4 to 5 minutes, making sure not to stir the rice so you get crispy bits on the bottom.
- Stir in 2 green onions and sesame seeds and remove from heat.
Optional Fried Egg
- Place a nonstick skillet over medium-high heat. Once skillet is hot add oil and swirl to coat.
- Crack egg into a small bowl or ramekin and pour into skillet. Fry egg for about 3 minutes or until the white has set with crisp edges and yolk is still runny. Season with salt and pepper and slide over fried rice.
- Top with remaining green onion and furikake (if using), and serve.
NOTES
- If you’re unable to find “old kimchi”, no problem! You can easily speed up the aging process of kimchi by leaving the jar out at room temperature for a day or 2. If you do this, you need to make sure the jar isn’t completely full. The kimchi will release more liquid as it ferments and if there isn’t sufficient space in the jar, the pressure from the fermenting process will make the jar explode. Also make sure the lid isn’t fastened too tightly for the same reason.
- If you want a bigger kick in the fried rice, you can add some gochugaru, which is Korean chile powder. You can start with about 1/2-1 teaspoon of the powder and go from there based on your heat preference! I don’t really recommend adding more kimchi juice if it’s increased heat you’re looking for, to avoid added moisture.
- Use leftover rice for our kimchi fried rice, if you have it! The day-old rice not only firms up in the fridge, but the grains separate easier when cooked. This will ensure your stir fry will have a nice texture and won’t be mushy.
- Use boneless pork shoulder if you’re unable to find plain pork belly (as mentioned above). The flavor and texture is more similar to pork belly than bacon (since it’s not cured or smoked like bacon).


Did you make this recipe? We want to see!
tag @SpoonForkBacon and #SpoonForkBacon on Instagram
I LOVE this recipe. It’s the only kimchi fried rice recipe i ever use (shh do t tell me mom haha). The pork belly is soooo tasty in this dish! Well done ladies!
Question: is there another meat that could be substituted? Maybe chicken? I don’t eat pork, but everything else about this sounds so amazing.
Yes! I’ve used diced chicken thighs and they work great!
This is so good. I’ve been eating it with everything lately!
When you cook kimchi you lose the advantage of the fermentation, i.e. the probiotics for your microbiome. Wonder if the kimchi could be added and mixed in after the rice cools a bit?
That’s true, but the purpose of this recipe isn’t for the probiotics. When you cook kimchi down, you’re adding a depth of flavor that you can’t achieve with raw kimchi. Cooking kimchi is very common. Also, since kimchi is such a staple in Korean cuisine overall, it’s very common to serve a side of straight fermented kimchi with ‘cooked’ kimchi dishes such as kimchi jigae (kimchi stew), kimchi mandu (kimchi dumplings), soondubu jigae (soft tofu stew), godeungeo-tongjorim jjigae (spicy mackerel stew), etc.
Thank you for demystifying kimchi fried rice for me! Hadn’t realised how easy it was to achieve the restaurant quality deliciousness I often crave until I found this recipe. I used a neutral oil to fry the dish and drizzled sesame oil over my rice at the end instead for maximum aroma. I also put dried doljaban muchim on top cos I was feeling fancy, and there are zero regrets. YUMYUM thanks again!
i usually get kimchi fried rice from a little Korean restaurant in Koreatown, but this is such a wonderfully simple and delicious recipe… i can’t see myself ever getting take-out again. not only is this much less expensive, it’s head and shoulders above anything i’ve gotten from a restaurant. the only way this could have been any better is if i’d made it with homemade kimchi. guess i know what i need to learn how to do next! :) many thanks for sharing this recipe!
you can actually pour in the egg after you’ve almost finished frying the rice.if you pour the egg at the end,the egg will get mixed with the kimchi flavour and thus become more flavourful.if you’re doing so,make a well in the middle of rice and just pour your egg mixture there.wait for it to cook a bit before you stir otherwise you’ll end up with mushy and wet rice.
I have a blog on kimchi if you are so interested: http://tastingkorea.blogspot.com/2011/11/pickling-vegetables-in-korean-cuisine.html
ultimate comfort food for a korean. woot woot! i like to put a sunny side up egg on mine…love the runny yolk. :D
I love kimchi fried rice and yes I have a container of kimchi in my fridge :) So want to make a batch tomorrow! With a fried egg on top it’s also the best hangover food ;)
Egg is fine for vegetarians – just not vegans
Yea, in some cases. I know a lot of vegetarians who are not quite vegan who are just not down with eggs.
It reminds me our peruvian-chineese Chaufa Rice… looks great!! and the photo beautiful
I adore the way your slices of green chilli make this picture come to life.
Oh, if only I could stop myself from eating kimchi straight from the jar! This looks wonderful :)
Mmmm, this sounds perfect!
Oh my favorite! I love kimchi.
god I wish this was in my kitchen.
Man, I love kimchi! This is the best meal for a quick dinner OR for an afternoon hangover cure, just saying…
Lovely, looks so deliciously fresh!
i like that this recipe is so easy to make! and if you have leftover rice from the day before, you can make this meal in 10 minutes or less!
WHOA! The egg is a must. So is the thinly sliced pork belly. I dig it. I want it. That is all!
I’ve never tried kimchi but have been wanting to for a while. This sounds lovely!
Kimchi fried rice is one of my favorites esp. when it’s cold. I usually use pork belly and when I’m lazy – spam. The bets part is breaking up the fried egg that goes on top :)
i squealed when i saw this post! i love kimchi fried rice yummmm! can’t wait to make some at home! hope y’all had a great thanksgiving!!!
This looks wonderful! Hope you had a great Thanksgiving back home.