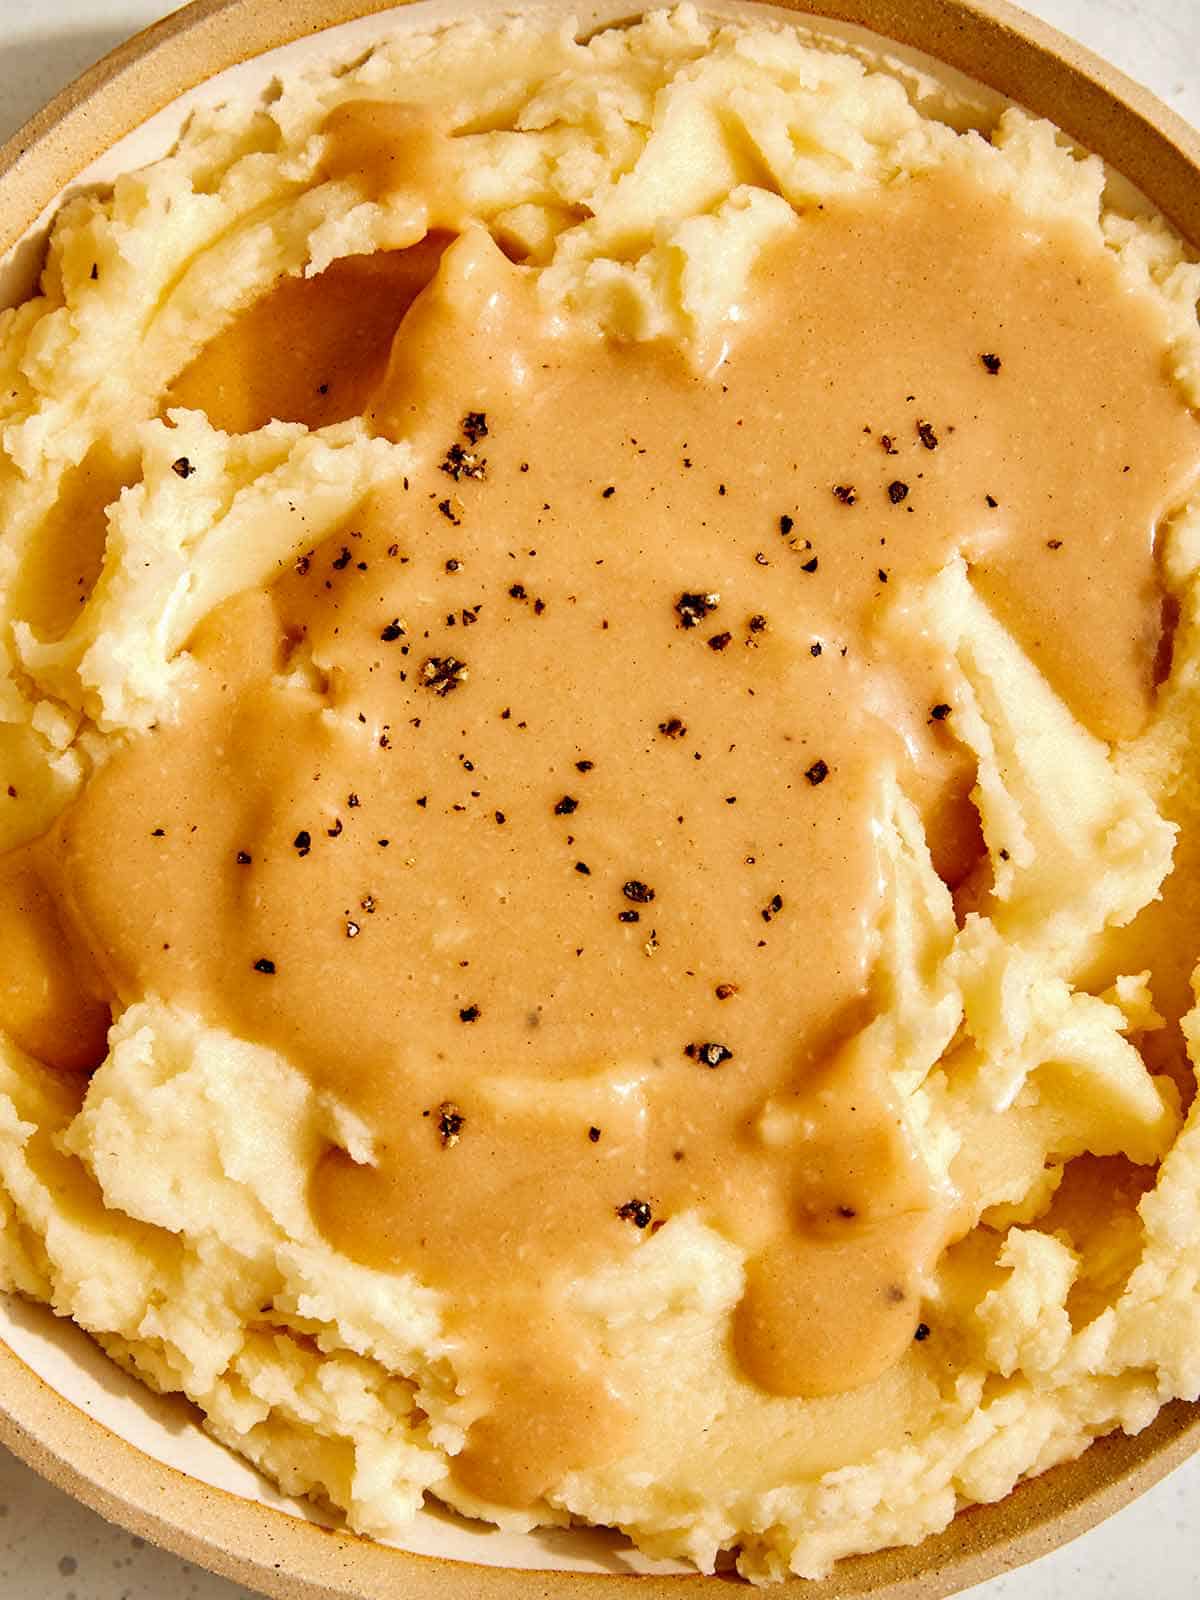
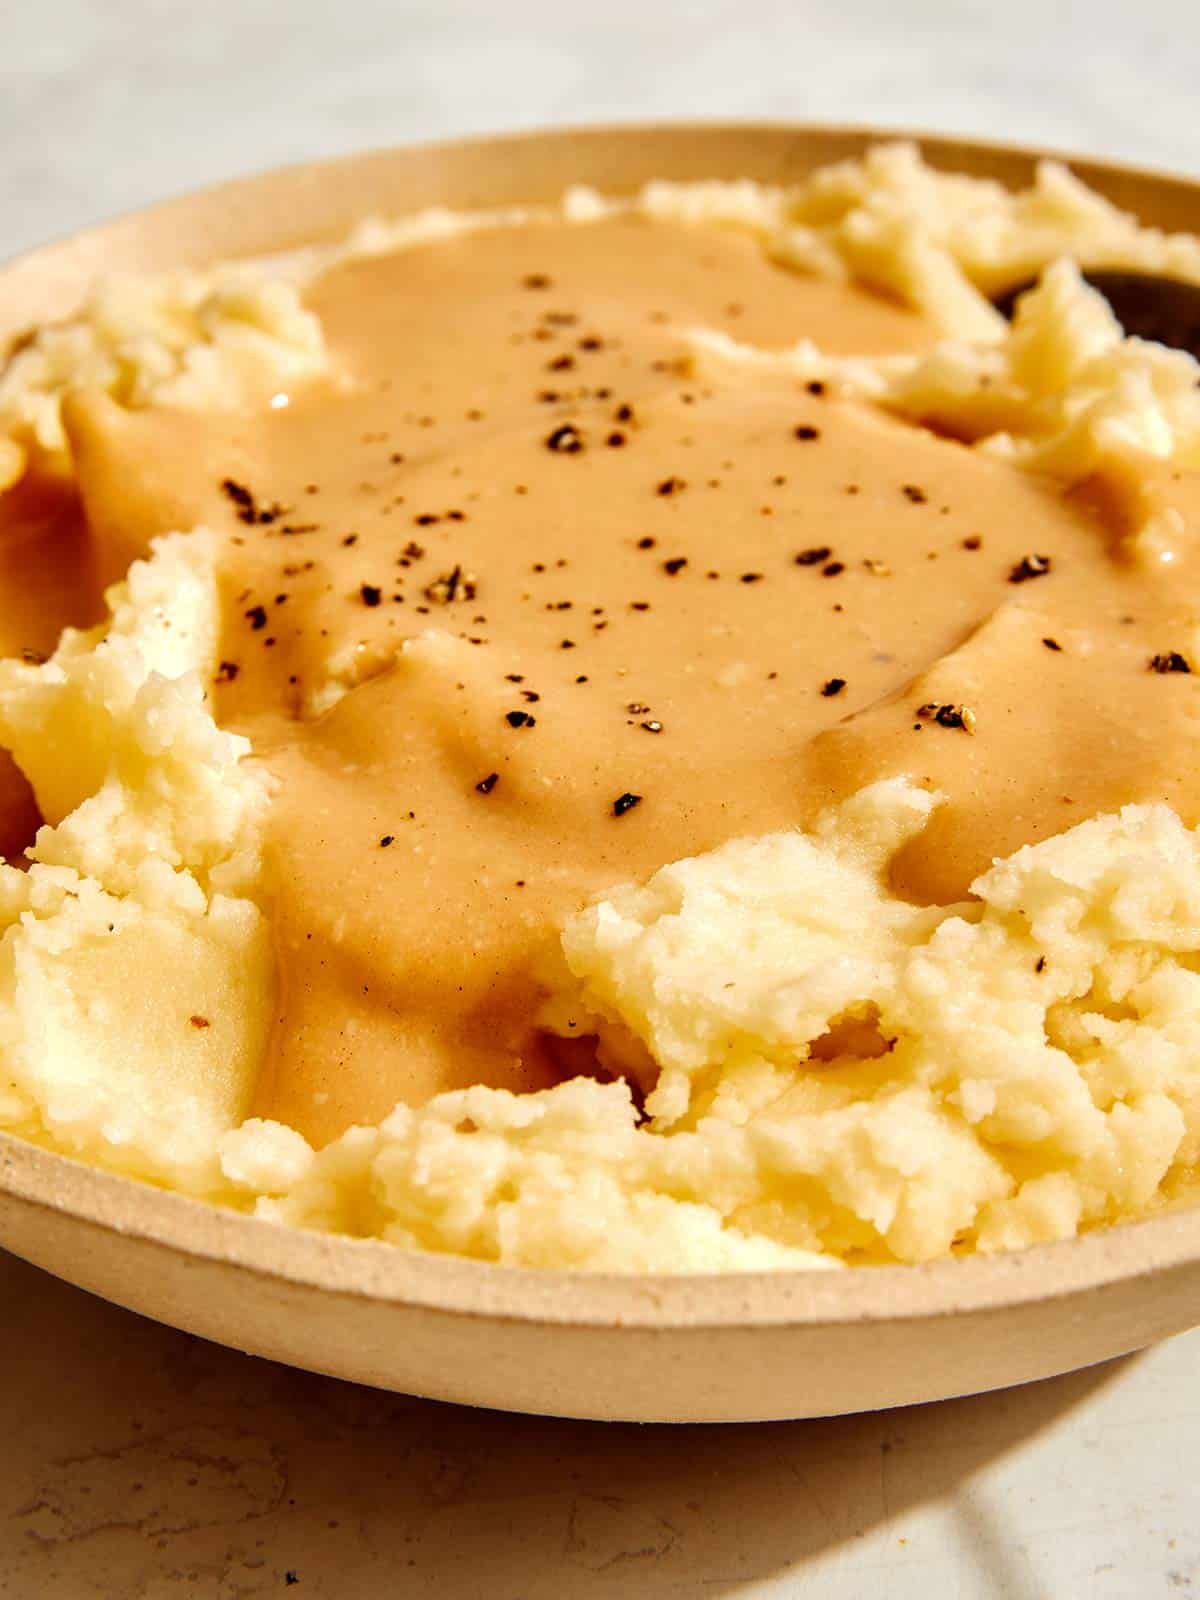
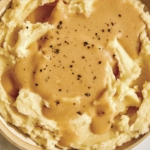
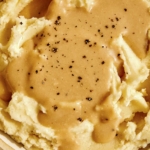
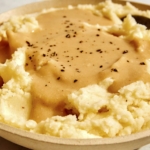
This Roasted Garlic Gravy Recipe is one of our favorite gravy recipes ever! It’s easy to make and the roasted garlic flavor really takes this recipe over the top! Our recipe is rich, creamy and just so good!
This can be made several days ahead of time without the quality suffering. So if you’re planning a big meal that includes gravy, this gravy recipe is perfect for that occasion.
How to Make Roasted Garlic Gravy
Process
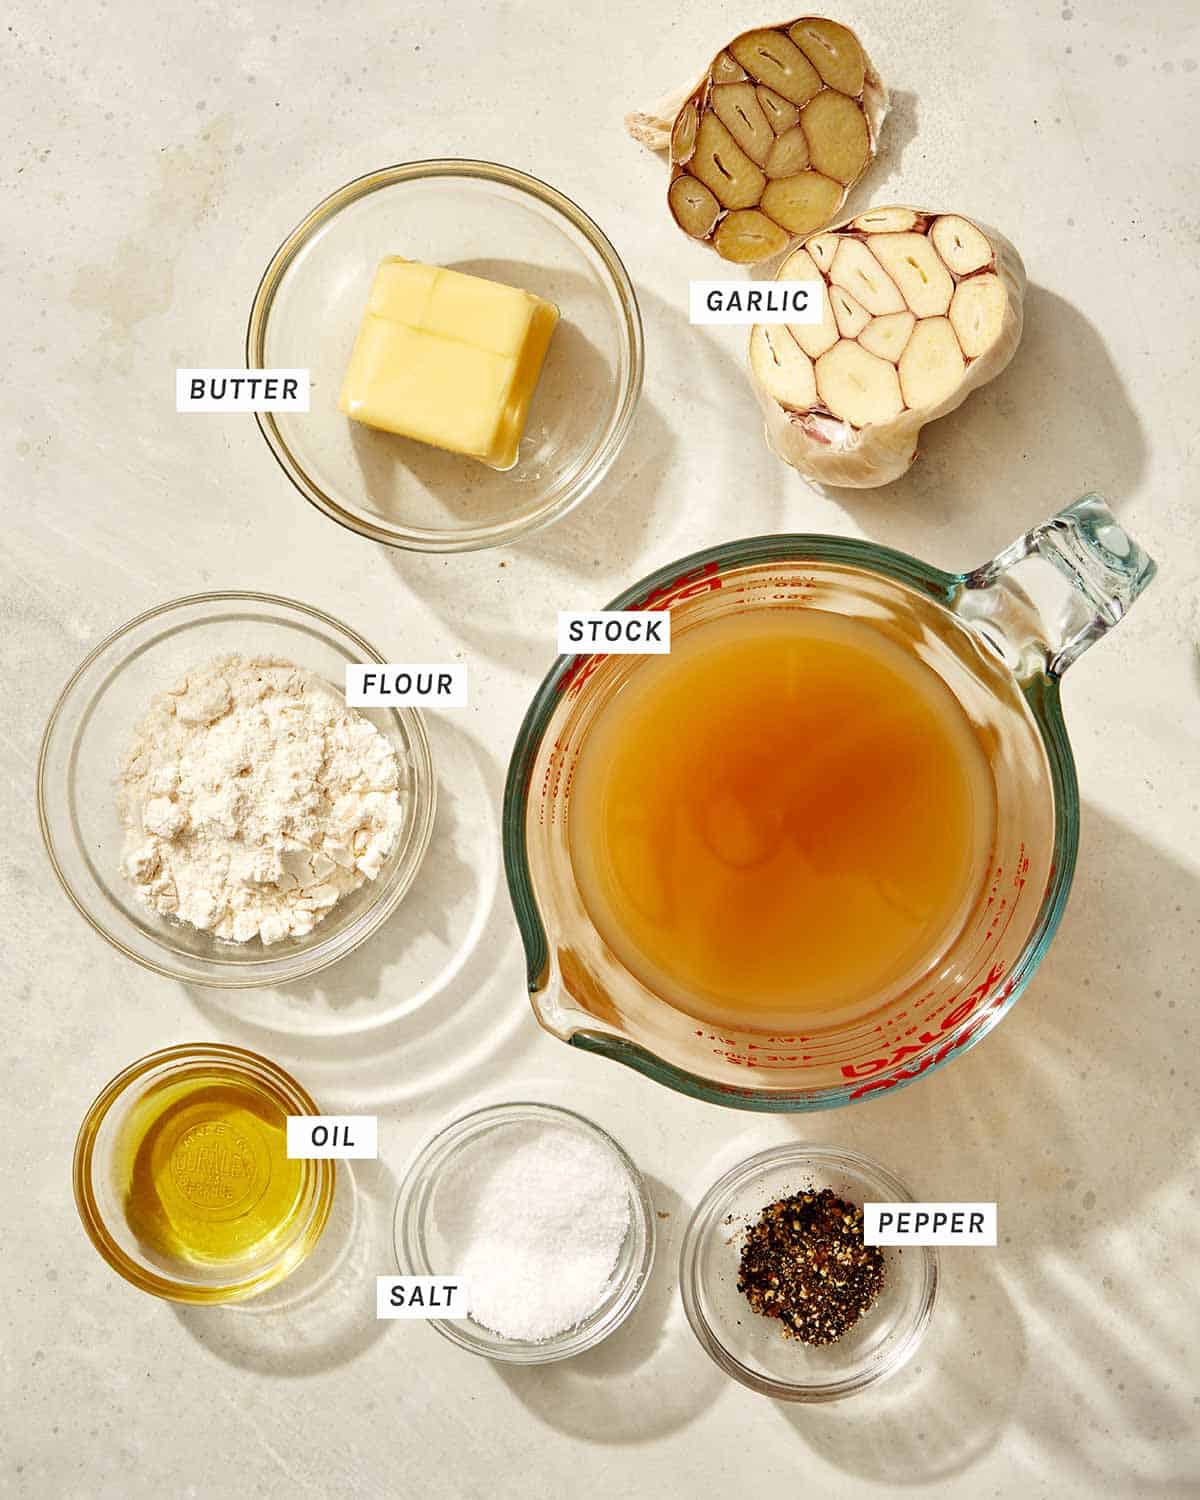
ROASTED GARLIC
- Preheat. oven to 375˚F. Place garlic head halves into a small piece of foil, cut side up. Drizzle with oil and lightly season with salt and pepper.
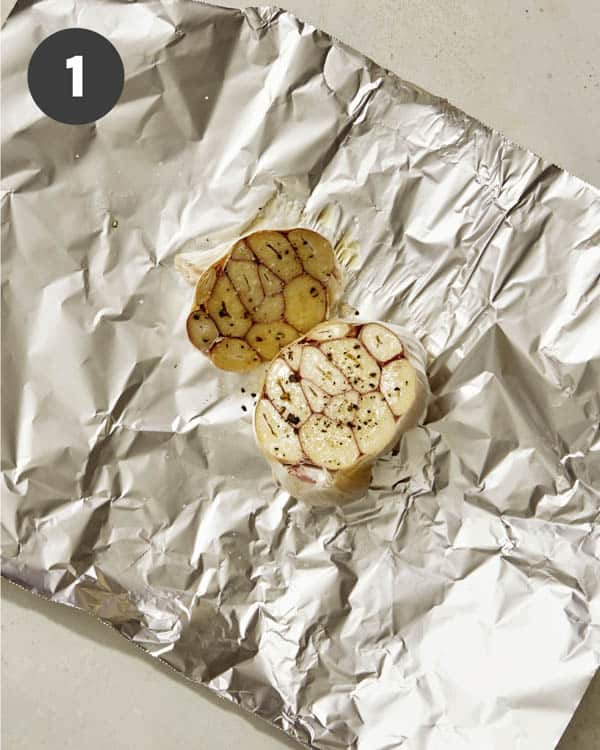
- Wrap foil around garlic and roast for 40 to 45 minutes, until cloves are soft and slightly caramelized. Unwrap and allow garlic to cool, about 10 minutes.
GRAVY
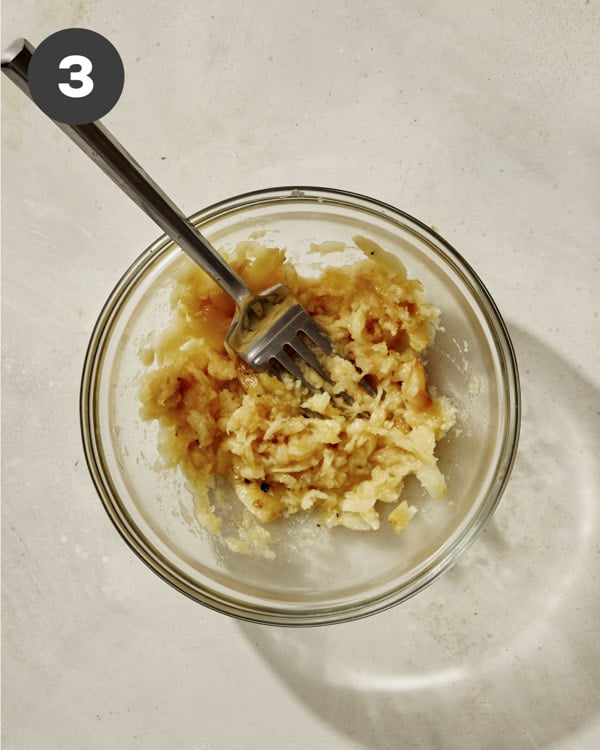
- Squeeze garlic cloves from head into a small bowl. Mash together with the back of a fork until a smooth paste forms.
- Melt butter in a pot over medium heat.
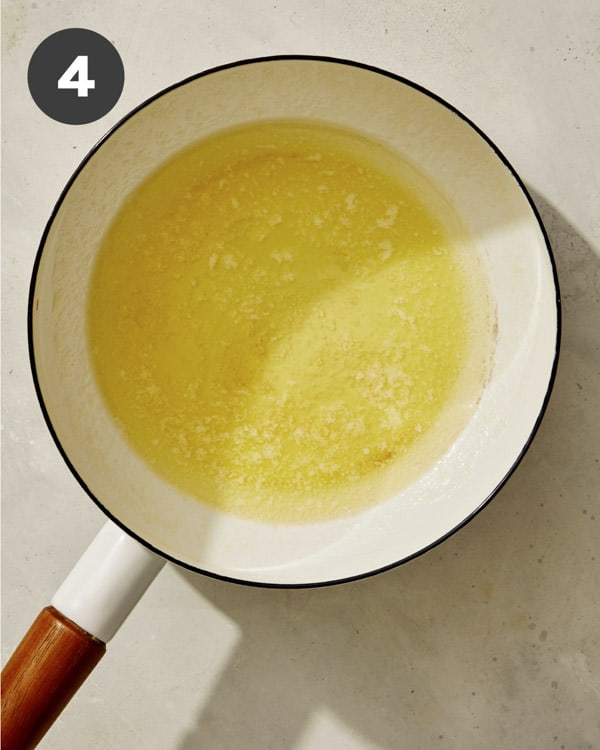
- Whisk in flour until mixture is smooth, about 2 minutes.
- Add garlic paste and whisk util smooth.
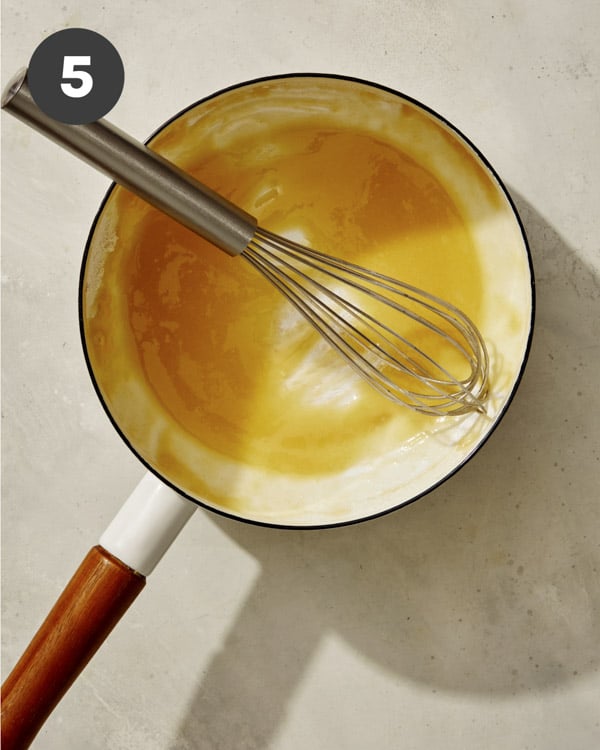
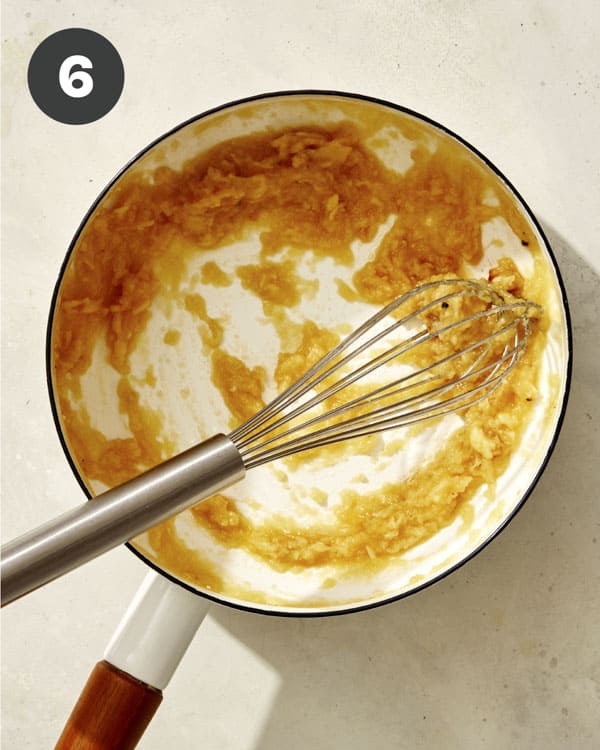
- Whisk in stock and continue to whisk until no lumps remain.
- Lower heat to medium-low, season with salt and pepper and simmer, occasionally whisking to prevent burning, until gravy is thick enough to coat the back of a wooden spoon 7-8 minutes.
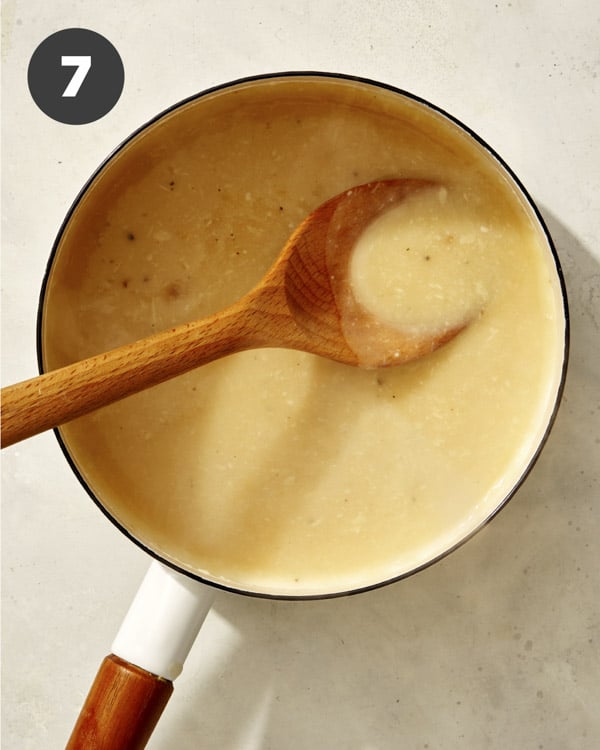
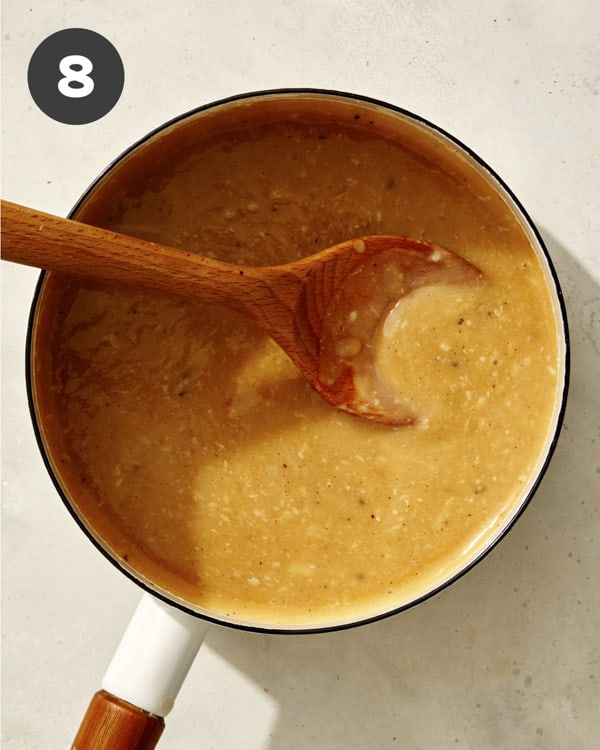
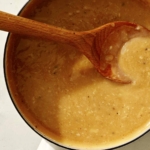
Why is My Gravy so Pale?
The reason for this is because we’re using chicken stock which has a light color overall. If you want a brown colored gravy, feel free to use beef stock (although the flavor will change).
If you want the gravy to have a deep, brown color but want to use chicken stock, then add 1-2 teaspoons of kitchen bouquet to your gravy as it simmers. This cooking liquid is virtually flavorless and has a sole purpose of darkening sauces (it is advertised to also add flavor, but in my experience it doesn’t really add flavor, especially for the small amounts used). It’s totally not necessary, but if you do want a darker gravy it’ll do the trick!
Tips and Tricks for the Best Gravy
- Use a whisk to whisk in the flour as well as the stock! This is the best way to prevent lumps from forming in the gravy.
- Add the stock in a slow and steady stream, while also whisking to also help prevent lumps and for a smooth and creamy stock.
- Continue to whisk the gravy as it simmers and thickens to prevent it from burning on the bottom of the pot.
- Make sure the garlic is fork tender and slightly caramelized for the best overall flavor!
- Want the gravy to have an extra kick of richness to it? Add a splash of cream!
Make Ahead Instructions
Our gravy recipe can be made up to 4 days in advance. Once the gravy has cooled, transfer it to an airtight container and refrigerate until ready to use.
When ready to use, pour the gravy into a small saucepan and simmer until heated through and thinned out.
Using Pan Drippings in the Gravy Recipe
If you would like to use pan drippings from a roast, simply omit the butter and replace it with equal amounts drippings instead.
Roasted Garlic Gravy Recipe
INGREDIENTS
roasted garlic
- 1 head garlic cut crosswise
- 1 tablespoon olive oil
- salt and pepper to taste
gravy
- 3 tablespoons unsalted butter
- 3 tablespoons flour
- 1 1/3 cup chicken stock
- salt and pepper to taste
INSTRUCTIONS
roasted garlic
- Preheat. oven to 375˚F. Place garlic head halves into a small piece of foil, cut side up.
- Drizzle with oil and lightly season with salt and pepper.
- Wrap foil around garlic and roast for 40 to 45 minutes, until cloves are soft and slightly caramelized.
- Unwrap and allow garlic to cool, about 10 minutes.
gravy
- Squeeze garlic cloves from head into a small bowl.
- Mash together with the back of a fork until a smooth paste forms.
- Melt butter in a pot over medium heat.
- Whisk in flour until mixture is smooth, about 2 minutes.
- Add garlic paste and whisk util smooth.
- Whisk in stock and continue to whisk until no lumps remain.
- Lower heat to medium-low, season with salt and pepper and simmer, occasionally whisking to prevent burning, until gravy is thick enough to coat the back of a wooden spoon 7-8 minutes.
NOTES
- Use a whisk to whisk in the flour as well as the stock! This is the best way to prevent lumps from forming in the gravy.
- Add the stock in a slow and steady stream, while also whisking to also help prevent lumps and for a smooth and creamy stock.
- Continue to whisk the gravy as it simmers and thickens to prevent it from burning on the bottom of the pot.
- Make sure the garlic is fork tender and slightly caramelized for the best overall flavor!
- Want the gravy to have an extra kick of richness to it? Add a splash of cream!


Did you make this recipe? We want to see!
tag @SpoonForkBacon and #SpoonForkBacon on Instagram
I made this for thanksgiving and it was awesome! It goes so well on everything not just the mashed potatoes! So yummy. I made 3 batches worth and there was only a small amount left. Thank you!
Is there a way to make this gluten free?
You can use gluten-free flour, which will work just fine here!