Hi guys! As you can probably tell Jenny and I are way into Christmas and love giving homemade gifts as presents. We already shared with you a cute wrapping situation for one of our banana bread recipes, and today we thought we would do homemade extracts. We are giving you recipes for five different kinds: lemon, grapefruit, vanilla, cinnamon, and orange. So you can either made all five, or pick you favorite and go with it. Extracts are really easy to make, the only thing you really need to give it is time, these extracts take about two weeks to make. This is a perfect recipe for you plan aheaders. In addition to these great extract recipes, we also have the designs for the labels ready for you to download, as well as instructions for the super cute wrapping. Lets get started! First, make your extracts:
[print]
Homemade Extracts
Makes 1 cup each extract
Ingredients:
cinnamon extract:
1 cup brandy
4 cinnamon sticks
vanilla extract:
1 cup brandy
3 vanilla beans, split with the “caviar” scraped out
orange extract:
1 cup high quality vodka
peel of 5 oranges, ALL pith removed
lemon extract:
1 cup high quality vodka
peel of 5 lemons, ALL pith removed
grapefruit extract:
1 cup high quality vodka
peel of 3 ruby red grapefruits, ALL pith removed
Directions:
1. For each extract ,sterilize a 16 ounce jar and fill with the cinnamon sticks, vanilla beans or citrus peels.
2. Pour assigned liquor over each jar and tightly seal. Gently shake each jar and set aside in a dark, cool area.
3. Allow mixtures to infuse for at least 2 weeks before, straining and bottling for use.
**Gently shake each mixture up every couple of days.
[/print]
Now, lets get started on the packaging.
Here are the supplies:
1. Extract bottles. We really LOVE these ones! 8oz each.
2. Printable label sheets. We got these Avery labels that are full sheets.
3. Hemp Twine!
5. Medium (5×7) Craft Paper Bags. Like these!
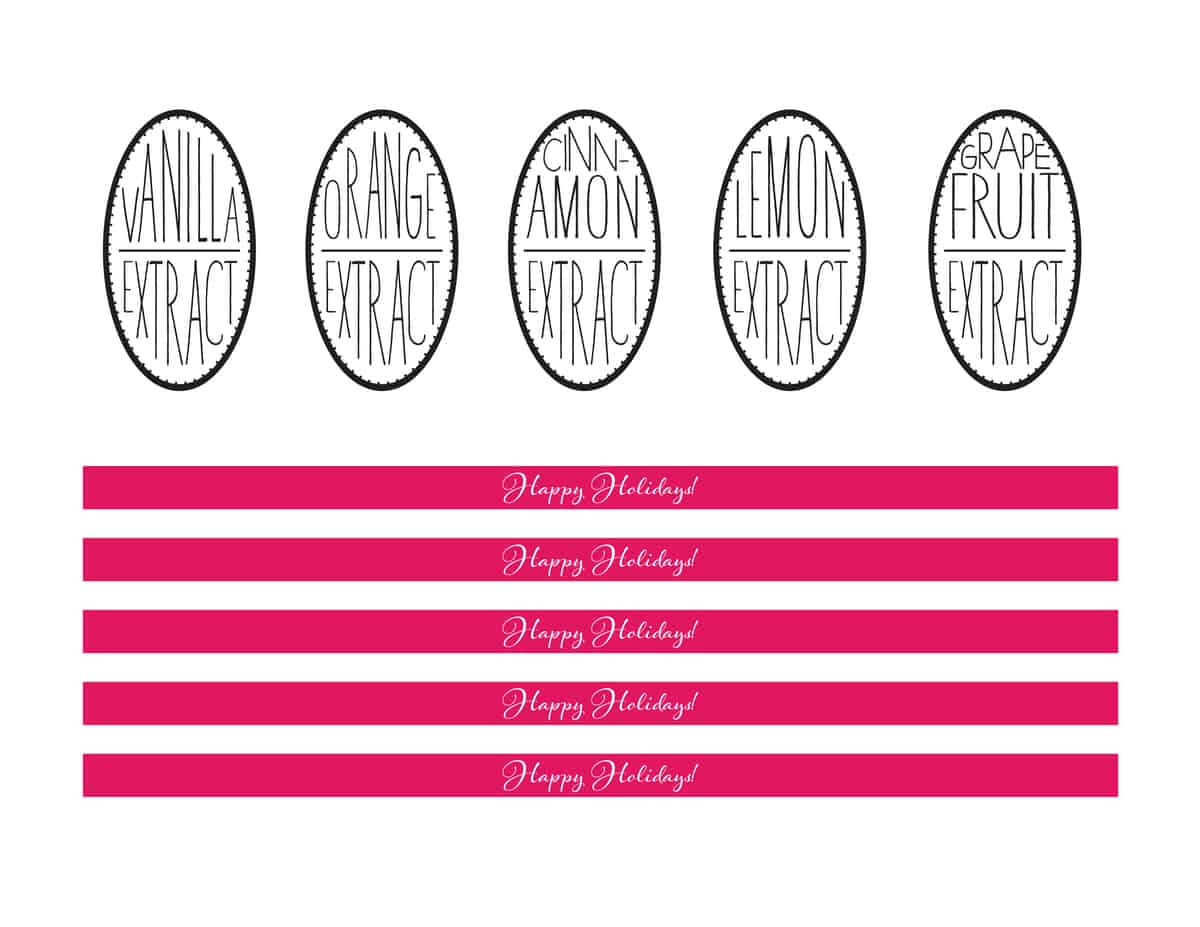
6. Our designs printed on label sheets.
Extras: Glue gun, scissors and or an exacto
Here is how you do it:
1. Decant the extracts into the bottles. I like to do this first so there isn’t any spillage on my freshly printed labels.
2. Print out the custom labels, and then cut them out. I used scissors for the ovals and an exacto and ruler for the Happy Holidays.
3. Label all of the bottles.
4. Cut some hemp twine. You can determine the length by wrapping some twine around the tops of the bottles and deciding how many times you want the twine to go around. After you cut the twine, tie knots at the end of each side and snip off the extra length. Then take your cute tinsle pom poms, squirt some hot glue on one, and then press the knot part of the twine into the hot glue. I used a food skewer to do this, but other long pockey things would work too. Repeat this until you have pom poms at both ends of the twine, and on all the twine you’re going to need.
5. Take out the craft paper bags. I cut the tops off of them for two reasons. First, I didn’t want the zig zag edge to be visible, and second, I wanted the bag to end at the bottle cap. I cut about an inch to an inch and a half off the bags. Then insert the bottles into the bags and twist the bags around until they fit tight. Fold the corners of the bag at the bottom under.
6. Take your twine, and wrap it around the neck of the bottle while trying to include the folds of the paper. Once you get down to the right amount of twine left over, tie it off.
7. Now you have your Happy Holiday printed bands out. Simply center the words on the front of the bottle and press firmly on the label in the middle. Then follow the label around to the back on the bottle pressing firmly one side at a time.
8. You’re done! Go make people happy and give them this cute stuff you just made!
More DIYs you will love!